From scrolling through the news feed on the social networks to reading articles online we all come across photos and images, and they form an integral part of the internet ecosystem. We also capture a number of photographs and create images for our own requirements using several programs, and then we can use the images on any of our projects, or save it on our phones and computers for different requirements. In most cases, images are saved in a common format, JPG which is supported on almost all devices we come across, but that is not the only format that is available.
Among the other popular formats, you can also find PNG, TIFF and other image formats, which can be useful in several circumstances. For example, if you want to make some part of the image transparent, PNG is the best format for the target image, and depending upon what exactly you need, you can choose the most appropriate image file format for your requirements. So, today I will talk about how you can convert an image from one format to the other so that you can save space or use it for different other requirements you come across in your everyday life. This is easier than you think, and I will talk about how you can batch convert multiple images from one format to the other, which is something that will make your life easier.
So, without any for the delay, let’s get started with how you can convert multiple images from one format to the other on your Windows 10 computer.
Converting multiple images from one format to the other
Step 1: Download and install Photoscape X from the Microsoft Store, on your computer.
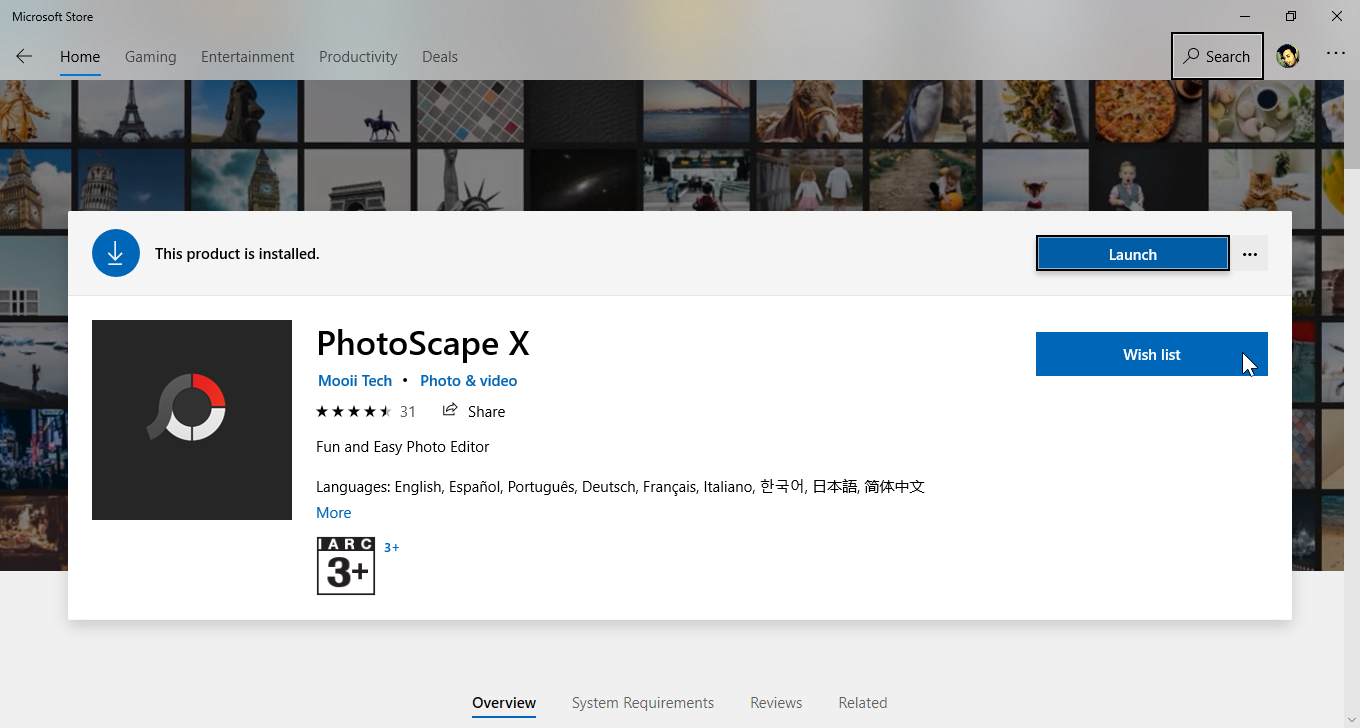
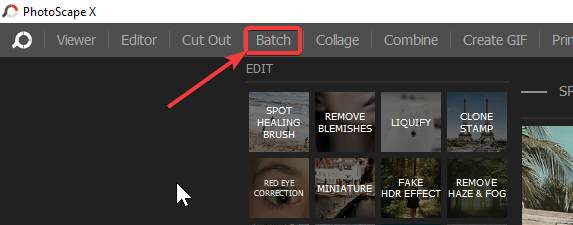
Step 2: After you have downloaded and installed Photoscape X on your computer, which is the same as the installation of other programs downloaded from the Microsoft Store, open Photoscape X and click on ‘Batch’ on top of the application interface.
Step 3: Now, you will have to choose the photos that you convert to some other file format. You can do that on the top left part of the user interface, where you can find an interface similar to Windows Explorer, where you can expand the folders to find the images that you are looking for.
Step 4: After you have selected the images for the purpose of conversion, simply drag-and-drop them within the main user interface of the program.
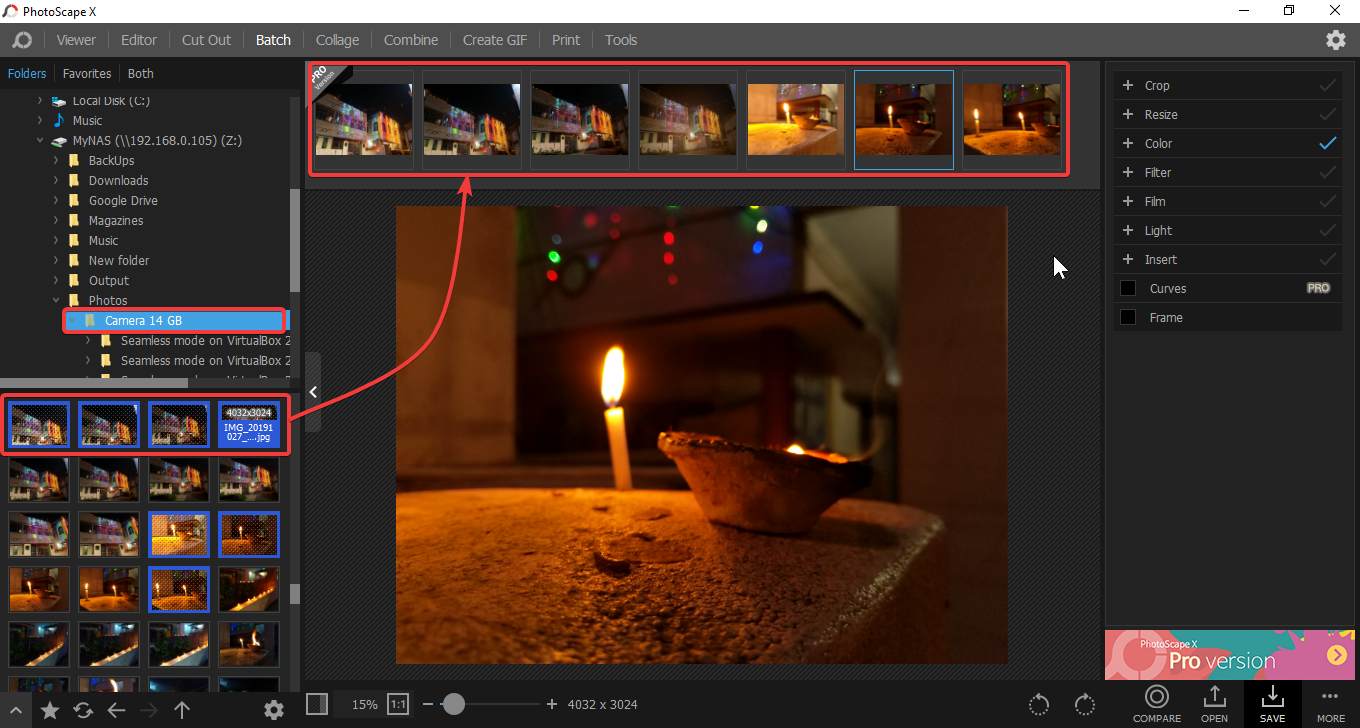
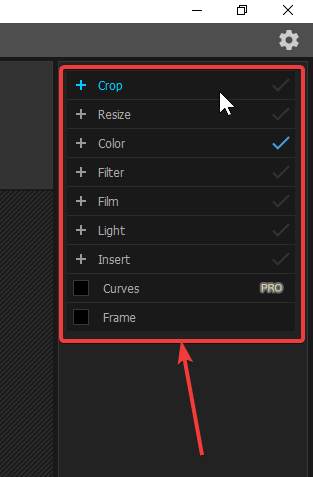
Step 5: On the right side of the user interface, you can find additional operations like cropping the images, resizing them, edit the images by changing the colour and brightness level, add filters, and carry out additional activities and after you are done, click on the ‘Save’ button.
Before you carry out any kind of operations, the thing that you should keep in mind is that, whatever changes that to apply by selecting one of the images, will automatically be applied to the other selected images as everything will be processed in batch.
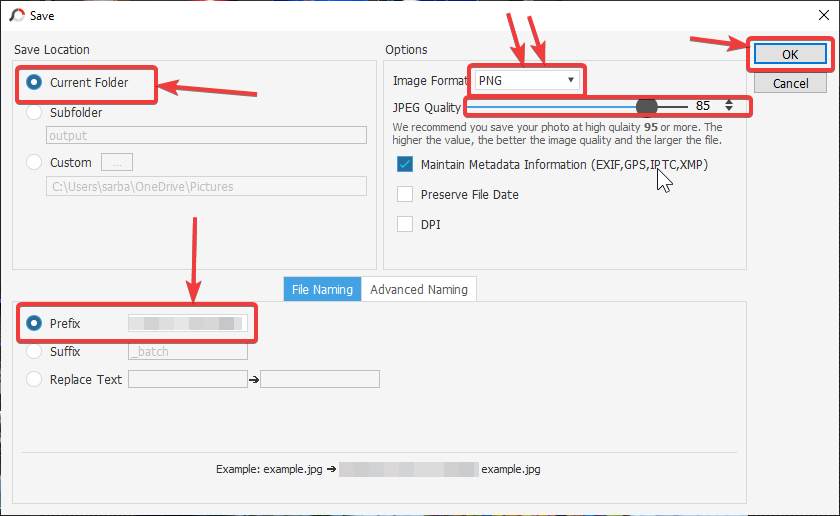
Step 6: Choose the save location of the converted image files, add prefix and suffix to the converted file names to make it easier to understand, and these are additional options that can be useful in different circumstances. But here, you can ignore these options.
Step 7: In the drop-down menu corresponding to image format, just choose the target image format and click on ‘OK’. Additionally, you can even change the image quality, by using the slider, which can be used to downgrade the quality to save space, and that can also be useful in different circumstances.
Now you can find the images in the output folder chosen by you, with all the changes that you might have applied in the source images chosen by you.
I am using Photoscape X for almost two years since the time I started using Windows 10. If you are using an older version of Windows, you can use the Photoscape app on your Windows computer that is running Windows 7 or any older version of Windows. Besides batch editing multiple photos, you can even carry out a number of other activities using Photoscape, which makes it a small Swiss-knife for all your basic everyday tasks associated with photo editing.
If you want to edit one image, you can use Microsoft Paint or any other small image editing program to save the image again in a format that you want. But, when it comes to converting the format of multiple images at once, you need something that can carry out the complete task in one go. That’s when Photoscape or Photoscape X can be useful for you.
So, that was all about how you can change the format of multiple images at once in batch using Photoscape X. Do you have any questions? Feel free to comment on the same below.
Related Posts
How to Reopen Closed Windows or Tabs in Firefox
How to Install Django on Windows 11 or 10
How to set Gemini by Google as the default Android assistant
How to create data bars in Microsoft Excel for numeric values
How to open HEIC images on Windows for free
How to install Server Manager Windows 11 or 10