Not everyone is an expert in Photoshop or GIMP, but we all need to do some basic editing activities, which is nothing more than a piece of cake for such complex applications. One of such activities is to remove the background from a photo and make it transparent. Making the background of a photo transparent has its own advantages. You can use it as a stamp, signature, as an icon for Windows programs, and a plethora of other activities. Now, you can even make your own stickers and share them on WhatsApp, which also require your images with a transparent background.
Making the background of a photo transparent can be done on numerous websites if you are not an expert in Photoshop or GIMP. But if you are using an Android, and do not want to visit any websites offering sort of SAAS services for free, you can use your Android device’s potential capability to make the background transparent with a small piece of an app available for Android. The ability is not limited to only one app, but I am here to share the easiest tutorial that is pretty functional on the other hand, as well.
What is transparency in an image?
Transparency obviously doesn’t mean you can see through the display and see the PCB or other electronics behind it. Transparent areas in an image simply mean, you can see other graphical elements, which is present behind the transparent part of the background.
For example, if an image with a transparent background is set as an icon for your favorite program, and a shortcut of it exist on the desktop, you will be able to see the desktop wallpaper through the transparent region.
So now without any further delay, let’s get started with the tutorial.
The steps
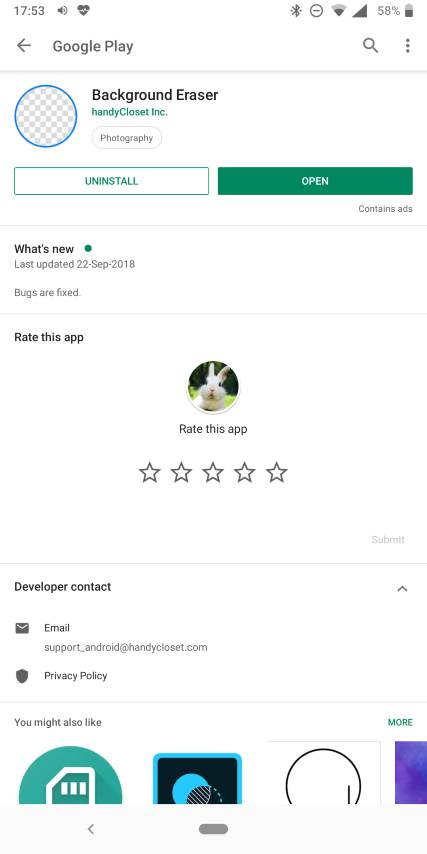
Download ‘Background Eraser’ app from the Google Play Store. You can even get it directly from this link.
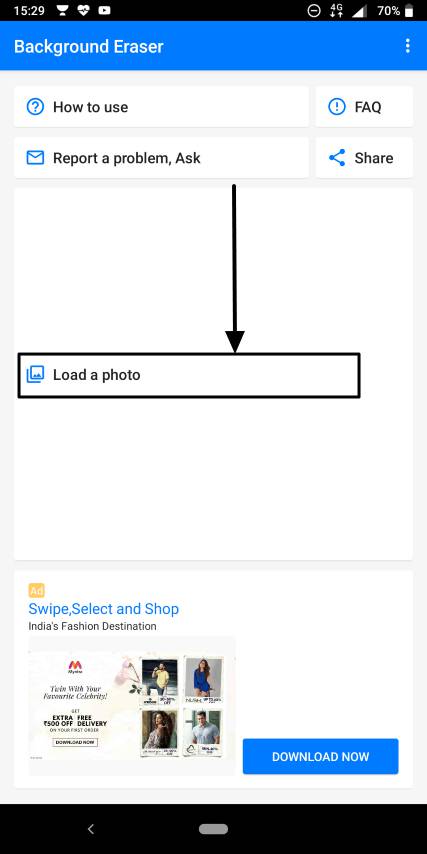
Once you are done downloading and installing the same, open the app. You will get a user interface similar to this. Tap on the ‘Load a photo’ button that appears on the main screen.
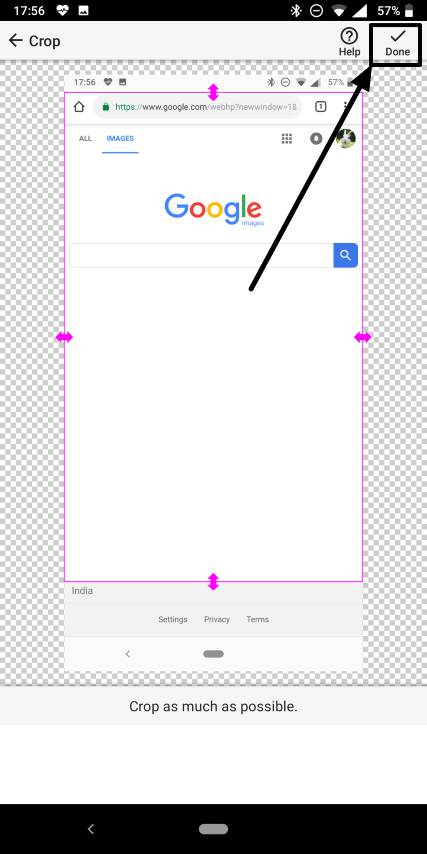
Now you will have to choose the photo whose background is to be made transparent. Once you are done adding the photo, you will be asked to crop the photo as much as you can.
You can crop it as per your requirements, and it isn’t mandatory though. Once you are done, tap on ‘Done’ to get into the main operational interface.
Here you can find numerous options or ways to make the background transparent.
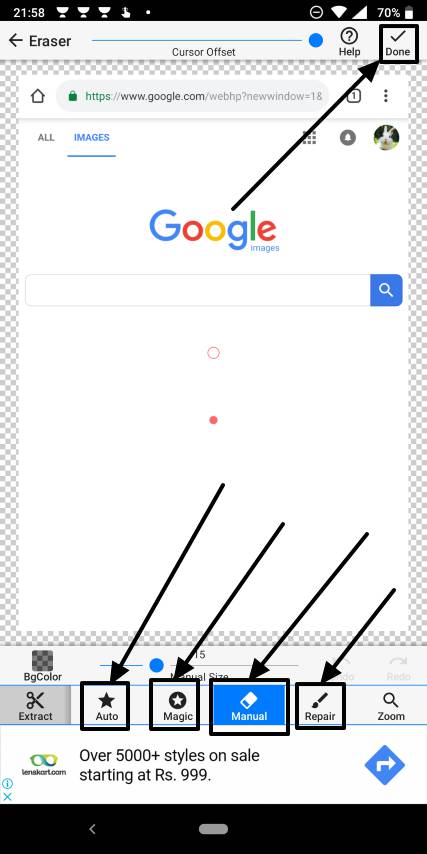
The ‘Manual’ mode is the simplest mode among the available options. With the manual mode, you can touch the areas you want to make transparent. That is quite simple
The ‘Magic’ mode is a little smarter where you can touch the areas to make them transparent, but it will help you in the edges, where a slight touch will lead to transparency, and you don’t want the mess. The magic mode will help you to keep the edges as usual, which can be helpful in various situations.
The ‘Auto’ mode automatically makes the areas with a similar color transparent. For example, if you are editing a photo with a white background, as it is, in the above photo, the ‘Auto’ mode will help you to make the complete white area transparent, which is undoubtedly helpful in most situations.
You can change the brush radius of the Magic and Manual brush as per your requirements to help you complete your work faster.
The ‘Repair’ option can be used to bring back the color once it is removed manually, with the magic or automatic removal tool. So this can help you to clear up the mess just in case you do some errors while making the background transparent.
It is also possible to change the color threshold in the Auto mode to help you make other parts of the image transparent, which are similar in nature. Changing the color threshold can be a great way to make the background transparent, if the shades aren’t the same everywhere, or you are using a green screen.
Once you are finished, tap on ‘Done’.
Now you can smoothen the image if it is still not perfect. You can change a level of smoothness between 1 and 5. Just go with the one you find good enough. After completing, tap on ‘Save’.
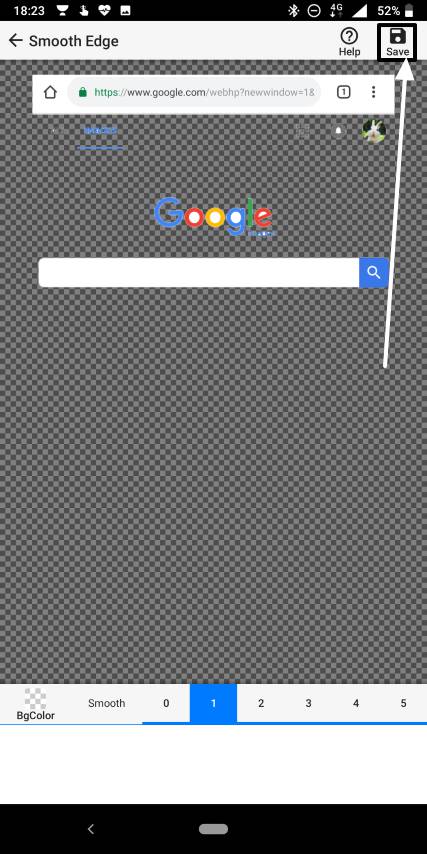
The image will be saved in png format, as it is the only compatible format that supports transparency.
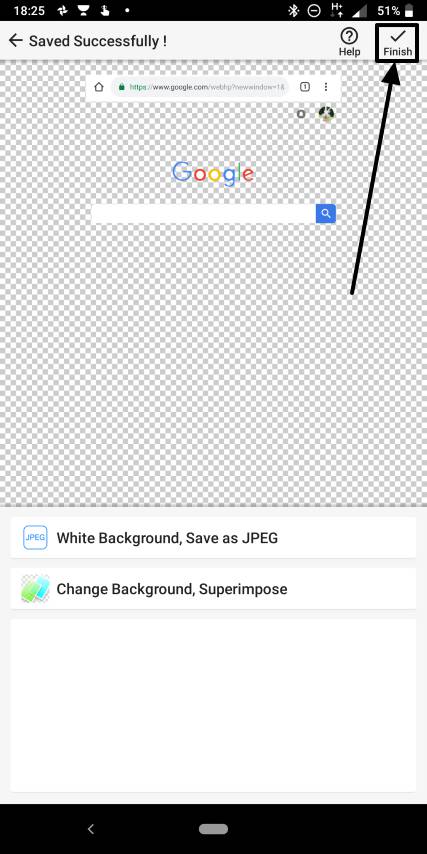
You can either tap on ‘Finish’ to go back to the home screen of the app, or you can even save the image in jpeg format, but with a white background. Jpeg not supporting transparency is out of my control.
Unfortunately, I didn’t find any option to change or set the output path for the png images generated by the app.
You can find them in the following path on your Android device.
Internal_Storage\Pictures\Eraser
Removing the background from an image has its own benefits, which I have already discussed at the beginning of the article.
Hope the tutorial was helpful for you. Do you have any questions? Feel free to comment it down below.
Related Posts
How to Download Firefox for Android Without Google Play
How to set Gemini by Google as the default Android assistant
What is stopping smartphone gaming from becoming the next big thing? The problems, and the possible solutions
How to turn off call recording announcements on Android Google Dialer
How to put screenshots in Android phone frame with the Screenshot Framer app
Single Command to install Android studio on Windows 11 or 10