On a low capacity SSD, it is quite difficult to spare some expensive gigabytes on it to sync your cloud storage accounts. But technology always comes with a solution. If you are suffering from the same problem, I have already written an article on how to use CloudMounter and NetDrive to access your cloud storage accounts as a mapped drive on Windows. RaiDrive is the best alternative to CloudMounter and NetDrive because neither of is free, and you will have to pay the developers a one time charge if you want to use it forever.
So, I have come up with an open-source alternative of CloudMounter and NetDrive, which can help you access your cloud storage accounts as a mapped drive on Windows. It is RaidDrive. RaiDrive is quite easy to use and is as simple as CloudMounter and NetDrive, and the bottom line is, it is free. You will not have to pay a single penny to use RaiDrive, which makes it worth trying out. Even though it is open source, it doesn’t miss out any features, which you can find in CloudMounter or NetDrive. RaiDrive being open-source, new features are added to it regularly to make it rich with features. It allows to Map WebDAV/FTP/SFTP, Router, Google Drive (Team Drive, Photos), OneDrive and Dropbox to a Network Drive on File Explorer.
So without further delay, let’s jump into how you can install and start using RaiDrive, a free and open source application for mapping Cloud storage drives as local dive on My Computer.
RaiDrive: Make cloud storage Windows drive free of cost
Steps to follow:
Step 1: Download RaiDrive
It is only available for • Windows 10 • Windows 8.1 • Windows 8 • Windows 7 from the following link.
RaiDrive System Requirements
- Supports both 32-bit and 64-bit
- NET Framework 4.6.2
- Visual C++ Redistributable for Visual Studio 2013 Update 5
Let’s proceed with the installation first. Just open the installer, accept the terms and conditions, and click on ‘Install’.

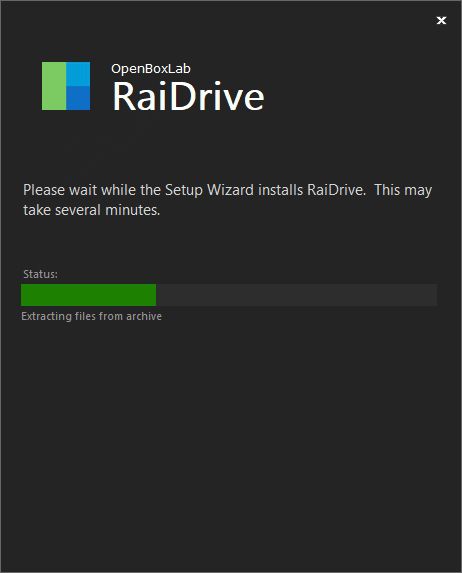
Step 2: Install RaiDrive
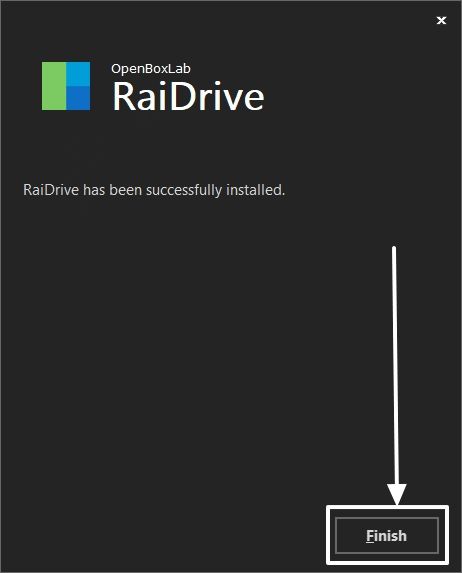
Now let the installer download and install the necessary programs and services. Once that is complete, click on ‘Finish’ to exit the installer.
Step 3: Open the RaiDrive to map cloud drive
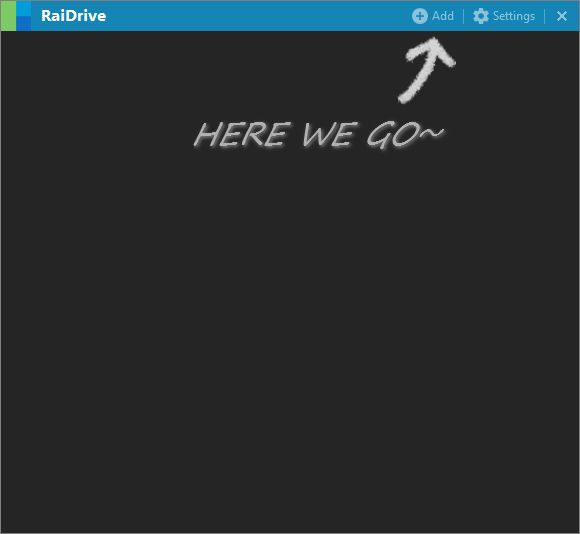
Once the installation is complete, open the ‘RaiDrive’ program directly from the desktop.
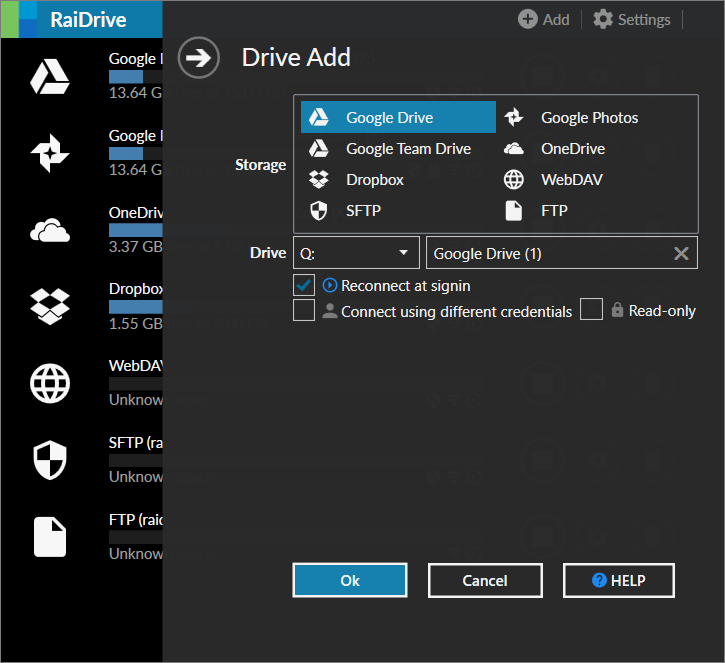
Now tap on ‘Add’ as shown in the screenshot below, to add your cloud storage drives one by one.
RaiDrive presently supports Google Drive, Dropbox, OneDrive, SFTP, Google Photos, WebDAV, and FTP. Thus, the catalogue of supported services is quite satisfactory.
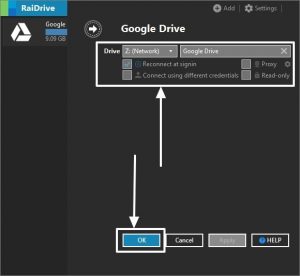
Step 4: Select the Cloud Drive to map on Windows
Just choose your preferred cloud storage platform, which is Google Drive in my case. Choose the drive letter, which is ‘Z:’ by default, the drive label, and other details, after which, click on ‘OK’.

*Though you can even change the drive letter, drive label and other settings, later on.
Step 5: Authenticate Cloud drive with Windows RaiDrive
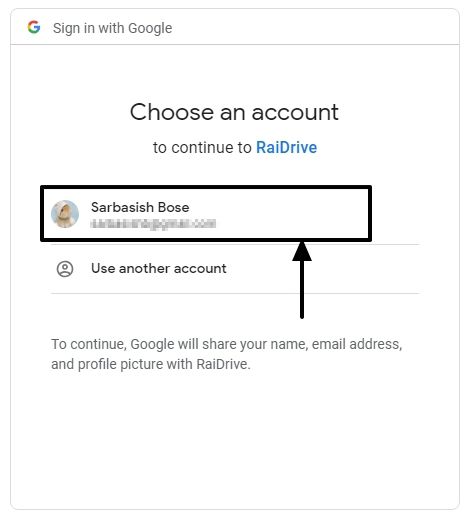
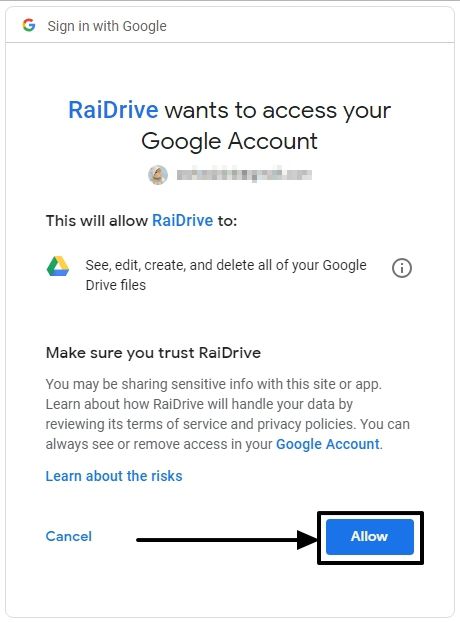
Now a new browser window will open, where you will have to login or choose the account, which you want to use for logging in, and then click on ‘Allow’ once you agree with the permissions, RaiDrive is asking for.
You will see the following page in your browser window, once the authentication is complete, and RaiDrive has got access to all the files.
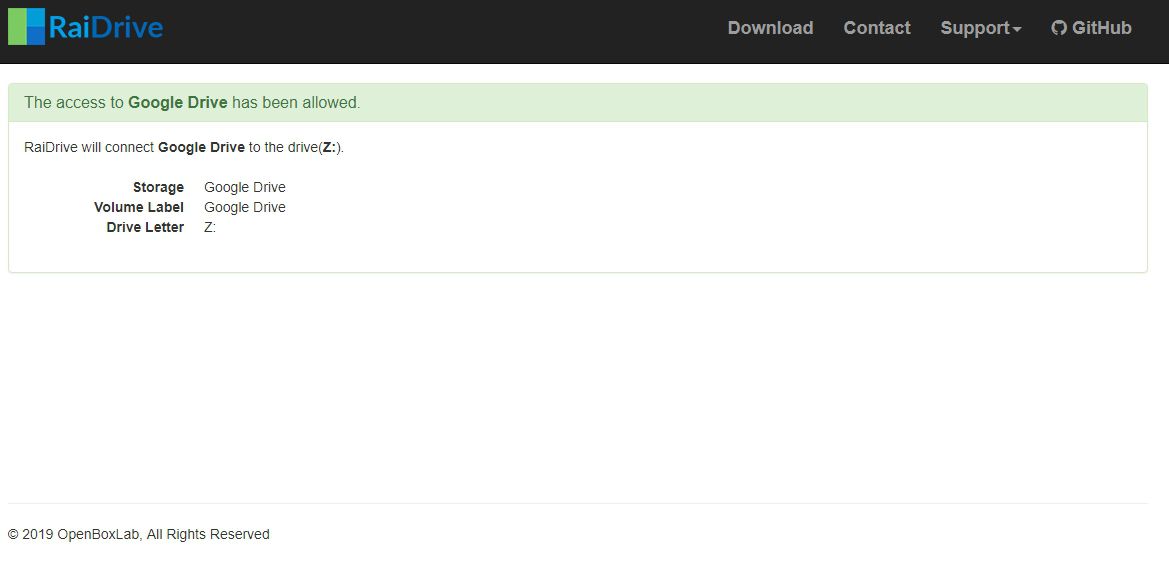
Once that is done, Windows Explorer will automatically open the contents of the cloud storage, where you can view or modify the files.
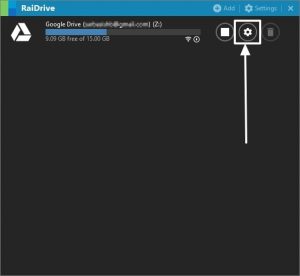
Step 6: How to change settings
Click on the small gear icon corresponding to the cloud storage account, and change the settings if you want to.
You can decide, whether you want to connect the devices at startup, the drive letter, drive label, and other settings. Just click on ‘OK’ when you are done changing all the settings.
To change the settings, make sure, you disconnect the drives first, by tapping on the stop button, present beside the gear icon.
Step 7: Cloud Drive on Windows Explorer
Once you add all the drives to RaiDrive, all the drives will be available in Windows Explorer, under ‘Network locations’.
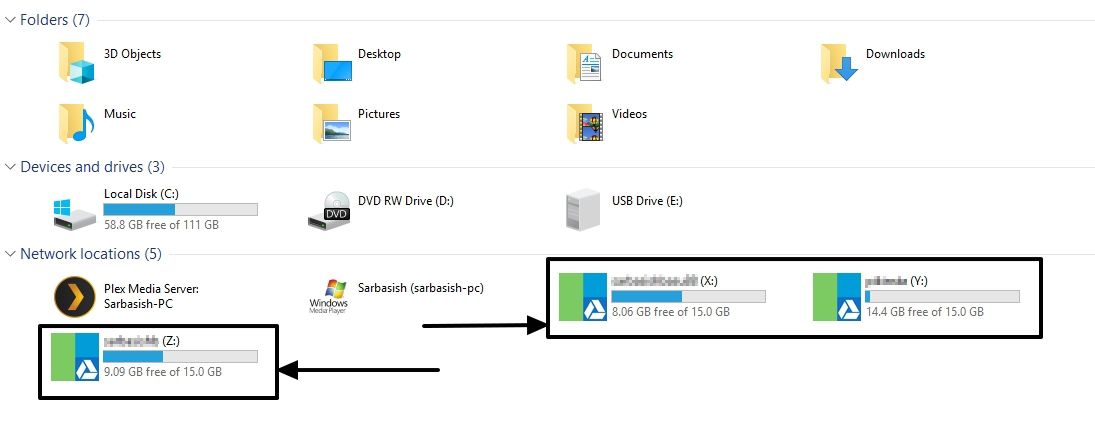
You can disconnect the drives, or change the settings directly from the RaiDrive interface.

Quick RaiDrive Review
RaiDrive is open-source, and thus, you cannot expect all the premium features that you can get from CloudMounter or NetDrive. But it is open-source. If you are into coding and want a lot more from it, just use your coding skills and make RaiDrive your refreshing cup of coffee. You can get the source-code for RaiDrive from the following link on GitHub.
While uploading files, all the files are uploaded to your cloud on a real-time basis and the task will be handled by Windows Explorer itself in the copying or moving process. So it might seem to be apparently slow but isn’t slow actually. You can even get errors sometimes, but just retry the process, and the errors shouldn’t repeat again.
The developers of the open-source cloud mounting program RaiDrive deliver updates quite frequently, and you should keep it updated to enjoy the full potential of the software. Chances are there, more handy features will be added soon to RaiDrive and make it even better and reliable than its paid alternatives. I am not sure, whether it will happen, but a man can hope!
So that was it. Hope the information was helpful for you. Do you have anything to say, or did you face any problems? Feel free to comment the same down below.
Related Posts
Can you make a PDF shareable link? How?
What is Google Drive ?
How to create Google Drive folders/files shortcuts on Android homescreen
How to create a shortcut to one-tap scanning on Android, to save the scanned documents directly to Google Drive
How to embed google drive video without iframe in WordPress or blog
Solid Explorer: How to access all cloud storage services using a single app