
Procedure 1 – Disable Windows Update Service- Windows 10 or 7
There is a limitation of this method made by the developers. After disabling the automatic update service, it will temporarily stop downloading and installing any upcoming Windows 10 updates, but the service will come back online automatically itself after a certain amount of time, though I do not know the exact amount of that time. For some pc the update system stays offline for even a year, for some, the timeline is so small like 15 days. But it is the most foolproof procedure till date. Here is the procedure,
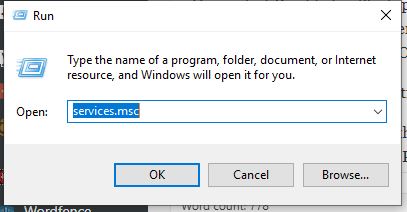
- Press the Windows key + R at the same time to bring up the Run program window.
- Type services.msc and hit Enter key.
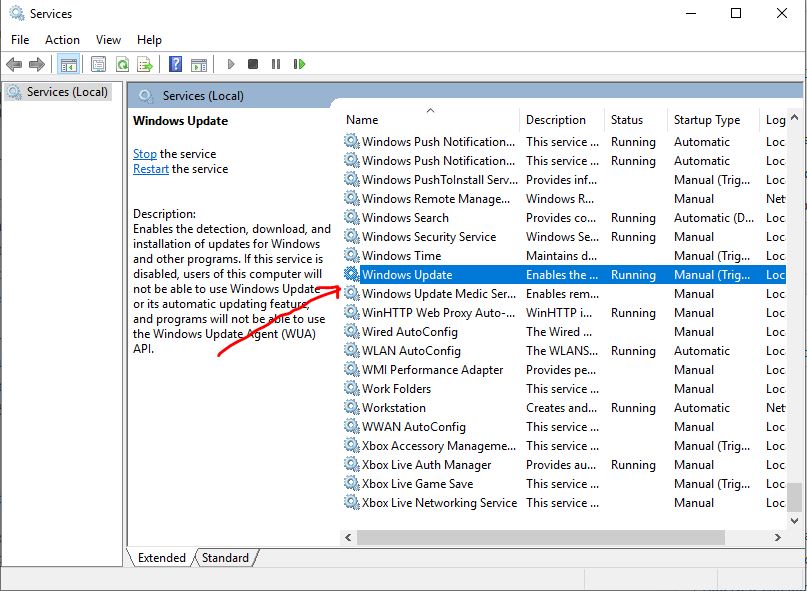
- Scroll down and look for a system file called Windows Update, and double-click on it.
- Here select Disabled in Startup Type.
- Click on Stop button on the Services status.
- Now click on Apply and then OK to save the settings.

Procedure 2 – Changing the Settings of the Group Policy Editor
This feature is not available in the Home edition. It is available on Windows 10 Professional, Enterprise, or Education editions. The Group Policy Editor can be used to change the settings which in turn prevent Windows 10 from getting automatic updates. This feature will notify you about the updates but will not install them automatically. Like the above one this procedure also a foolproof procedure to stop the automatic updates. Here is the procedure for Windows 10 or Widnows 7.
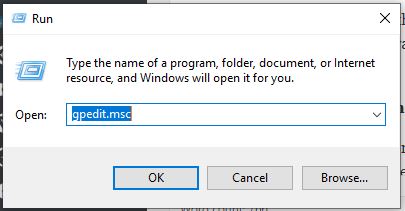
- Tap the Windows key + R at the same time to open the Run window
- Then type in the command gpedit.msc and click OK button.
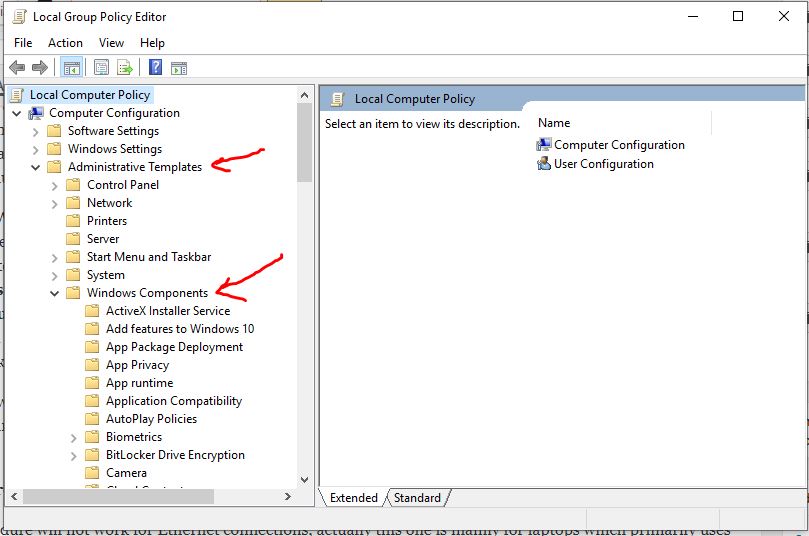
- Now Go to Computer Configuration > Administrative Templates > Windows Components > Windows update.
- Now Double-click on the Configure Automatic Updates.
- Here you have to Select Disabled in Configured Automatic Updates on the left
- Now click on Apply and OK to disable the Windows automatic update feature permanently.
If somehow you feel to update the system later, then you can revert the options and start automatic updates again at any point in time in the same way.


Procedure 3 – Setting up the connection as Metered Connection on Windows 10
This procedure will work for both Ethernet and WiFi connections. This will help PCs and Laptops users those generally want to save the Wi-Fi connection data. Even if your desktop is connected to Wi-Fi or Ethernet, you can use this method. Here is the procedure,
- Click the Start button and go to the Settings app.
- Select the Network & Internet.
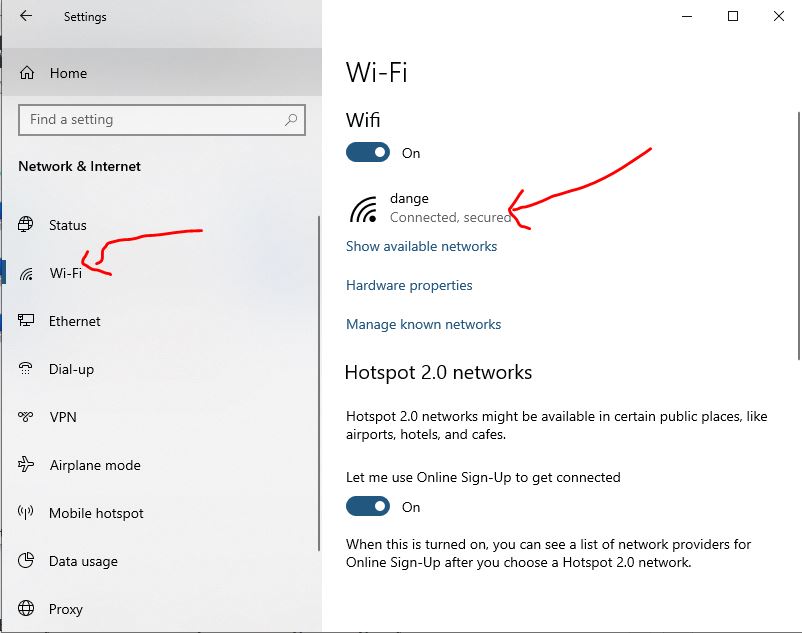
- Click on the Wi-Fi in the left side pane
- Click on the name of your Wi-Fi connection (if multiple connections are available).
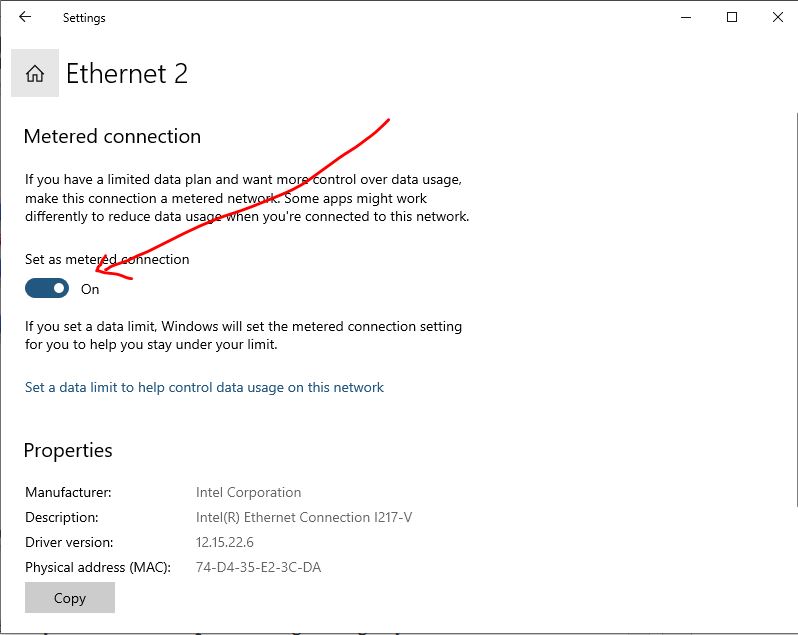
- Now click on the Set as metered connection.
![]()

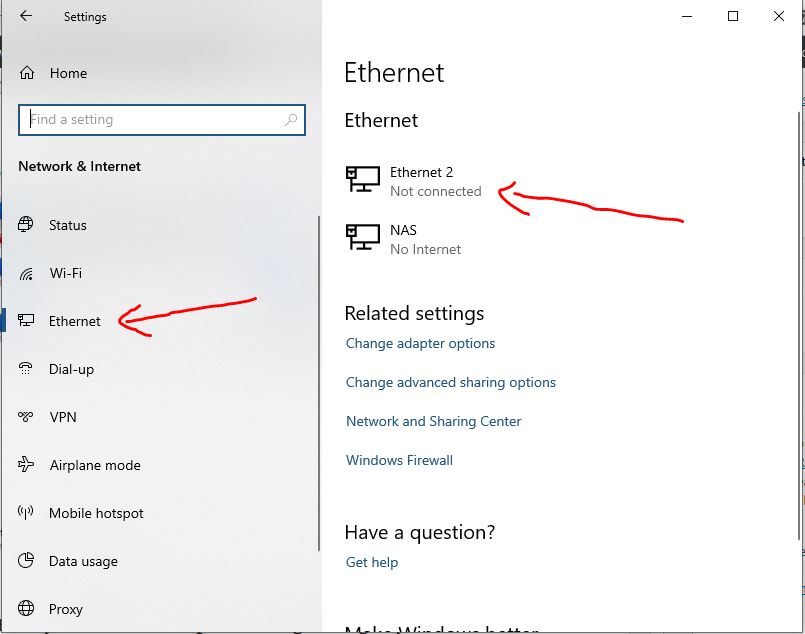
To set Ethernet metered connection.
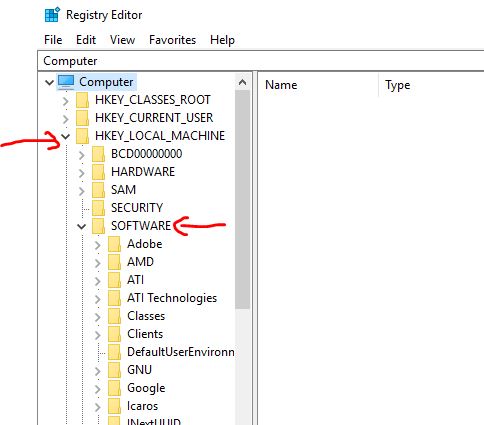
Procedure 4 – Changing the way of Windows 10/7 Updates Using the Registry Editor
This procedure is risky. If you do the correct thing there will be no problems, but somehow if you do something wrong it can cause some irresistible damage in the system. This procedure is best for the experienced user only. But this procedure is quite un-reversible even by the developers, no matter what type of network connection you are using. Here is how to do it,
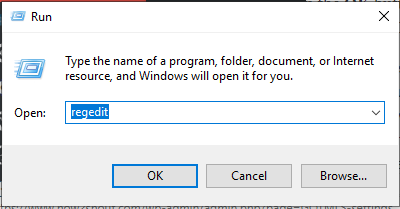
- Press the Windows key + R keyboard to open the Run command.
- Type in the command Regedit hit Enter open the Registry.
- Now browse the following path – (do a copy paste of the path given below) HKEY_LOCAL_MACHINE\SOFTWARE\Policies\Microsoft\Windows
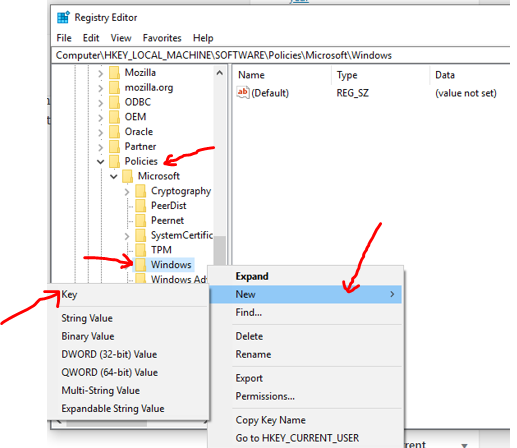
- Right-click the Windows folder key and select New, and then click on the Key.
- Give the new key the Name – Windows Update and hit Enter.
- Now you have to Right-click on the newly created key, there select new, and click on Key.
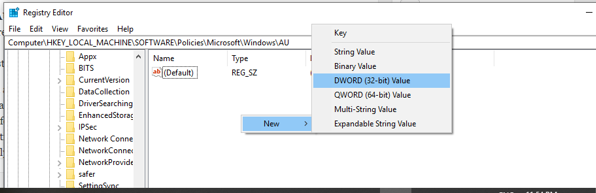
- Give a name to the new key – AU and hit Enter.
- Go to inside of the newly created key, and right-click on the right side, select New and left-click on DWORD (32-bit) Value.
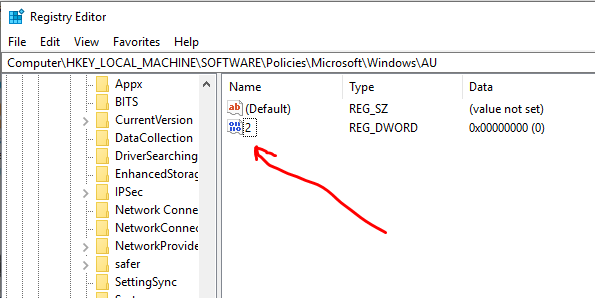
- Again name the new key as – AU Options and hit Enter.
- Double-click on the newly created key and simply but carefully change its value to 2.
- Now click on the OK button.
- After all above, close the Registry Editor as the job is done.
Keeping your system up to date with all the updates is necessary for better performance and better security. If you are choosing for stopping the automatic updates then you may consider the minor performance and major security problems of your pc. As windows Defender is one of the best antivirus programs, which is a part of the Windows 10 OS package, but without the automatic updates, it will not be updating it Virus-core definition time to time. So, keeping the system up to date is solely advised.
Other Useful resources:
- How to Enable Remote desktop on Windows 10/8/7
- Tutorial to create Windows Virtual machine on Linux (Ubuntu)
- Best Android OS for PC 64 bit or 32 bit: Free/Opensource
- How to record Screen and Audio on Windows 7/10/8? Using Free tool


Hello.
Very informative article on how to stop auto update in Windows 10 and 7. This should be very useful when any new updates like the Jan 2019 update is giving problem in Windows. But there should always be possibility to get it back. In Windows 10, you can also defer updates which is an useful feature, if you want to install the updates later.