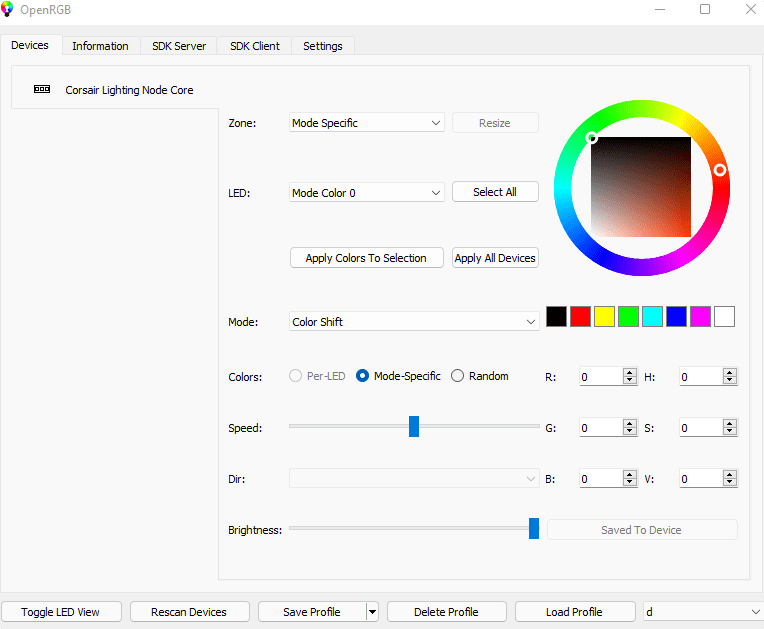
Learn the commands to install OpenRGB tools on Ubuntu 22.04 LTS Jammy JellyFish or Ubuntu 20.04 LTS Focal Fossa Linux using the terminal to control RGB lights.
OpenRGB earlier known as OpenAuraSDK is free, multivendor software for controlling RGB lighting. The project is focused to provide support for multiple hardware manufacturers’ products to reduce the programs load, which is limited to Windows, superfluous.
It is a must-have software for gamers to provide an alternative to eliminate different software supplied by various manufacturers such as Razer, MSI, Corsair, Asus, ASRock, G.Skill, Gigabyte, HyperX, ThermalTake, and many others, to control their RGB computer accessories.
Further, OpenRGB is also available as portable software that does not need to be installed, you can launch the tool with just one click. The software automatically recognizes connected RGB accessories and compatible PC components. Depending on the possibilities of the respective device, you can then make settings on the LEDs as usual. All settings can also be saved as a ready-made profile and reloaded at a later point in time.
In addition to RGB components such as RAM, motherboards, and cases, OpenRGB also supports accessories such as Razer keyboards and mouse pads. The tool is still under development and does not support all manufacturers and modules.
Steps to install OpenRGB in Ubuntu 22.04 | 20.04 LTS
The steps given here will also be applicable for other Ubuntu versions including Linux Mint, POP OS, Elementary OS, MX Linux, and more…
#1st using PPA repository
1. Requirements
• Ubuntu Linux
• Terminal Access
• A Non-root sudo user
• Internet connection
2. Add OpenRGB PPA repository
You will not find the OpenRGB packages to install directly using the default system repository on Ubuntu. Hence, we have to use some third party such as one available from PPA. Here is the one to add, available on Launchpad:
sudo add-apt-repository ppa:thopiekar/openrgb
After adding run the system update command:
sudo apt update -y
3. Install OpenRGB on Ubuntu 22.04 | 20.04
After adding the source to get the packages we want to install the OpenRGB on Ubuntu, we can run the APT command given below to set this RGB lights controlling software.
sudo apt install openrgb -y
To check the installed version:
openrgb --version
4. Run the RGB Light Control software
Now, we can run the OpenRGB software either using the command terminal by typing – openrgb, whereas another way is to go to the Application launcher and search for it. As its icon appears click to run the same.

5. How to update OpenRGB
As we have used the PPA repository to install the OpenRGB, hence to update it we just need to run the system update command, and if there is any new version available it will be on your system.
sudo apt update && sudo apt upgrade
6. Uninstall or Remove
Well, if you don’t want this software and PPA repository used to install it. Then run the given command to completely remove the OpenRGB from Ubuntu.
sudo apt autoremove openrgb --purge
sudo add-apt-repository --remove ppa:thopiekar/openrgb
#2nd method using APPImage
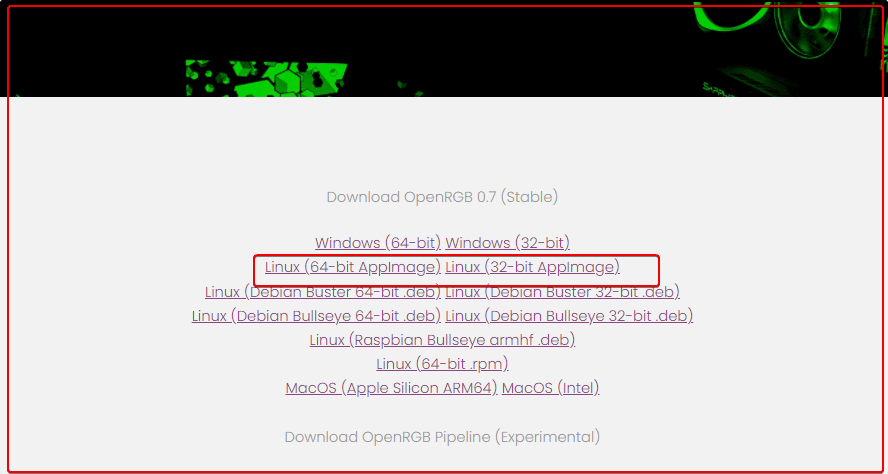
Download OpenRGB AppImage
Those who don’t want to use the PPA repository can use the APPImage. It is the portable version of this software that we can easily download and start using with just one click.
Visit the official website

Once the file is on your system, then double-click on it to run the software. If you want to create a desktop shortcut for AppImage then see our tutorial- How to create a desktop shortcut for an AppImage
Other Articles:
How to install Gnome 41 in Ubuntu 20.04 LTS using PPA
How to install BalenaEtcher on Debian 11 Bullseye


Works great on Logitech G213 running Ubuntu 22.04.2 LTS.
Thanks!