Visual Studio is a development environment meant for software programmers offered by Microsoft. Here we learn – how to install Visual Studio code in Ubuntu using the terminal.
If you are a programmer then you don’t need any introduction to software development environments. Eclipse or Visual Studio from Microsoft are popular examples of that.
Visual Studio is a development environment that you can use to program in various programming languages. It supports the languages Visual Basic .NET, C, or C #, among others. VSCode offers various functions to ease the development process such as it can automatically checking the syntax of the programming language, automatically adding methods or functions of the respective language, and also offering graphical interfaces. It is free and built on open source.
Ways to install Visual Studio code in Ubuntu Linux
The below-given steps or ways will work for all the Ubuntu versions such as 21.04/20.04/18.04 and other supported versions by Canonical. Including Linux Mint, Elementary OS, MX Linux, and POP! OS, Debian, and other similar Linux versions.
Install Using VSCode Repository
- Open your Ubuntu command terminal
You can visit the application launcher to run the terminal or use the keyboard shortcut Ctrl+Alt+T.
- Add GPG key & Microsoft Visual Studio code repository
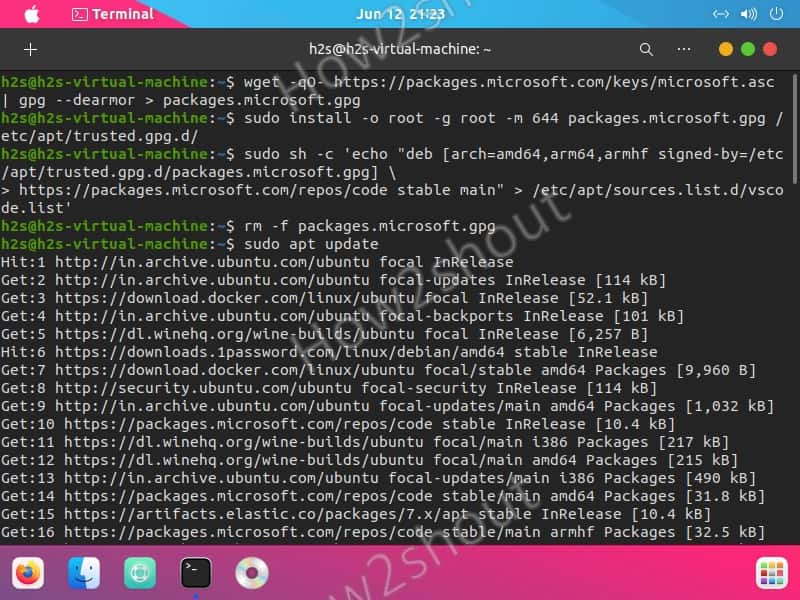
Add the GPG key that will ensure to the system the packages we will get from the vs code repo are from the original source without any alteration.
wget -qO- https://packages.microsoft.com/keys/microsoft.asc | gpg --dearmor > packages.microsoft.gpgsudo install -o root -g root -m 644 packages.microsoft.gpg /etc/apt/trusted.gpg.d/sudo sh -c 'echo "deb [arch=amd64,arm64,armhf signed-by=/etc/apt/trusted.gpg.d/packages.microsoft.gpg]
https://packages.microsoft.com/repos/code stable main" > /etc/apt/sources.list.d/vscode.list'rm -f packages.microsoft.gpg- Run update command
To let the system know about the newly added repo by refreshing the cache, simply run the system update command:
sudo apt update- Command to Install VS Code on Ubuntu Linux
Finally, run the command to install the latest visual studio code packages on your Ubuntu Linux system.
sudo apt install code
VS Code installation using Snap package
As we know on the Ubuntu system we already have snap out of the box, however, those who have not can use the command:
sudo apt install snapdWhereas, for Linux Mint 20 see this tutorial- Enable Snapd on Linux Mint 20.1
To install VSCode using Snap, we don’t need to deal with multiple commands or adding repos, just run-
sudo snap install --classic codeVisual Code Studio installation on Ubuntu Linux using .deb file
- Download the latest VS Code Deb file
wget -O vscode.deb 'https://code.visualstudio.com/sha/download?build=stable&os=linux-deb-x64'- Install using Apt package manager
sudo apt install ./vscode- Run Visual Studio
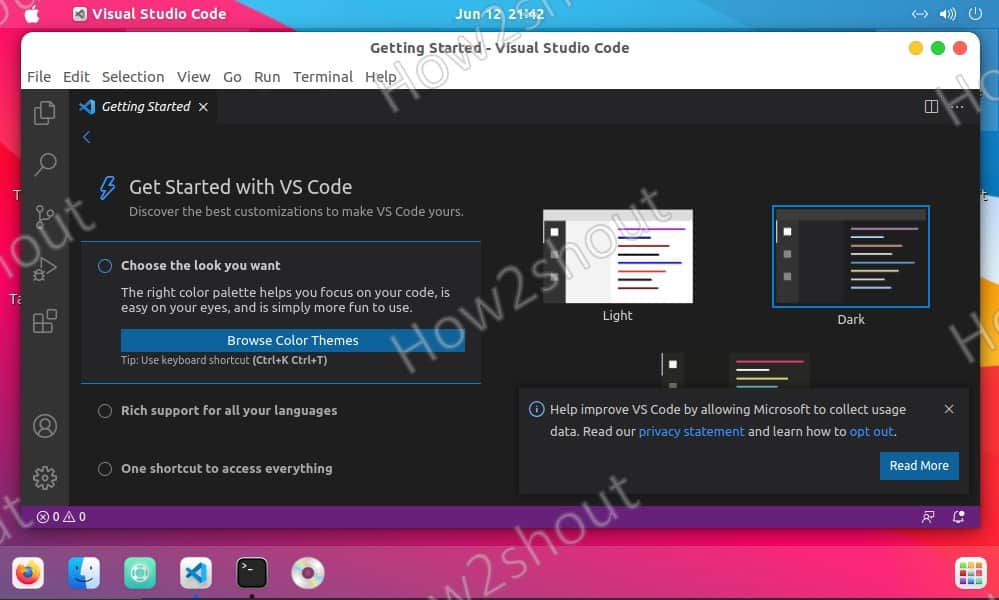
Go to the Application launcher and search for VSCode and click it to run.


