Tutorial to learn the simple commands for installing ImageMagick on Debian 11 Bullseye server along with PHP-Imagick module to use for various web-based applications such as WordPress.
ImageMagick is a free tool distributed under an open-source license. Using it various images can be converted, compared, or overlapped. Apart from that other functions such as cropping, enlarging, and reducing the photos are also there. ImageMagick can handle over 100 image formats.
To use its functionality in PHP-based applications, the user has to install the Imagick PHP extension. ImageMagick itself provides the user interface for the most important basic functions. Even new users can easily understand and get along with the software. Special editing features are only available as command-line tools and are therefore somewhat more complicated to use.
Another important part of ImageMagick is the libraries for various programming languages. These allow programmers to integrate the functionality of ImageMagick into their programs.
Install PHP ImageMagick (IMAGICK) on Debian 11 Bullseye
1. Apt server Cache update
Lets’ first run the update command to refresh the repository cache as well as to install any update, if available.
sudo apt update
2. Install ImageMagick on Debian 11 Bullseye
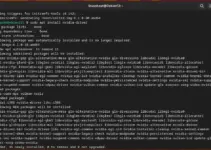
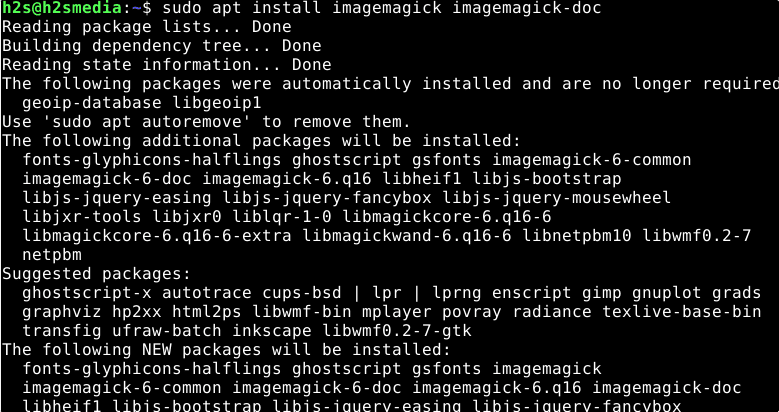
Now we don’t need to add any other repository to get the packages of ImageMagick to install on Debian 11. It is because they are already present in the base repository of Debian. Hence, just use the APT package manager command to install it.
sudo apt install imagemagick imagemagick-doc
3. For setting up Imagick PHP extension on Debian 11
For PHP 7.0 version:
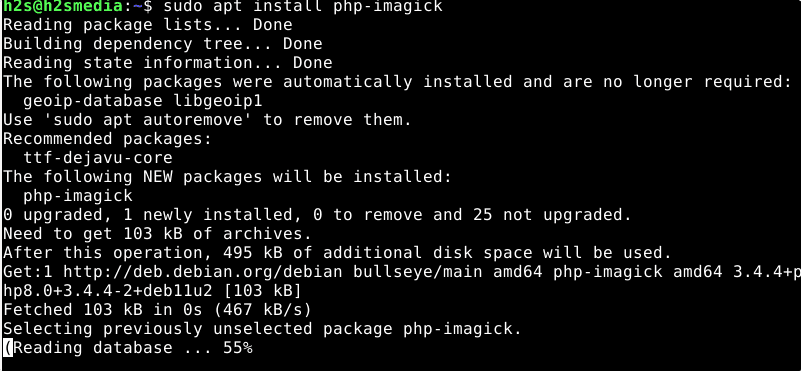
By default the PHP version is available on Debian 11 in the base repo is 7. x, hence we can install it also using the APT package manager command that is:
sudo apt install php-imagick
For PHP 8.0 version:
Add PHP 8.0 Ondrej repo
sudo wget -O /etc/apt/trusted.gpg.d/php.gpg https://packages.sury.org/php/apt.gpg
sudo apt install apt-transport-https lsb-release ca-certificates
sudo sh -c 'echo "deb https://packages.sury.org/php/ $(lsb_release -sc) main" > /etc/apt/sources.list.d/php.list'
Run system update
sudo apt update
Install ImageMagick PHP extension for the 8.0 version
sudo apt install php8.0-imagick
To verify
php -m | grep imagick
4. Check version
To confirm ImageMagick has been installed successfully on our system, run the command to confirm it:
convert -version

5. Enable Php Imagick extension for Apache & Nginx
If you are using PHP 7.x.
Note- replace version without your current version in the given command. Here it is 7.4, replace that with what you have currently on your system.
sudo nano /etc/php/7.4/apache2/php.ini
Add the following under Dynamic extension:
extension=imagick
sudo systemctl restart php7.4-fpm
5. Few Commands
Well, if you want to use this graphic program natively on your system, then ImageMagick offers 11 command-line programs, all of which access a common set of libraries, which in turn enable the writing and reading of many different files formats and extensive graphic work.
- animate – plays several pictures in quick succession
- convert – reads images, processes them, and saves them
- compare – compares 2 images and outputs the differences as an image file
- composite – superimposes several images to form one image
- conjure – Runs scripts in ImageMagick’s scripting language
- display – displays images on an X server
- identify – outputs the file format, image size, etc. of image files
- import – takes screenshots
- montage – combines several images into one large single image
- mogrify– like Convert, only that the input file is replaced by the output file!
- stream – Reads out parts of image files and outputs them as raw data, floating-point numbers, or the like
There is a man page for each command-line program. The separate documentation can be found at /usr/share/doc/imagemagick-doc/index.html
To know more about it you can visit the official web page of ImageMagick.
#2nd Method: Compiling from source
6. Build latest ImageMagick from Source on Debian
Well, if you want to install the latest ImageMagick using its source code on Debian then follow the given steps:
Clone Imagick Repository:
sudo apt install git -y
sudo git clone https://github.com/ImageMagick/ImageMagick.git /usr/local/src/ImageMagick
Install Development tools:
• Install the tools we need to compile code on Linux.
sudo apt install build-essential -y
• Start Configuring packages to compile them
cd /usr/local/src/ImageMagick
sudo ./configure
• If you want to compile ImageMagick along with modules, then use this command:
sudo ./configure --with-modules
• Compile the configured code, now:
sudo make
• Its time to install the compiled code:
sudo make install
• After the installation, you need to configure the dynamic linker run-time bindings:
sudo ldconfig /usr/local/lib
• Now verify the installation and build:
magick --version

Conclusion:
In this way, we can install and configure ImageMagick on Debian 11 Bullseye or 10 Buster servers using the command terminal.
Other Articles:
• Install ImageMagick or its PHP module on Ubuntu 20.04 LT
• Steps to install PHP 8 on Debian Server 11| 10 | 9
• 2 Ways to Install Open VM Tools on Debian 11
• How to install OpenBox on minimal Debian 11
