Learn the commands to install or remove the Nessus Vulnerability scanner on Debian 11 bullseye or 10 buster using the command terminal.
Nessus is a proprietary tool that is also available in free edition and the main task of this tool is to scan and find vulnerabilities in systems and networks. Such as unauthorized access, weak passwords, loopholes that can cause DDOS attacks, missing patches, etc. It is developed and maintained by Tenable. The vulnerability scanner platform can save the scan results in various formats such as plain text, XML, HTML, and LaTeX.
The best thing it is available to install for both Windows, Linux, macOS, and FreeBSD. It also supports configuration and compliance audits, SCADA audits, and PCI compliance. Apart from the free edition that can be used to scan up to 16 IPS and is suitable for personal or learning purposes, Pro editions are also available with starting price of $2,990/year.
Well, the users can start with pro editions with a Trail of 30 days… For scanning up to 50k hosts, the system requirements for Nessus to run properly are – four 2GHz cores CPU; Memory: 4 GB RAM (8 GB RAM recommended) and Disk space: 30 GB free space.
Install Nessus Scanner on Debian 11 server
The steps given here will be the same for Debian 10, Kali Linux, and Ubuntu Linux as well…
1. Download Nessus Scanner Deb package
Tenable offers the Nessus scanner via Deb binary, which the user needs to download from its official website to install it. So, visit the Nessus Download page and scroll to find Debian Linux operating system and download it.
2. Command to Install Nessus on Debian 11 or 10
We already have downloaded the Debian binary to set up Nessus on Linux, now whatever we download from the browser goes into the Downloads folder, so switch to that first.
cd Downloads
Now, use the APT package to install the file.
sudo apt install ./Nessus*_amd64.deb
3. Enable & Start Scanner services
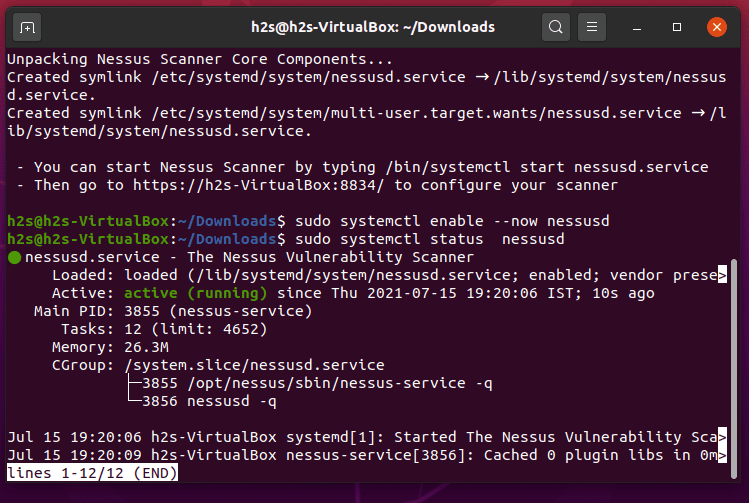
Once the installation is completed, let’s enable its service to run automatically with Debian 11 boot, and also start the same for the current session.
sudo systemctl enable --now nessusd
To check the status, type-
sudo systemctl status nessusd
To exit- press Ctrl + C
4. Allow Nessus Port through the firewall
The Nessus runs on port number 8834, thus to access its web interface remotely using the browser, we need to open this port in our Debian 11 firewall.
sudo apt-get install ufw
sudo ufw enable
sudo ufw allow 8834
5. Access Web Interface
Now, open a browser on a system that can access the Ip-address of the server where you have installed the Nessus scanner instance. And point to that along with a port number.
example– https://server-ip-address:8834
Replace server-IP-address with the real IP of your Debian 11.
Note: If you get an SSL certificate error then click on the Advanced button and proceed unsafely.
6. Choose how you want to deploy Nessus – setup on Debian 11
The initial web page of the Nessus will ask you to select the product which you want to install. Here, the first product option you get is free to use where the rest are paid but available with a trial period.
Nessus Essentials – The free version for educators, students, and hobbyists
Nessus Professional– The de-facto industry standard vulnerability assessment solution of security practitioners.
Nessus Manager – The enterprise solution for managing Nessus Agent at scale.
Managed Scanner – Link your scanner to another Tenable solution such as Tenable.io and Tenable. sc.
7. Get Activation code
Enter your email address and other details to get the activation code, so that we can activate the product to use it further. The best way to get the code is to visit the Registration page, register for a Professional or free version to get Activation one.
After that click on the Skip button and add the code you got on your email.
An alternate way to activate Nessus using the command line (optional).
sudo -i
export PATH=$PATH:/opt/nessus/sbin/
source ~/.bashrc
service nessusd stop
/opt/nessus/sbin/nessuscli fix --reset
/opt/nessus/sbin/nessuscli fetch --register ACTIVATION-CODE-HERE
/opt/nessus/sbin/nessusd -R
service nessusd start
8. Create User
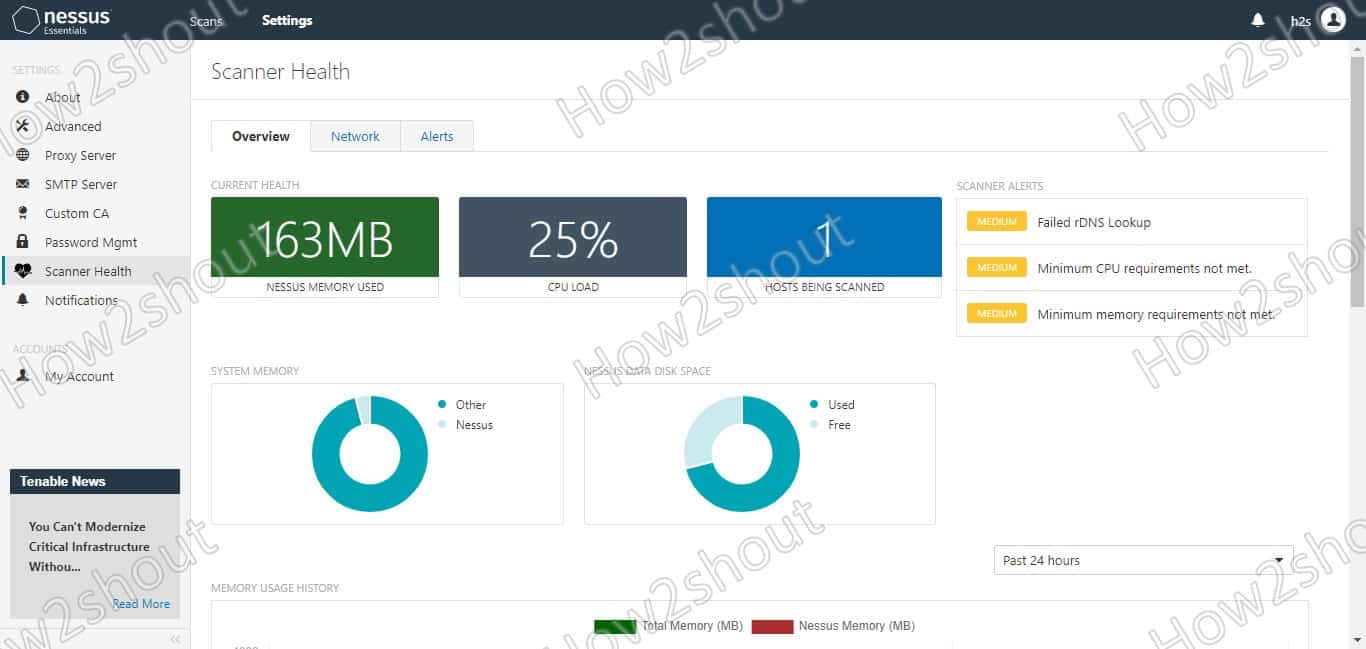
When the system asks you to create a Nessus Admin user, create that by setting a username and corresponding password. After that, you will have the working Nessus on your system.
9. Add NessusCLI command to the system path
By default, to access the Nessus command line, we have to define the whole path for nessuscli tool on our Debian 11 system’s terminal. To remove this, we just need to add its CLI tool folder to our system path. Know more about its command line at the official Doc page.
Run the below command in the Debian 10 0r 11 Terminal:
sudo -i
export PATH=$PATH:/opt/nessus/sbin/
source ~/.bashrc
nessuscli help
10. Uninstall Nessus from Debian 11 or 10 (optional)
If you don’ want the Nessus Vulnerability scanner on your Debian 11 or 10 anymore then use the bewloc command to remove it.
sudo systemctl stop nessusd

sudo apt remove nessus
