Learn the steps to install OpenVPN client on Debian 11 Bullseye Linux to connect VPN server for establishing a secure connection. It was programmed by James Yonan and was first released in 2001 under the open-source license.
OpenVPN is a popular open-source software freely available. It is available in a client-server architecture and can be installed on computers, servers, or network devices such as routers and supports operating systems such as Windows, Linux, macOS, Solaris, OpenBSD, Android, and many more.
It can be used to implement encrypted private networks between individual clients or entire networks. For the connection to be established, the OpenVPN software must be available and suitably configured on both sides. The software transmits the user data via TCP or UDP packets. The VPN software can also be used across NAT borders (NAT – Network Address Translation). The data exchanged in the VPN is via SSL/ TLSencrypted. The OpenSSL library is used for encryption.
With the free software OpenVPN, you can set up a virtual private network and establish a secure connection to the Internet. This connection is also known as a “tunnel”.
Steps to install OpenVPN Client on Debian 11 Bullseye Linux
Here we only see the steps to install OpenVPN Client on Debian which will be the same for other Linux similar to it such as Ubuntu, MX Linux, POP OS, Linux Mint, and others…
1. Open a command terminal
On your Debian Linux open command terminal, if you are using the CLI server version then you already have that.
2. Run APT update
The first thing you should start with is running the update command using the APT package manager. This will install the latest available updates and also refresh the repository cache.
sudo apt update -y
3. Install OpenVPN on Debian 11
The best thing about OpenVPN, it is open-source, hence easily available to install using the default repository of Debian 11 with the help of the APT package manager.
sudo apt install openvpn -y
4. To check the version
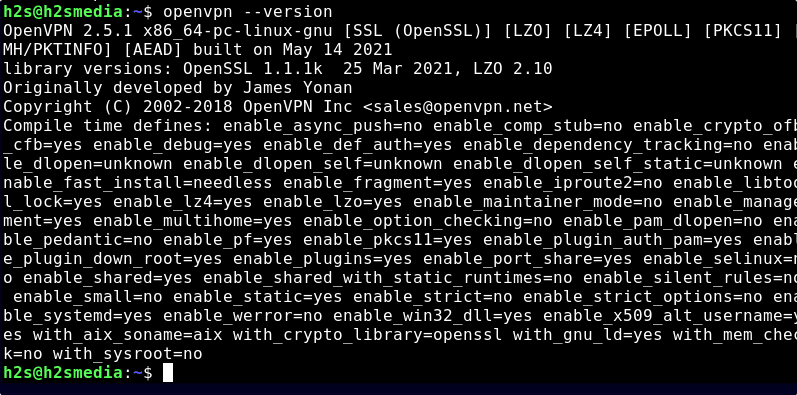
Once the installation is completed, let’s check the installed version and know what are the options available to use with it.
openvpn --version
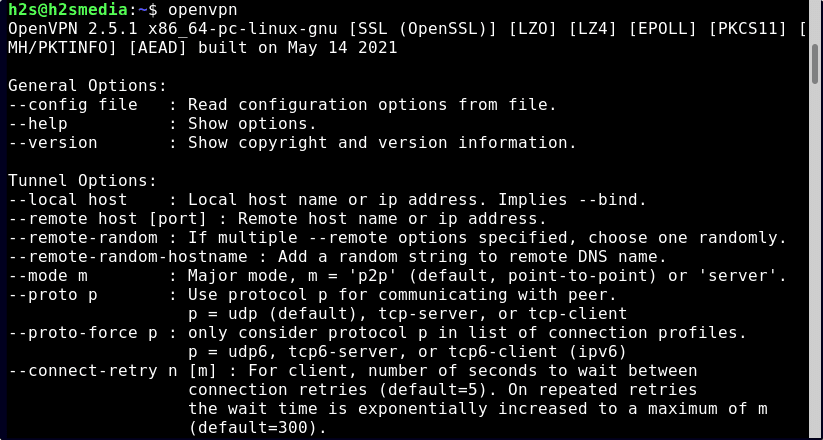
To check the available option:
openvpn
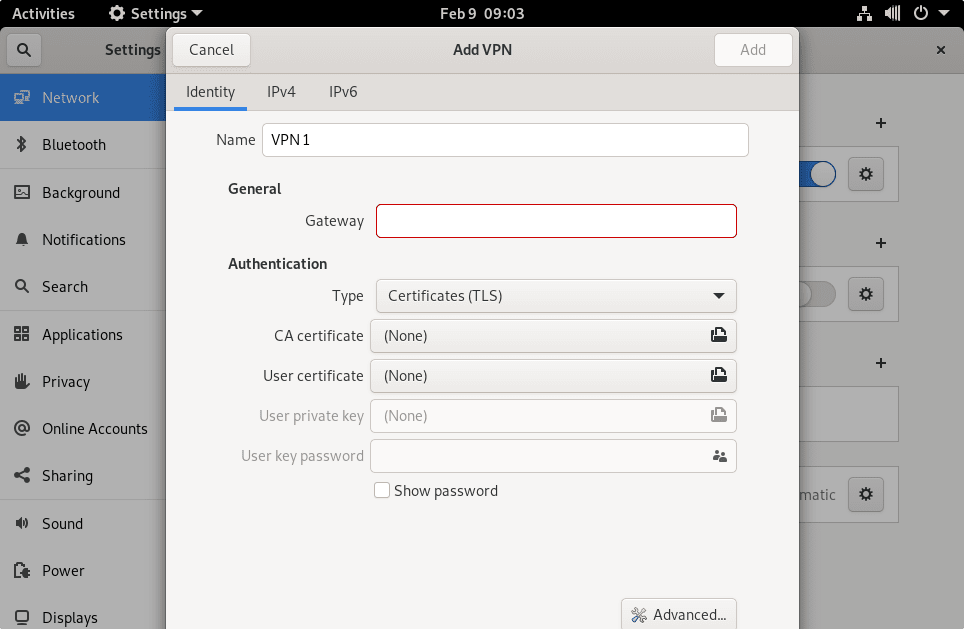
5. OpenVPN Client GUI
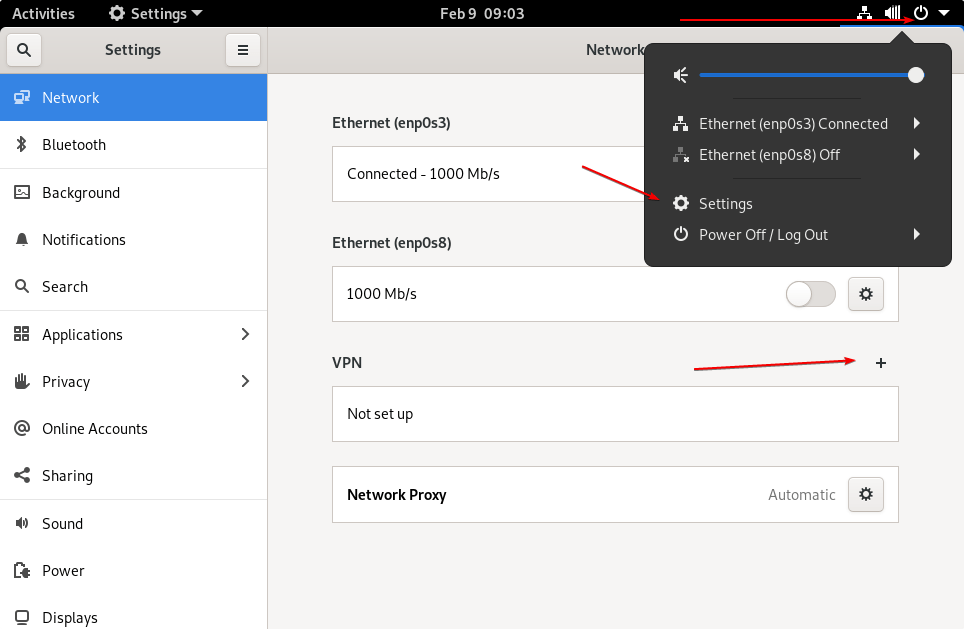
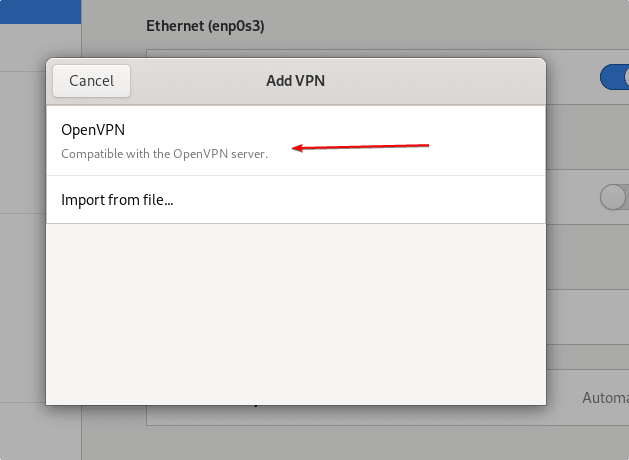
If you are using the default Gnome interface on Debian 11, then run the given command to get the graphical user interface to easily connect OpenVPN server.
sudo apt install network-manager-openvpn-gnome
6. How to update
In the future, just run the system update and upgrade command to get the latest available version of the OpenVPN client on Debian 11 Bullseye Linux.
sudo apt update && sudo apt upgrade
7. Uninstall or Remove
Those who don’t want this client application anymore on their Debian-based Linux system can use the APT package manager to remove the same.
sudo apt remove openvpn
Other Tutorials:
• 3 Best SSH GUI Client Tools for Linux distros
• How to install MySQL 8.0 Server on Debian 11 Bullseye
• How to Install PuTTY on Debian 11 Bullseye
• How to Enable SSH on Debian 11 Bullseye Linux
• Commands to Install Xrdp Server on Debian 11 Bullseye Linux
