Here in this tutorial, we will install the OSTicket open source support ticketing system on Debian 11 Bullseye using Apache, PHP, and MySQL, or MariaDB.
osTicket offers free, open-source ticket management and customer care solutions for businesses of all sizes, especially small and medium-sized businesses. The software can be used to capture tickets and assign custom fields to each ticket, creating a list of data associated with each ticket that can be shared with customers in the knowledge base. You can create automatic reply templates for incoming email tickets, and rich text HTML lets you add your logo, images, and videos to tickets.
With the ticket filter tool provided by osTicket, you can define routing rules for tickets so that tickets are sent to the correct person or department. Tickets can also be reassigned if not received by the correct person, and notes on all actions are logged in the ticket thread. The ticketing software helps to further streamline operations by preventing agent collisions using the ticket lock tool. Other features include an autoresponder, customer portal, and dashboard reports.
Steps for osTicket installation on Debian 11 Bullseye
The steps given here are also applicable for other Debian 10 Buster or 11 Bullseye-based operating systems such as Ubuntu, MX Linux, and others…
What do we need to perform this tutorial:
- Debian 10 or 11 Linux Server
- A non-root user with sudo rights
1. Apt Update command
We need a couple of things to install, up, and run osTicket on Debian such as Apache, MariaDB/MySQL, and PHP. However, before installing them let’s first run the system update command once.
sudo apt update
sudo apt upgrade
2. Install Apache and PHP for Debian 11/10
Packages for both are available in the default repository of Debian 11, however, for the latest PHP, the user has to add a third-party repository.
Install Apache2 and start its service
sudo apt install apache2
Start and enable its service
sudo systemctl enable --now apache2
Check your web server is working fine.
systemctl status apache2
Install PHP 7 or PHP 8 on Debian 11
As per your requirement go for the PHP version to install on your system.
For PHP 7
sudo apt install php php-common php-gd php-imap php-intl php-bcmath php-fpm php-apcu \
php-cli php-mbstring php-curl php-mysql php-json php-xml php-net-socket php-pear \
php-imap php-cgi
For PHP 8.0
As php8.0 is not available via the default system repository of Debian 11 or 10, hence we have to a repository manually to get it. Follow the given tutorial to install it.
Steps to install PHP 8 on Debian Server 11| 10
Once the installation is completed follow the given command to get the command PHP extension required by the osTicket.
Check the version first.
php -v
Extensions to install
sudo apt install php8.0 php8.0-{common,gd,imap,intl,bcmath,fpm,apcu,cli,mbstring,curl,mysql,json,xml,net-socket,pear,imap,cgi}
sudo apt install libapache2-mod-php
3. Setup MariaDB and Create a Database for osTicket
To store the data generated by the osTicket we need a Database server, here we are using the popular fork of MySQL that is MariaDB 10. x.
sudo apt install mariadb-server
Secure your Database:
sudo mysql_secure_installation
Follow the text wizard and configure as following details.
– Set root password? [Y/n] y
– Remove anonymous users? [Y/n] y
– Disallow root login remotely? [Y/n] y
– Remove test database and access to it? [Y/n] y
– Reload privilege tables now? [Y/n] y
Login and create Database
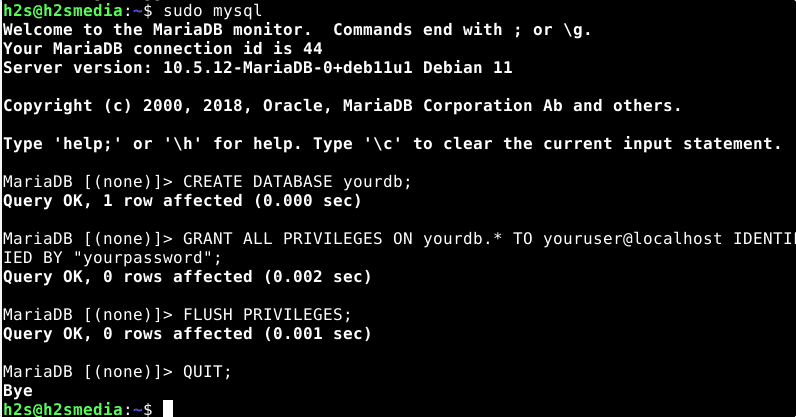
sudo mysql
Now, to create a database table, use the given commands. Change yourdb with whatever name you want to give to your Database; youruser the name of the user you want to give whereas yourpassword the password you want to use to secure the Database User.
CREATE DATABASE yourdb;
GRANT ALL PRIVILEGES ON yourdb.* TO youruser@localhost IDENTIFIED BY "yourpassword";
FLUSH PRIVILEGES;
QUIT;
4. Download osTicket on Debian 11
Get the latest osTicket release available on its Github page using the given curl command on your Linux system.
Install required tools:
sudo apt install curl unzip wget -y
Start Downloading:
curl -s https://api.github.com/repos/osTicket/osTicket/releases/latest\
|grep browser_download_url | cut -d '"' -f 4 | wget -i -
5. Extract and move osTicket to the Web directory
Now, extract the downloaded file and then move it to the www directory of the Apache webserver.
Extract:
unzip osTicket-*.zip -d osTicket
Move:
sudo mv osticket/ /var/www/
Change permission
sudo chown -R www-data:www-data /var/www/
sudo chmod -R 755 /var/www/os_ticket
Copy osTicket Configuration file
There is already a sample configuration file in the osTicket/upload/include we just need to make a copy of it while removing the word “sample” given in the configuration file name.
cd /var/www/osticket/upload/include
sudo cp ost-sampleconfig.php ost-config.php
Give write access (permission) to the file:
sudo chmod 0666 /var/www/osticket/upload/include/ost-config.php
6. Create Apache Virtual Host Configuration file
Now, let’s create an Apache virtual host configuration file for OSTicket to access over the webserver.
sudo nano /etc/apache2/sites-available/osticket.conf
Copy-paste the following code:
Note: Replace example.com with the domain you want to use for accessing the osTicket web interface.
<VirtualHost *:80>
     ServerName example.com
     ServerAlias www.example.com
    DocumentRoot "/var/www/osticket/upload"

    <Directory "/var/www/osticket/upload">
       Require all granted
       Options Indexes FollowSymLinks
       AllowOverride All
       Order allow,deny
       Allow from all
   </Directory>

ErrorLog ${APACHE_LOG_DIR}/error.log
CustomLog ${APACHE_LOG_DIR}/access.log combined

</VirtualHost>
Save the file by pressing Ctrl+O, hit the Enter key, and then Ctrl+X to exit.
Disable the default Apache configuration file and enable the new one you have created above.
sudo a2dissite 000-default.conf
sudo a2ensite osticket.conf
Restart Apache webserver
sud systemctl restart apache2
7. Install and configure osTicket on Debian 11 Bullseye
osTicket comes with a web installer that we can use to configure the same. To get it, open any web browser that can access the IP address of the server where you have installed osTicket and simply point it to that or the domain if you are using the one with this open-source ticketing system.
http://server-ip-address
or
http://your-domain.com
The web installer will check all the software requirements needed. If there is anything that is missing or required, will be shown on this page.
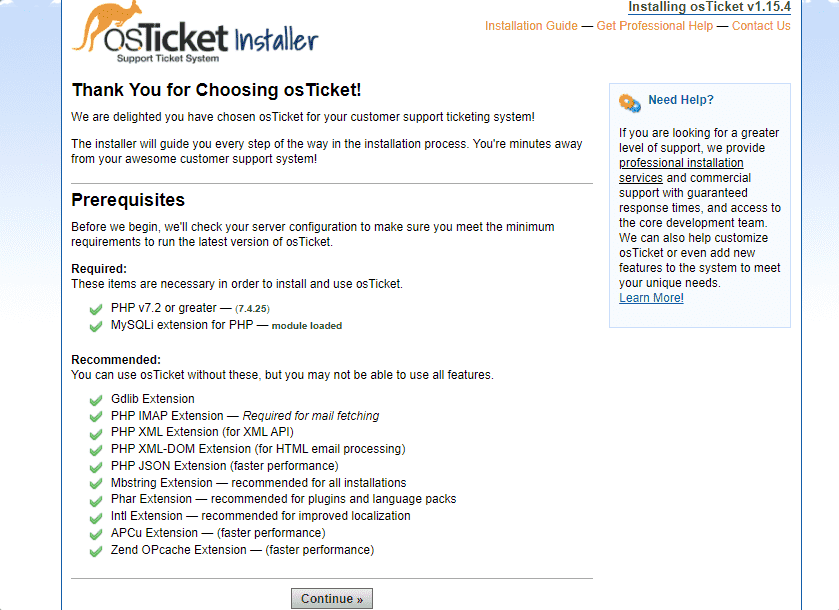
Add username and Database details
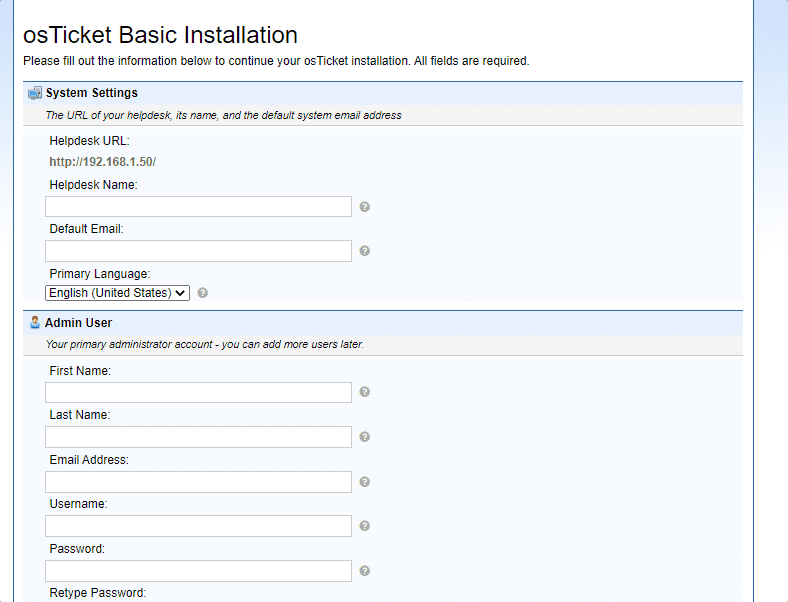
Fill in the details such as helpdesk name you want to use along with Email and also create Admin user.
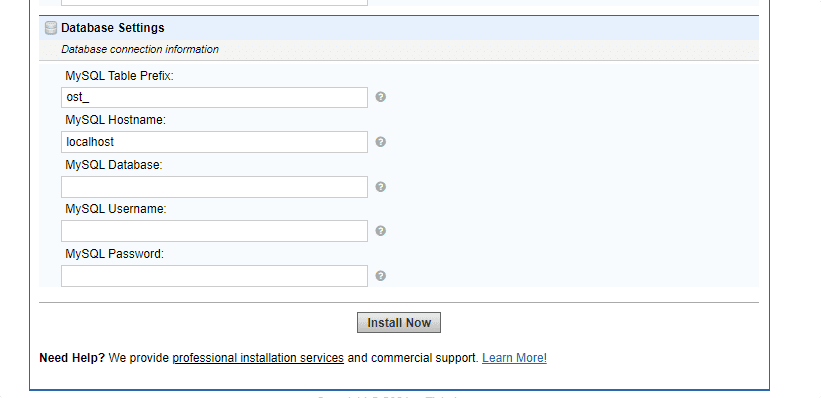
In the Database Settings, add the details of the Database you have created in MariaDB such as DB name, username, and password.
Once the installation is done, run the given command in the terminal on your server to remove the Setup file.
sudo rm -rf /var/www/osticket/upload/setup/
Remove the write access of the osTicket configuration file as well:
sudo chmod 0644 /var/www/osticket/upload/include/ost-config.php
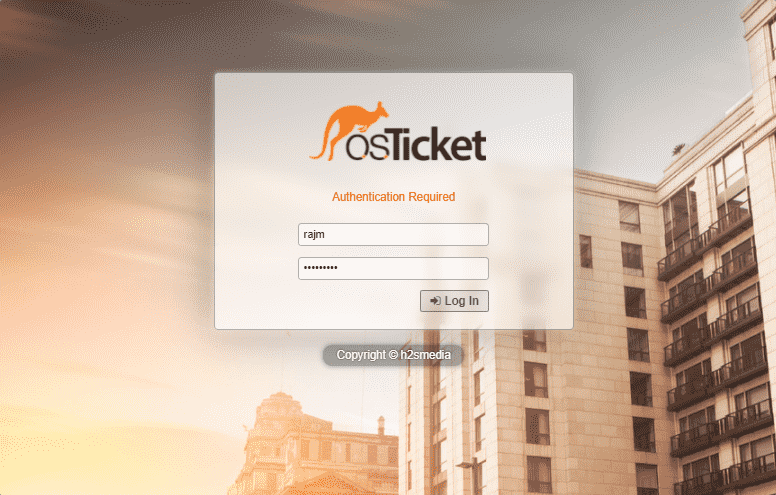
8. Login
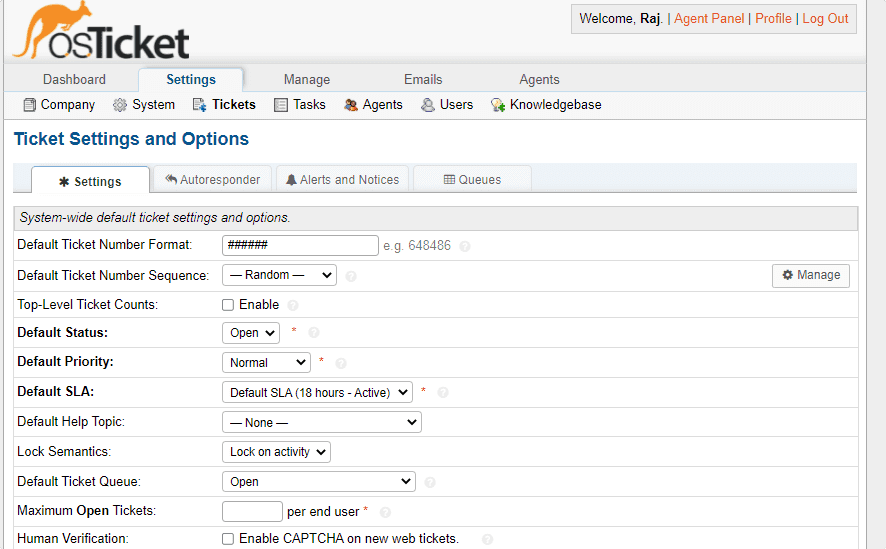
Login with the Admin user credentials you have created to access the osTicket web interface.
In this way, we can start with this open-source ticket system- osTicket on Debian 11 Bullseye using the command terminal.
We need to install the connector between apache & php 😉
apt-get install libapache2-mod-php
Please add to this art. Thx.