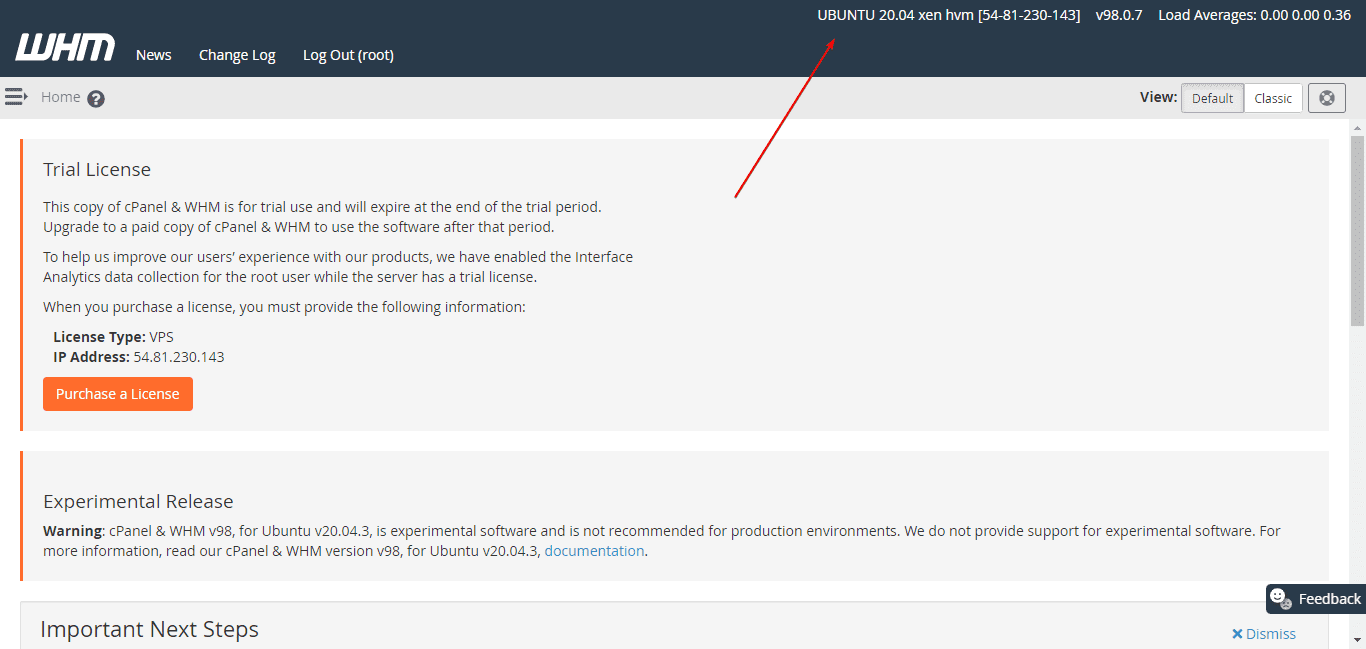
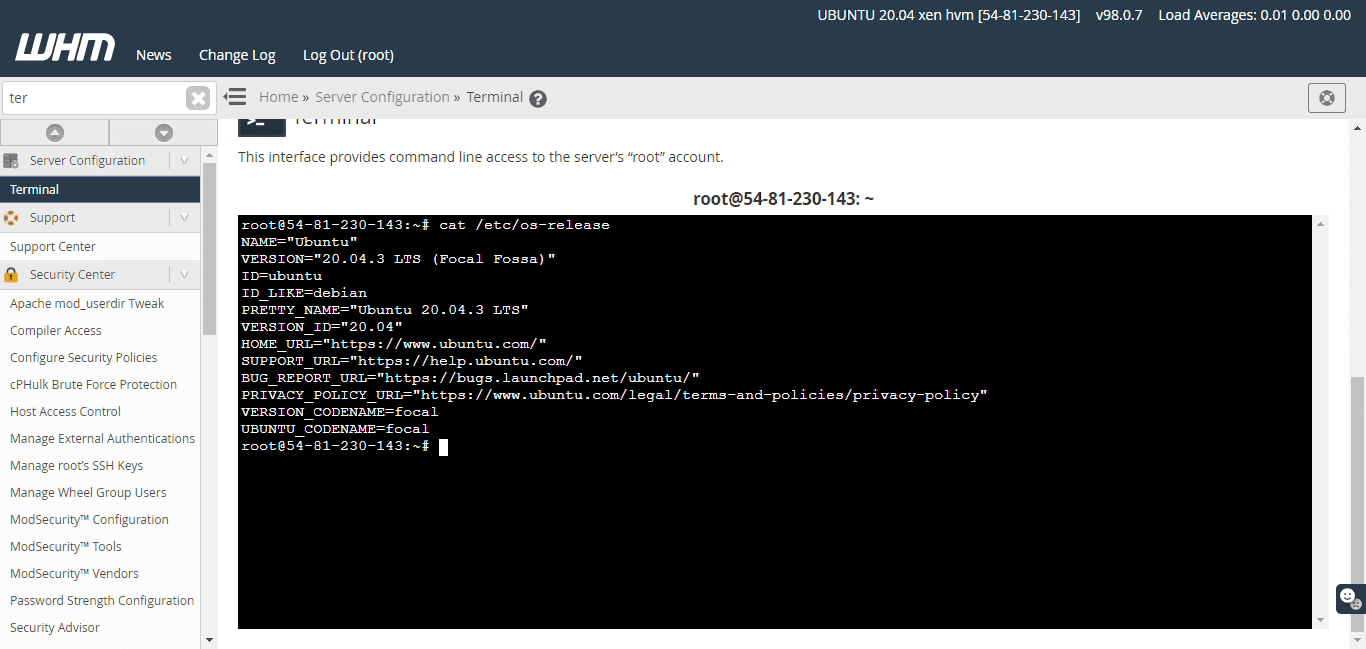
CPanel provided by WHM earlier can only be installed on CentOS, however, now we can use it on AlamLinux, Rocky Linux, and also on Ubuntu 20.04 LTS. Officially, WHM cPanel on Ubuntu 20.o4 LTS is still in the experimental phase while writing this article and was recommended by the WHM developers not to use it for commercial. However, still you can start experiencing this Control Panel on this Debian-based Linux because in our usage it worked absolutely fine.
Here we are installing WHM cPanel on Ubuntu 20.04 LTS server running on Amazon AWS Lightsail Instance, hence the server is clean without pre-installation of any kind of software or firewall.
What is cPanel?
The cPanel is one of the most popular software solutions for servers when it comes to server management or the configuration of web hosting packages. The easy user interface of this premium control panel allows performing all important settings in the area of server administration and account management that can be made via the web-based user interface of the two applications cPanel and WHM. It is designed to only work on Linux systems and comes with 15 days of free license.
What does cPanel offer?
There is a wide range of features offered by this control panel for managing a server and configuring web hosting accounts. The users can perform all settings. The web hosting manager WHM, on the other hand, is used to organize individual webspace packages and user accounts including access to command terminal with root access. With the webmail interface, there is also a separate application available for e-mail traffic.
There are two platforms – cPanel and WHM, here are some of there features:
cPanel Control Panel
It is a front end that is provided to end-users with pre-configured settings and management software. It helps the users to manage the domain, website, hosting files, and more… All of this is just by simply using the mouse clicks.
- Domain management: Domains can be activated, parked, or forwarded. In addition, subdomains can be created and entries such as A-Record, MX-Record, or CNAME can be edited using the DNS Zone Editor.
- Email administration: Mailboxes and e-mail accounts can be created and managed. In addition, advanced settings such as spam filters, autoresponders, or e-mail forwarding can be set up.
- Security settings: Security-related functions such as activating directory protection, blocking certain IP addresses, or setting up SSL certificates can be carried out.
- Databases and files: The data available on the webspace can be organized and saved using the backup function. Larger data sets can also be organized in database systems such as MySQL or PostgreSQL.
- Log files: With the help of the Webalizer and AWStats applications, a detailed analysis of the log files can be carried out, in which all accesses to your own website can be traced.
WHM web hosting manager
It is the main platform that is used for the administration of user accounts and the creation of individual webspace packages including installing additional plugins, updating, and more… Here are key features:
- User administration: Individual user accounts can be created and managed. System resources can be individually allocated to the individual packages and access can be set up for customer accounts.
- Server monitoring: Server monitoring helps administrators to keep an eye on the processes on the entire server. In this way, for example, traffic consumption and system resources used can be permanently monitored.
- Backups and moves: Complete backups of the entire web hosting accounts can be created and restored if necessary. In addition, customer accounts can be easily moved to other servers.
- Unique branding: The WHM Webhostingmanager enables customers to act as an independent Webhosting provider thanks to individual branding. In addition, logos, colors, and other design elements can be adapted.
WHM cPanel Installation on Ubuntu 20.04 LTS Server
Make sure before installing the control panel your server must not have any other kind of software installation. This means we need a fresh server.
1. Server System requirements
Let’s first know that your server is compatible to perform the given steps in the tutorial or not. Hence make sure the given minimum requirements are met.
- Operating system and version- Ubuntu 20.04 LTS
- Processor– Minimum: 1.1 GHz and Recommended: 2 GHz
- RAM – Minimum: 1 GB
- Recommended: 4 GB
- Disk Space– Minimum: 20 GB
- Recommended: 40 GB
- Architecture– 64-bit
- Static Ip-address
- FQDN
Switch to root user
sudo -i
In case you have an active firewall and rules then disable them:
iptables-save > ~/firewall.rules
systemctl stop firewalld.service
systemctl disable firewalld.service
2. Run system update
As we tell in most of our tutorials that before installing any server software platform, run the system update command that will make sure all the existing packages have their latest versions and also rebuild the systems repo cache.
sudo apt update
sudo apt upgrade
3. Set fully qualified hostname on Ubuntu 20.04
cPanel needs FQDN- Full qualified domain name for proper installation, hence make sure you have set the hostname to the domain name that you are planning to use with it.
To check your existing hostname type-
hostname
And to set it to a fully qualified hostname, for example here we are using demo.how2shout.com, edit the file stipulated for it.
nano /etc/hostname
Delete the old hostname that exists in the file and add the new one you want to use.
Save and exit the file by pressing Ctrl + O, hit the Enter key, and then Ctrl+X to exit.
Now, open file /etc/hosts:
nano /etc/hosts
Add a line with something like below but change the IP address with your server’s address and also the domain name.
192.168.0.2 yourserver.domain.com yourserver
Example:
54.80.23.143 demo.how2shout.com demo
save and exit the file by pressing Ctrl + O, hit the Enter key, and then Ctrl+X to exit.
Reboot server
reboot
Confirm the hostname has been set using the below command.
hostname
4. Install Cpanel/WHM on Ubuntu 20.04 LST Server
Lets’ use the Linux Screen utility to create a Shell session that will remain active even after the network disruption so that you will not lose a glance at what is happening.
Just type:
screen
Optional– In case after running the installations script you have somehow closed the remote SSH session window, then after login again simply run
screen -r
to get what you have left
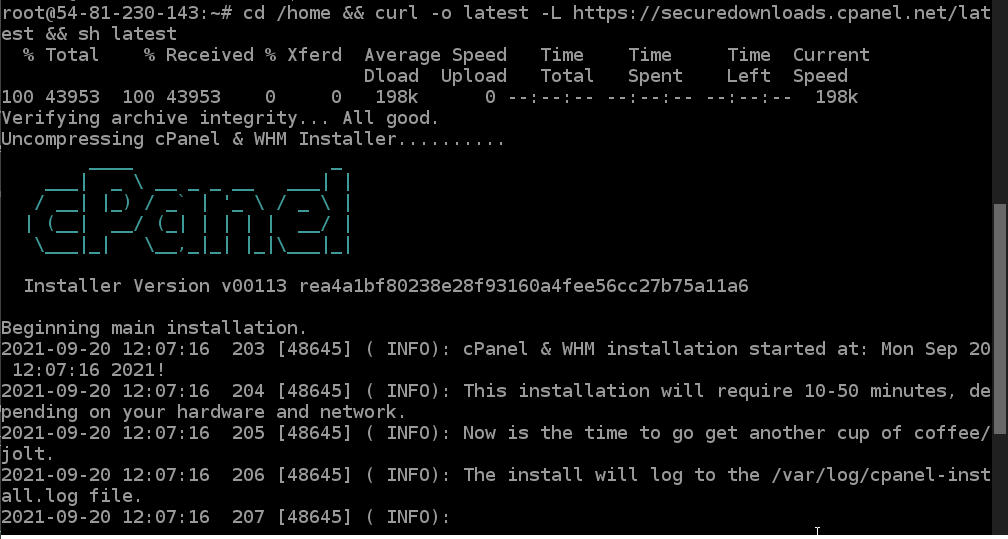
Now, I am assuming you have also logged in as a root user, if yes, then run the below script:
cd /home && curl -o latest -L https://securedownloads.cpanel.net/latest && sh latest
Let the system perform the installation, wait for few minutes. Once it is done you will get the message:
5. Access WHM/CPanel Web interface
Now, open any browser that can access your Server’s Ip-address. Also, make sure if you are using some Cloud Platform such as AWS EC2, LightSail, Digital Ocean, Google Cloud, or any other then ports required by the WHM and CPanel are whitelisted in their Network firewall.
Port numbers to open
- cPanel – 2082
- cPanel – SSL 2083
- WHM – 2086
- WHM – SSL 2087
Hence to access WHM in your browser type- your-server-IP-address:2086 in the same way server-IP-address:2082 for CPanel.
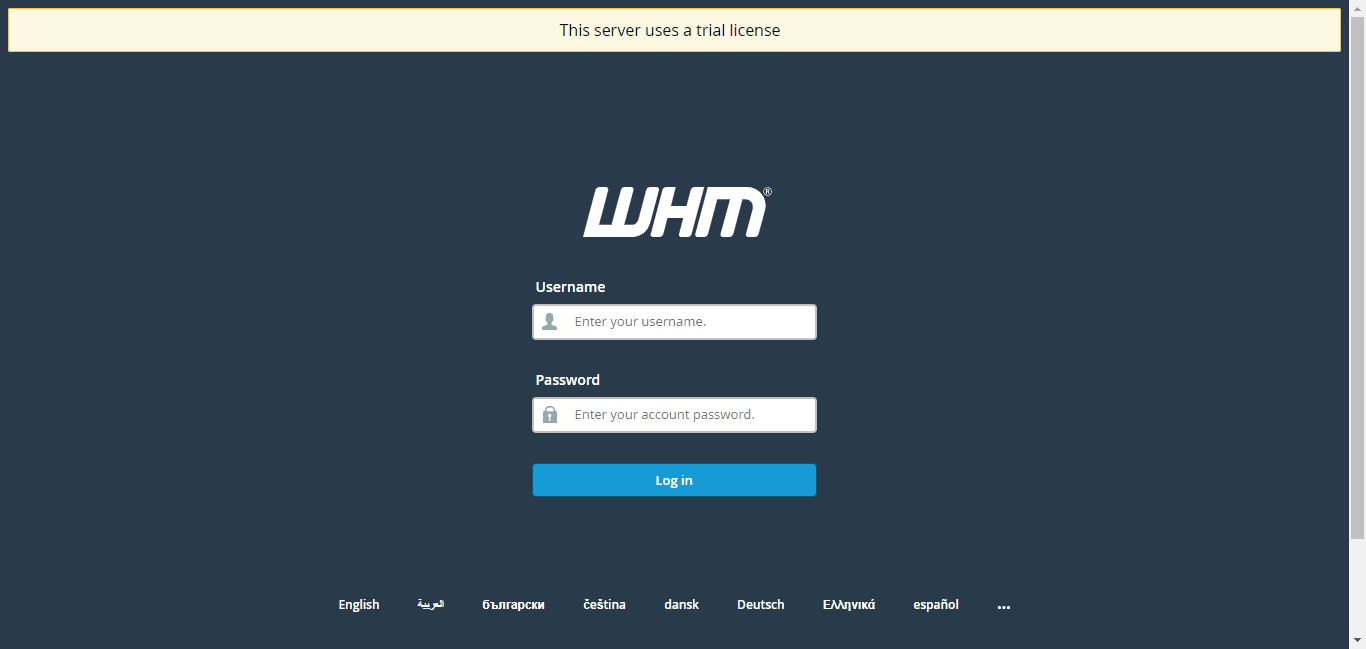
6. Login using Ubuntu root user
When you get the login screen, enter the root as username and the password set for it on your Ubuntu 20.04 Server.
In case you don’t know your server root password, then simply go to its terminal and change it by using the command passwd
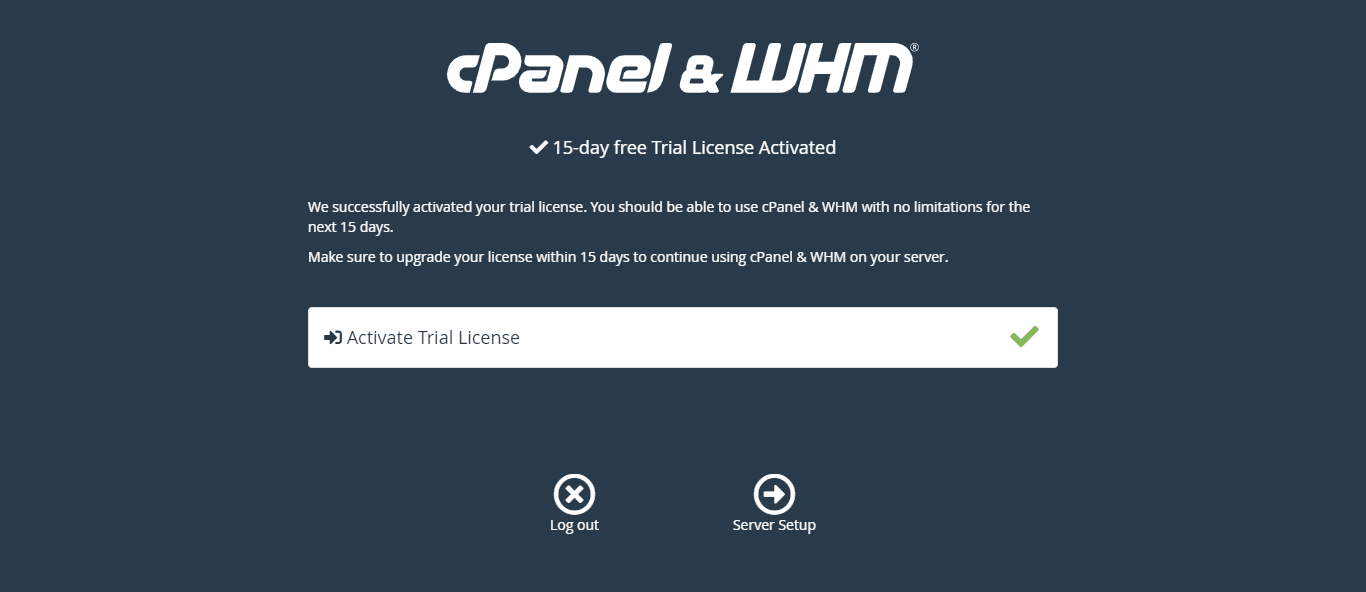
Acquire License:
When it asks to generate a trial license then go through the Wizard.
7. Start creating a Cpanel account and other Settings
