Here are the steps to follow to delete the PPA repository from Ubuntu using the GUI of the Software & Updates app.
All the packages to install various software are not available on Ubuntu using the official repo. Hence, other third-party users can use the PPA (Personal Package Archives (PPAs) to distribute their packages easily. However, it is often used to distribute pre-release software so that they can be tested.
Although the package publishers can use the regular way to avail their APT repo, yet, PPA is easy to install for users.
Nevertheless, we can use the terminal to delete the added PPA repository, however, if you are using the GUI desktop of Ubuntu then it is much easy. Here we show you how?
Steps to delete PPA from Ubuntu using GUI
- Click on the Activities link given in Ubuntu’s Taskbar.
- In the search box – type Software & Updates
- As its icon appears, click to open it.
- After that select the added PPA you want to remove from your Ubuntu system.
- Click on the Remove button.
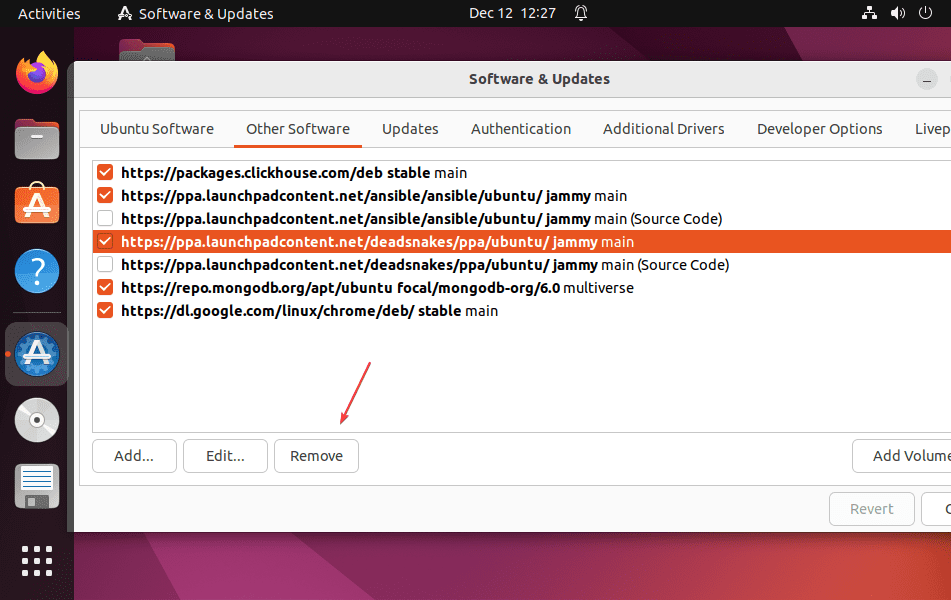
Those who want to edit the PPA source, need to select the repository that they want to edit and then click on the Edit button.


