Adobe Photoshop is not available officially for Linux, still, we can install Photoshop CS6 on Ubuntu 20.04 LTS Desktop without any complications to edit our favorite pictures.
Photoshop is a quite popular tool when it comes to editing pictures not only among professionals but even for a common user. This photo editing program provides you with many tools to improve the quality of your photos. This means that you can also adjust your images in Photoshop, therefore is no need to be completely dependent on optimal environmental conditions.
Users can correct any image tones and color values to get the desired photo effects. Further, we can also change the brightness with the help of the gradation curves to raise or lower the general impression of light in a picture. We can add new objects by using different types of brushes to paint almost digitally. Features list of Photoshop is vast, thus leave that here and let’s talk about the main topic i.e how to use Photoshop on Ubuntu Linux?
Install and use Adobe Photoshop on Ubuntu 20.04 LTS
The steps given here will also work for Linux Mint 20.1 or other Linux operating systems based on Ubuntu 20.04 such as MX Linux, and POP!OS and more. As we cannot install Windows applications on Linux directly, thus the only way is the WineHQ and here we will use the same.
Requirements:
- Wine
- PlayOnLinux
- Adobe Photoshop CS6 setup
- Ubuntu Linux
1. Enable 32-bit Architecture
Well, there are lots of applications that still support the 32-bit CPU architecture. The good thing is that WineHQ supports both 32-bit and 64-bit applications. Thus, if you are using 64-bit Ubuntu, then enable 32-bit support with the help of the below command.
sudo dpkg --add-architecture i386
2. Add Wine GPG Key
Next, add the Wine GPG key that will allow us to install the verified packages from the Wine’s repository. So, here are the commands- one is to download and the next one to add it.
wget -nc https://dl.winehq.org/wine-builds/winehq.key
sudo mv winehq.key /usr/share/keyrings/winehq-archive.key
3. Add Wine repository in Ubuntu 20.04
Once the GPG key is on your Ubuntu Linux, the next step is to add the official repository of Wine meant for Ubuntu 20.04 LTS Linux.
wget -nc https://dl.winehq.org/wine-builds/ubuntu/dists/focal/winehq-focal.sources
sudo mv winehq-focal.sources /etc/apt/sources.list.d/
4. Setup Wine to install Photoshop on Linux
Run the command to get the stable version of Wine on your system. This will install the required packages to properly set it up on Ubuntu Linux.
sudo apt install --install-recommends winehq-stable
5. Also install PlayOnLinux
The problem with Wine is without any graphical user interface it becomes complicated for new users to easily install the dependencies required by the Windows application such as Photoshop on Linux. Hence to solve this problem we can use PlayOnLinux, a GUI front-end for Wine. It makes the installation of Win apps easier than the command line. And the good thing its packages are available on the official repository of Ubuntu 20.04 LTS, thus with one command, we can install it on our system.
sudo apt install playonlinux
6. Install Adobe Photoshop on Ubuntu 20.04 LTS
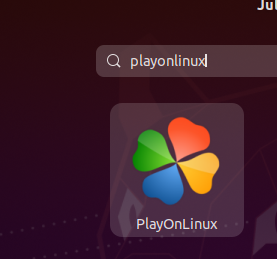
Now, go to the Application launcher of Ubuntu, and search for PlayOnLinux, when it appears, click the same to run.
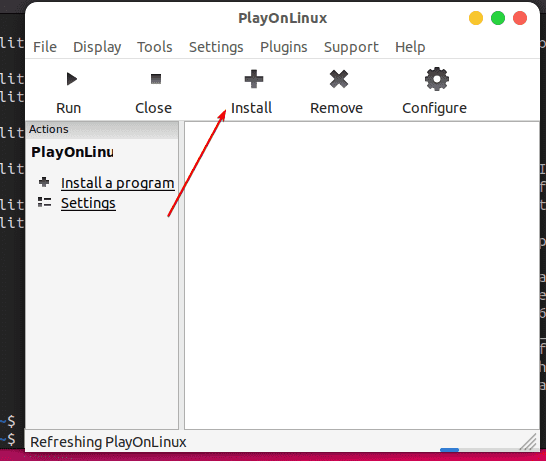
Click on the Install button.
7. Select Photoshop Program to install
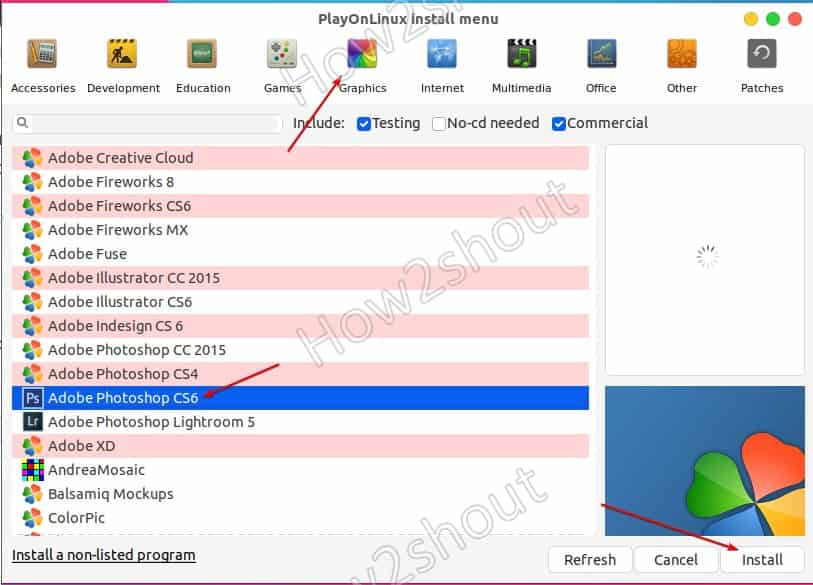
Click on the Graphics option that will show the Wine-compatible applications available under it to install on Linux. Thus, select it and then Adobe Photoshop Cs6 followed by the Install button.
Browse executable file
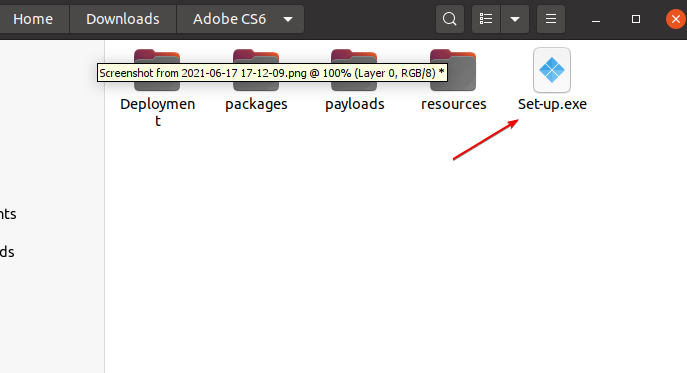
Click on the Browse button and go to the setup folder of Adobe Photoshop that you have downloaded to install on Windows. There select its Set-up.exe file to install.
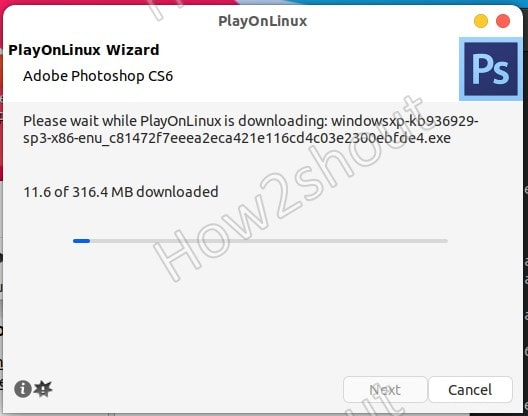
Note: From here you have to wait for some time because the PlayOnLinux Wizard will download the required packages and for them, it will give some pop-up. Just followed them and whenever it asks for your permission to install some packages give it the same.
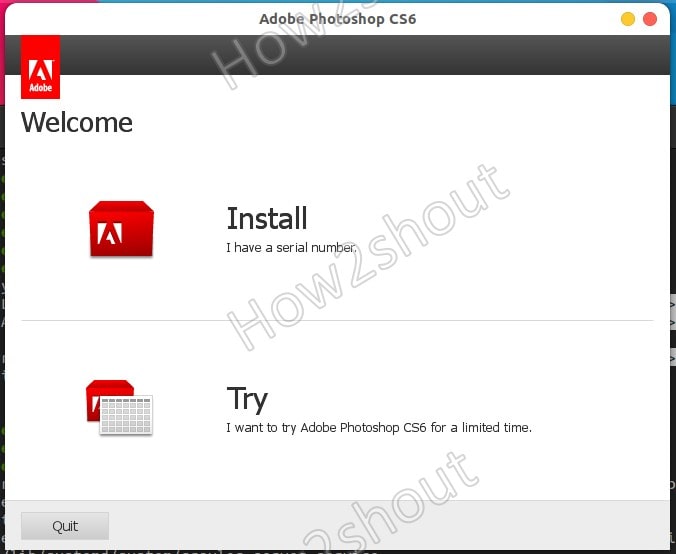
Once the dependencies installation is completed, the Welcome screen to install Photoshop will appear. If you have the Serial key then click on the Install otherwise hit the Try button.
8. Photoshop Linux Desktop shortcut
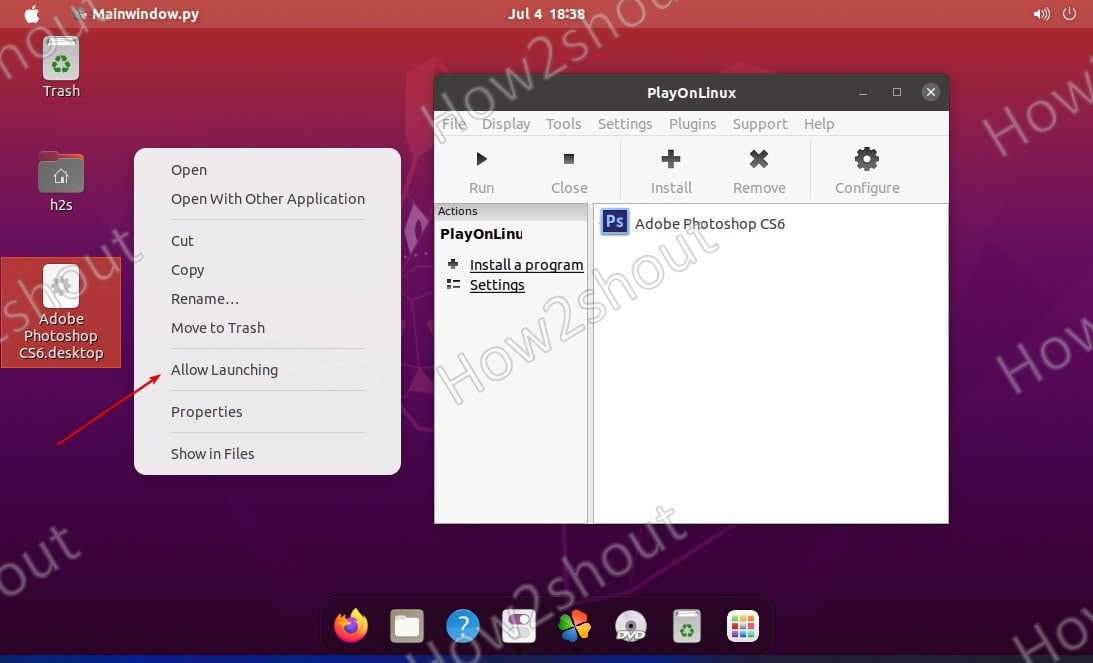
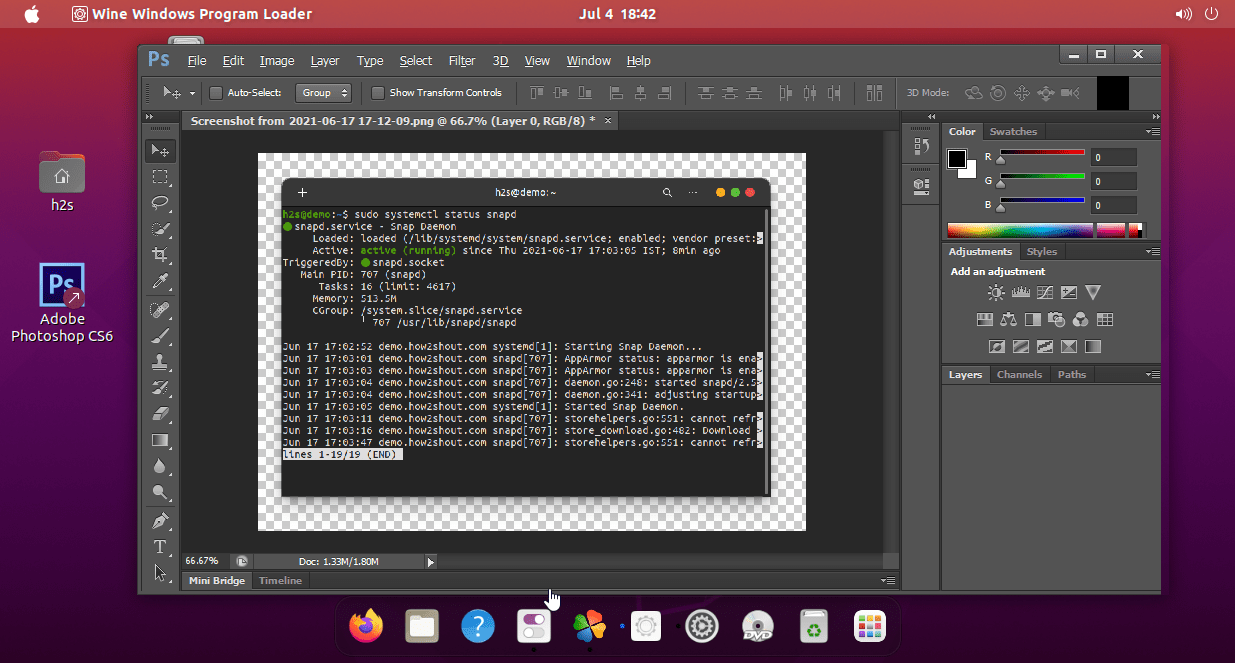
The installation is completed, now there will be a shortcut on your Ubuntu 20.04 LTS desktop. Right-click on it and select “Allow Launching“, this will make the shortcut executable and turn the gear icon into Adobe Photoshop.
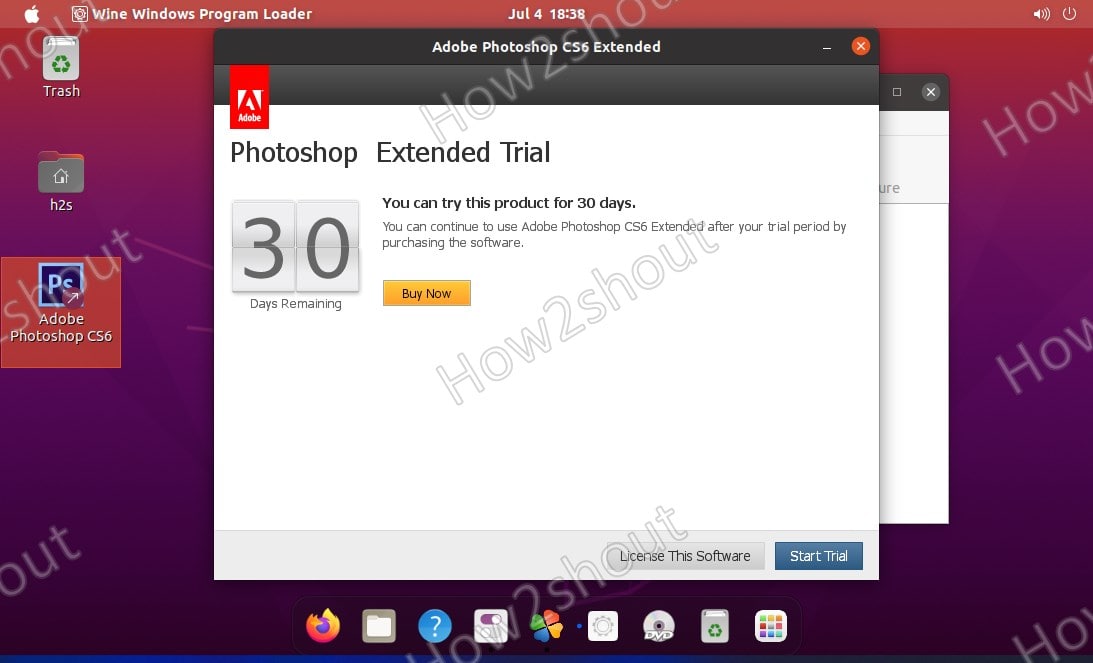
Double-click on the Shortcut to start this Image editor program on your Linux.
9. Start editing pictures using Photoshop on Ubuntu 20.04
Finally, start using the application to edit your pictures. Well, congrats we have successfully installed and configured it. However, still, there is no guarantee that the method will work for other Linux as well. Hence you can try out the popular Adobe Photoshop alternative for Linux if you like.





Hello, I can’t find the archieve Set-up.exe in my CS6 folder. I searched for all files. I can I do?
It must be there or might be missing. Else, Please download Adobe again.
Me neither can’t find the “Set-up.exe”
I tried to download other versions. Doesn’t work either
PlayOnLinux V4.3.4
developer@developer-Lenovo-ideapad-330-15IKB:~$ sudo add-apt-repository ‘deb https://dl.winehq.org/wine-builds/ubuntu/ focal main’
E: Malformed entry 60 in list file /etc/apt/sources.list (Component)
E: The list of sources could not be read.
how can I solve it
the article has been updated.. Please follow it now.
Showing Message: The application requires a version of Adobe AIR which cannot be found.
$ sudo apt install –install-recommends winehq-stable
Reading package lists… Done
Building dependency tree… Done
Reading state information… Done
E: Unable to locate package winehq-stable
Doesn’t work for me 🙁
Which versionof Ubuntu you are using??