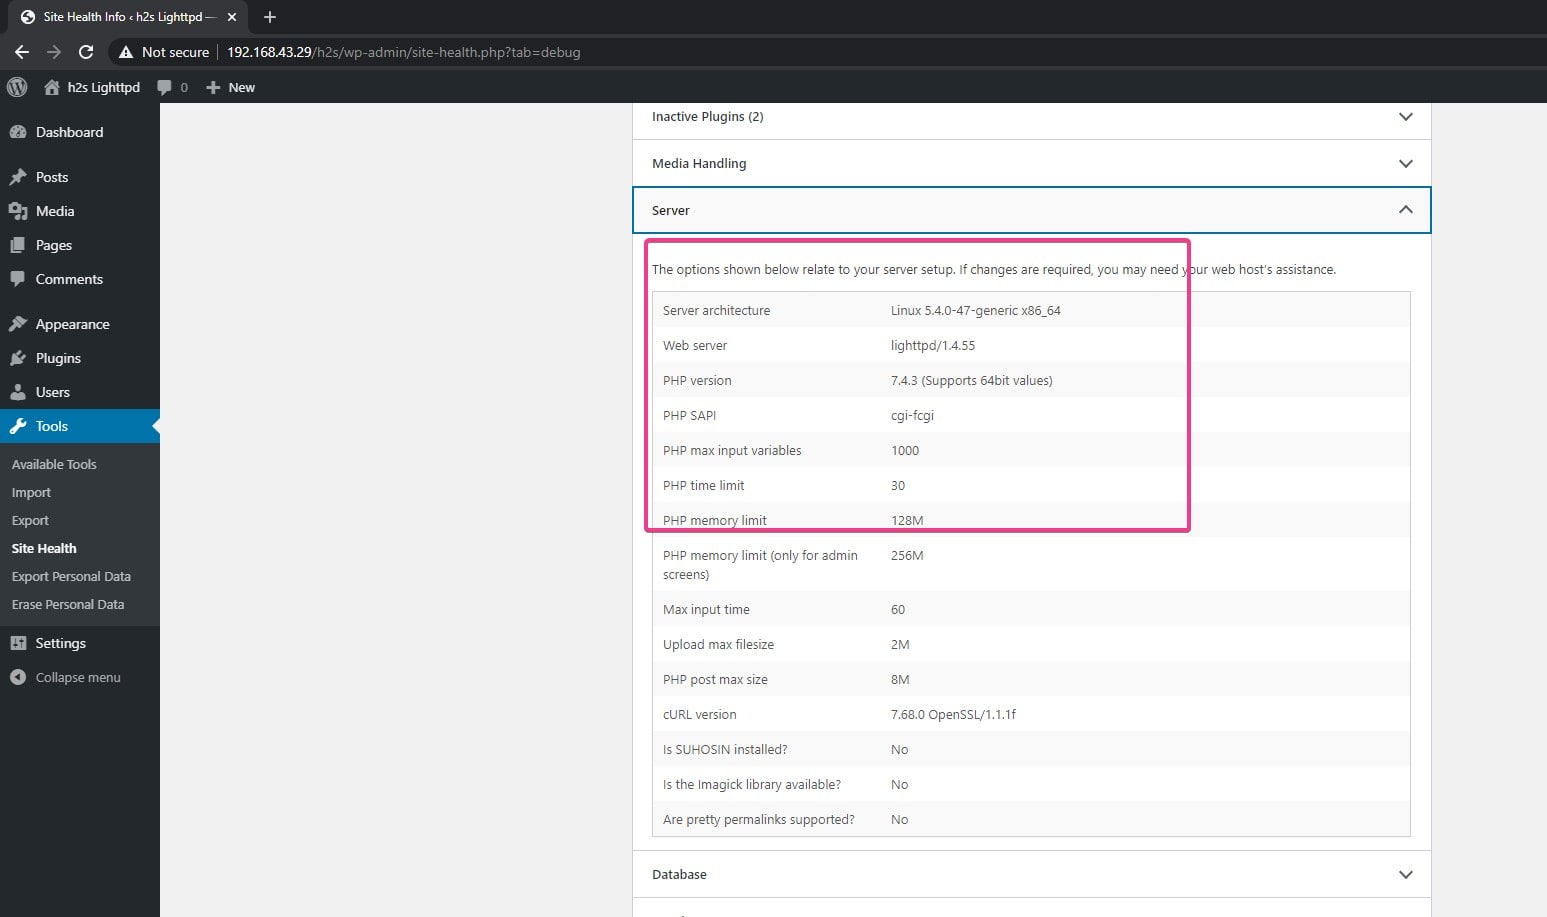
Lighttpd is a popular web server known for its fast speed and lightweight. Just like Apache2, it is also straightforward to install and operate with PHP to run various web applications and content management systems such as WordPress.
Here today, we will show the process of installing WordPress on Lighttpd along with MySQL and PHP. Thus, go through the below steps to get started.
Steps to install and setup WordPress on Lighttpd webserver
It doesn’t matter if are you on a local server or cloud hosting, the process will be the same for both. Here we are using Ubuntu 20.04, however, one can perform it on Ubuntu 18.04 LTS server and other similar operating systems such as Linux Mint, MX Linux, and Debian.
Run system update command
Let the system-installed packages achieve their latest state by running the update and upgrade commands:
sudo apt updatesudo apt upgradeInstall Lighttpd for WordPress and other web apps
As we are using Ubuntu Linux here, thus we don’t need to add any third-party repository for the installation of the Lighttpd web server. Everything is there on the official repo of this Linux, just run the below command:
sudo apt install lighttpdEnable and check Lighttpd status
To make sure that the web server automatically gets started with system boot, every time, we need to enable it. Thus, run the below command:
sudo systemctl enable lighttpdCheck the status:
sudo systemctl status lighttpdNow, open the system browser or on any PC available in your network and type the server Ip address where you have installed the Lighttpd: http://ip-address
Install PHP
The below command not only installs the PHP but also the extensions we would need while using WordPress. However, while installing the same, apache2 will automatically get installed, thus we ignore that.
sudo apt-get install php php-cgi php-cli php-fpm php-curl php-gd php-mysql php-mbstring zip unzip apache2-Enable FastCGI and FastCGI-PHP modules
Now, everything is done, just one more thing before we confirm that our PHP is working fine with the Lighttpd web server enabling the FastCGI extensions.
sudo lighty-enable-mod fastcgi fastcgi-phpReload service to make the changes into effect
sudo service lighttpd force-reloadDownload and install MySQL
If you already have the Database MySQL or MariaDB then you can skip this step otherwise install it using the below command:
sudo apt install mysql-serverBy Default on Ubuntu 20.04 LTS, Mysql version 8 will be available to install.
Secure MySQL Installation
To make sure our database server is secure and wouldn’t get compromised easily, run the MySQL secure command. This will remove the demo users & databases, disable remote root login, and let you set up a password for MySQL root user.
sudo mysql_secure_installationCreate a Database for WordPress
Once you are done with securing your MySQL, run the following commands to create a database that we will use with our WordPress instance:
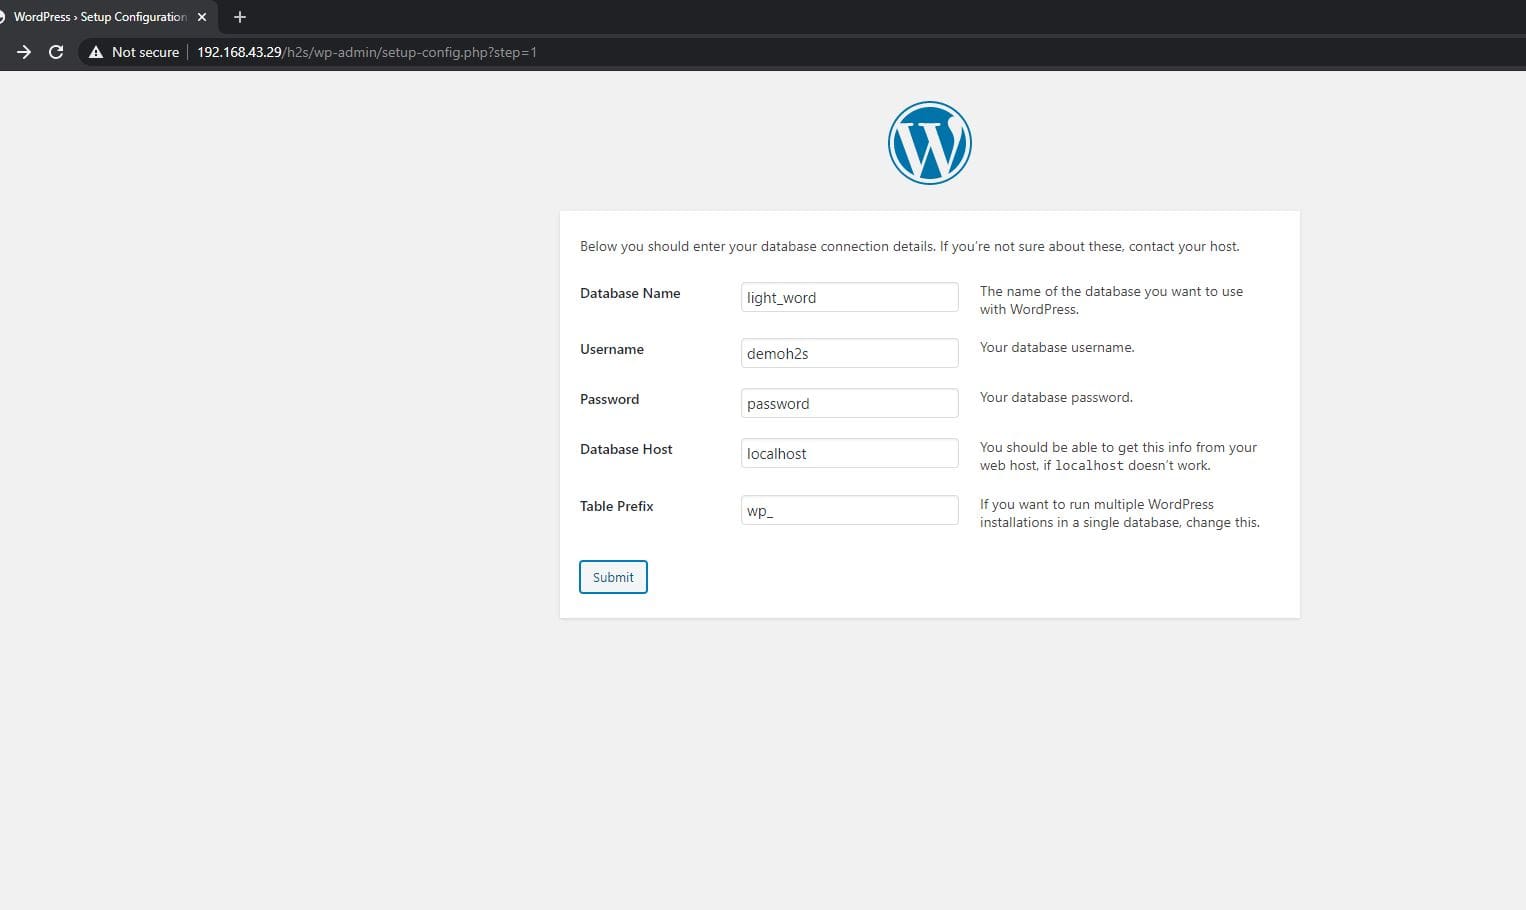
sudo mysqlCreate a Database that we use to store data of our WordPress CMS-based website running on Lighttpd. Here in the below command light_word is our database name. You can change it with whatever you want.
create database `light_word` character set = 'utf8';Now, create a user to use with the above-created Database
create user 'demoh2s'@'localhost' identified by 'password';The demoh2s is the user name in the above command created on our system to access the database. Change the ‘password‘ with the password, you want to assign to your MySQL database user.
Finally, give all permissions to the user to read, write, modify, and delete data in the database. Thus, for that run:
GRANT ALL PRIVILEGES ON `light_word`.* to `demoh2s`@localhost;Exit MySQL command line:
exitDownload WordPress
Now, we need to procure the open-source WordPress files to set up this CMS on Lighttpd.
cd /tmpwget https://wordpress.org/latest.zipCreate a folder in the webroot directory of Lighttpd
sudo mkdir /var/www/html/h2sNote: You can change h2s in the above syntax with the website name for which you install WordPress.
Extract WordPress files and then move them to the above-created folder:
sudo unzip /tmp/latest.zipsudo mv /tmp/wordpress/* /var/www/html/h2sNow, we have a directory inside the webroot with the name h2s and all the files we need to use Wordpres inside it.
Also, give your web user all access to the created folder:
sudo chown -R www-data:www-data /var/www/html/h2sSetup WordPress on Lighttpd
Finally, again go to your browser and type serer IP-address with the directory name where you have extracted the WordPress file. If we go through the above steps, then the directory name in our case is h2s. Thus, the will be like this: http://server-ip-address/h2s
Here is the screenshot to have an idea:


Set up Virtual Host on Lighttpd
Now, in case you are installing it on a hosting server or cloud and want to use a domain or subdomain with Lighttpd, then we have to create a virtual host configuration file for them. So, let’s say we want to use example.com for the above-created WordPress instance.
Note: Replace example.com with your domain name.
Then create a configuration file for that
sudo nano /etc/lighttpd/example.com.confAdd the following lines.
$HTTP["host"] =~ "example\.com" {
server.document-root = "/var/www/html/h2s"
accesslog.filename = "/var/www/html/h2s/logs/access.log">
}
In the above lines, replace the example with your domain name and .com with the TLD you have such as .com, .in, .org, etc. After that for /var/www/html/h2s– type the folder path where you have WordPress files. If we are going through our tutorial the h2s is the folder where we have extracted our files in the webroot.
Now, save it.
In the same way, we can create a subdomain configuration file. Once you have created all this, it is time to add them to the main Lighttpd configuration file to tell it that “here are the files for the specific domain name and you have to serve them only”.
Open the Lighttpd configuration file:
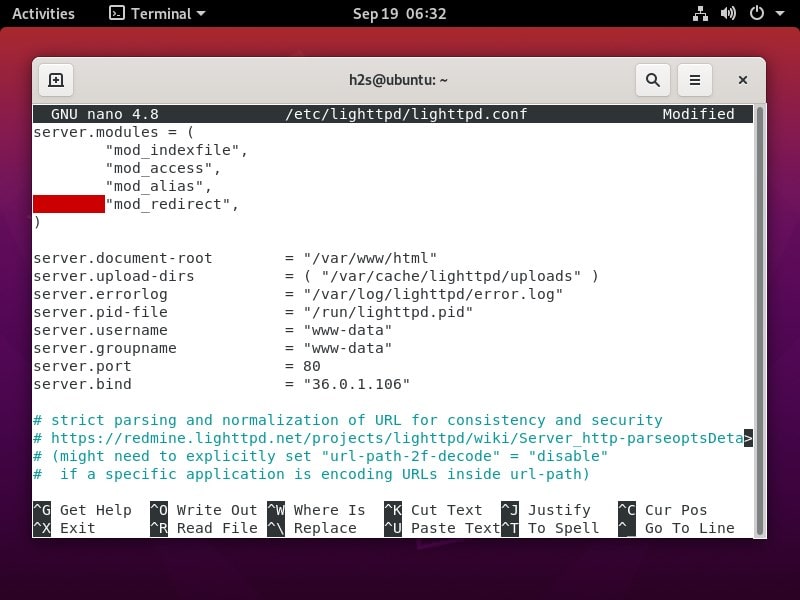
sudo nano /etc/lighttpd/lighttpd.confAdd the public IP address of your web server.
36.0.1.106 is just, for example, replace it with yours.
server.bind = "36.0.1.106"

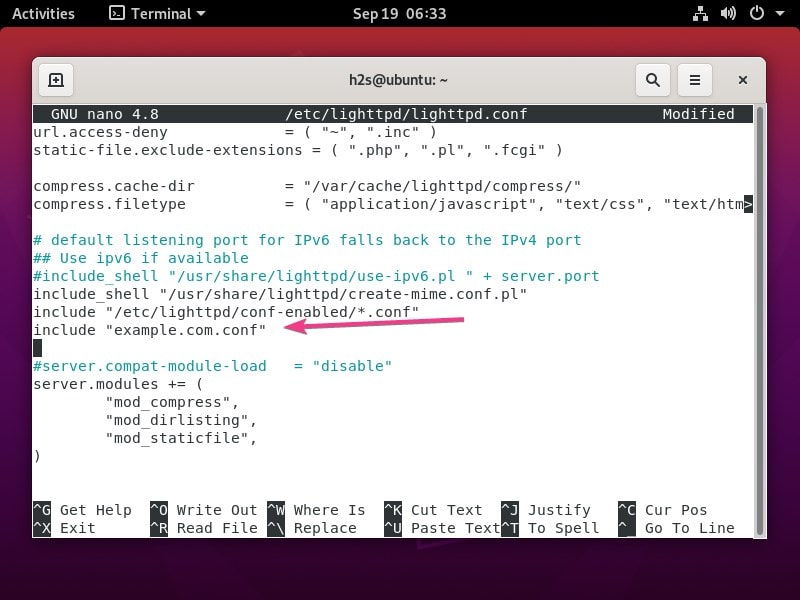
Also, include the configuration file of your domain:
include "example.com.conf"

After the changes, save the file and exit. Ctrl+X, press Y, and then hit the Enter key.
Restart Lighttpd:
sudo systemctl restart lighttpdIn this, way we can use multiple domains fetching files hosted on a server delivers through the Lighttpd Webserver. You can know more about the Lighttpd virtual host configuration from this web page


