Tutorial to mount a VHD image on Ubuntu or Debian using a tool Guestmount and then access the same via Command line or Graphical File manager.
Virtual Hard Disk- VHD is a common virtual drive format used on Windows systems. Generally, we use them to install Virtual Machine operating systems such as in VirtualBox or Hyper-V. However, we can also create and use VHDs just like a native drive partition on Windows 10 or 7 systems.
Furthermore, backup images also save in the.VHD format, thus to access them is really a need of the hours, in case you want some file resides in them. So, what would happen, if you need to extract some files from VHD on Linux; resides on the local or remote machine. And you don’t have a Windows system. Don’t worry we can mount them on Linux as well.
For carrying out the tutorial, we are using Ubuntu 20.04 LTS focal fossa, however, the steps given here are also applicable for Ubuntu 18.04/19.04/16.04; Linux Mint, Elementary OS, ZorinOS, Kali Linux, and other similar ones.
Here we are going to mount a VHD image on Ubuntu or Debian-based systems that have some information we need to extract; using a tool called guestmounts. Let’s see how to use it.
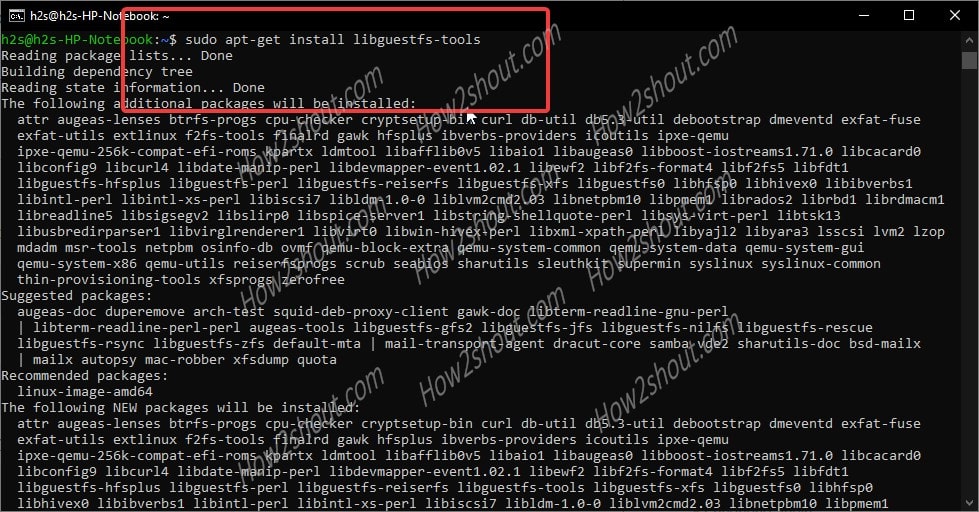
Step 1: The guestmounts tool comes in libguestfs package along with other tools, thus first we need to install the same. Here is the command to do that.
sudo apt-get install libguestfs-tools

If you get any dependencies error then simply run:
sudo apt install -f
After that again run the above installation command to get “guestmount” tool on your Ubuntu or Debian system.
Step 2: If the Virtual Hard disk.VHD is on your local system then we can mount it directly. However, on remote storage with SAMA/CISF shared protocol, we need to add its support to Ubuntu Linux first.
sudo apt-get install cifs-utils
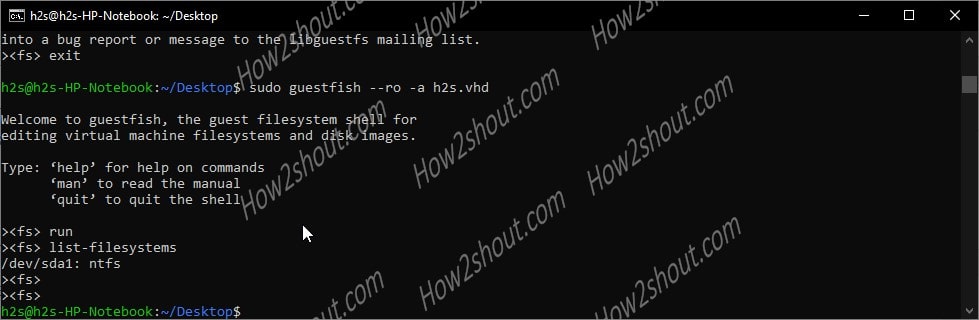
Step 3: Check the filesystem and available partitions on the Virtual Hard Disk image on Linux using “guestfish” command:
The guestfish is also a tool that comes along with the libguestfs-tools package.
sudo guestfish --ro -a VHD-file-path
Note: replace the VHD-file-path with the actual path where your VHD image located. For example: Here we have h2s.vhd located on the Desktop of Ubuntu, thus the command is:
sudo guestfish – -ro -a h2s.vhd
Once you dropped in the GuestFish Shell, type:
run
list-filesystems
exit
This will give you the partition details of the VHD image and the file system in which it has been formatted. Note down that.
As you can see that in the following image, our Virtual Disk image is in NTFS format.
Step 4: Switch to the root user. It is because we tried but couldn’t use the “guestmount” without sudo access. Thus, once you mount the VHD using under sudo rights, the mounted file image will only be accessible by the user root or the one that has the same access.
sudo -i
Read more: If you haven’t set the root password yet then please do that, here is the enable ubuntu root password tutorial.
Step 5: Run the guestmount command to mount the remotely or locally available.VHD image files.
sudo guestmount -a /path-to-demo.vhd -m /dev/sda1 --ro /path-of-the-directory-to-mount-VHD-image
*Replace: /path-to-demo.vhd with your VHD file image name and location path.
/dev/sda1: It is a device or partition of the Virtual Hard disk file system which we found with the help of guestfish command above. Replace it with yours.
–ro – It means read-only.
/path-of-the-directory-to-mount-VHD-image: Path where you want to mount your VHD image file on the system
You can see the below image for an idea:
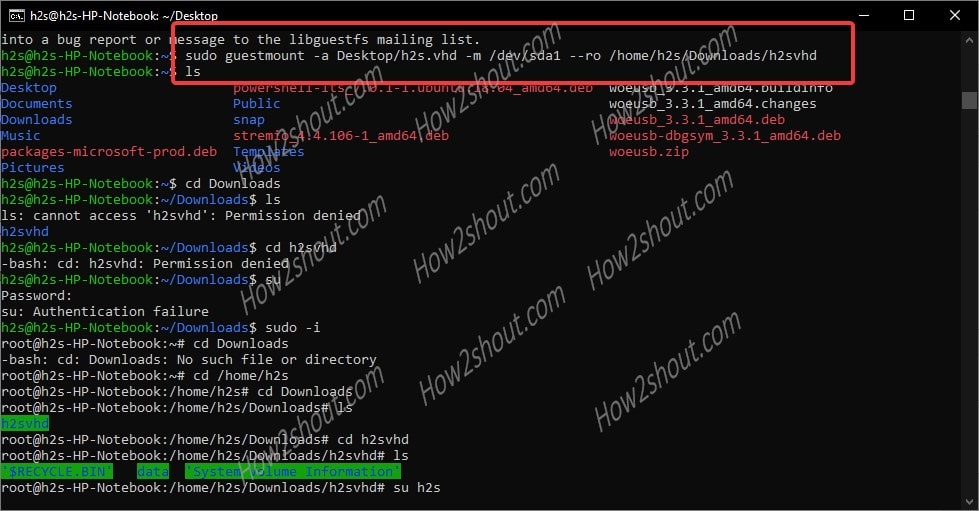
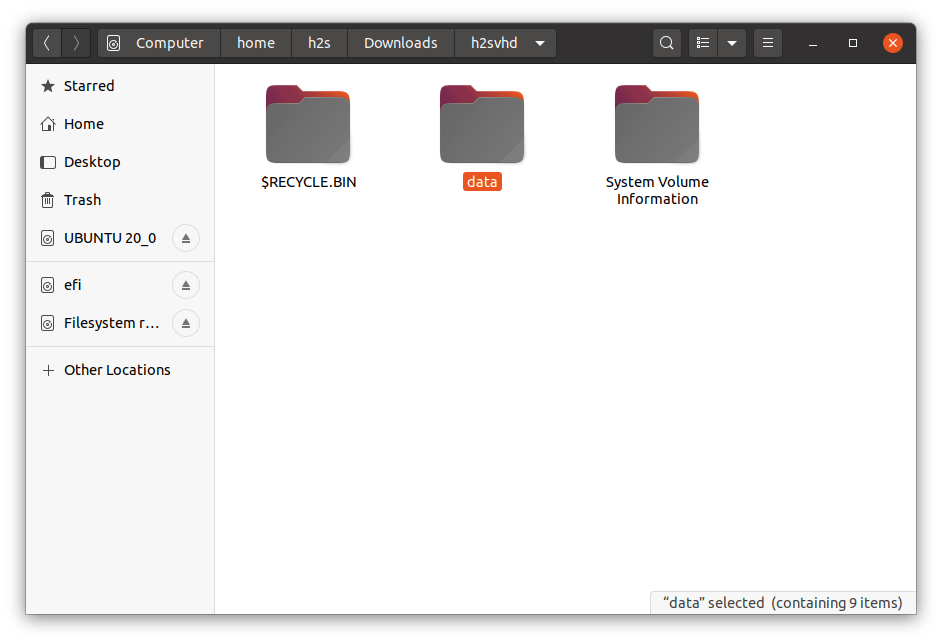
Step 6: Now, as we have mounted the VHD under sudo rights, thus only the root user can access the same. So, without exit the root shell environment, navigate to the directory where you have mounted the Virtual Hard disk file image. Afterward, you can easily access all this file inside that particular image.
Step 7: Those who want to access the VHD images using the Graphical File manager of Ubuntu. They need to first access it under administrative rights. So, run nautilus as root:
sudo nautilus
This will ask for the root password.
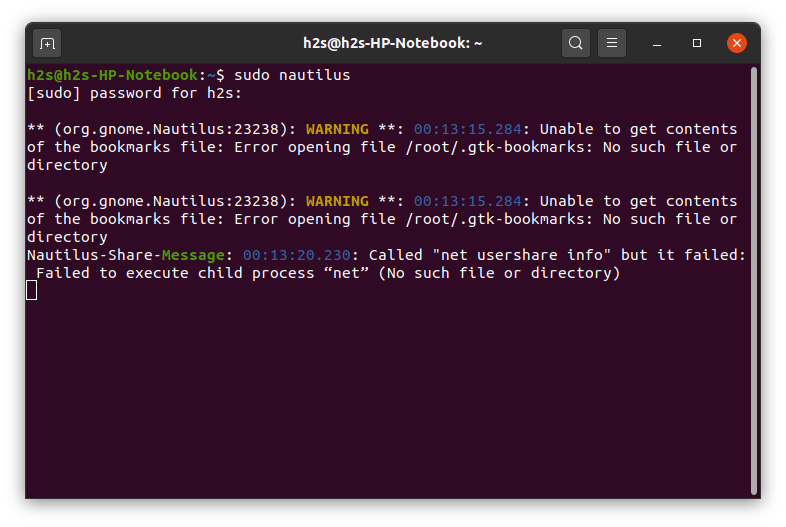
Now, the Ubuntu file manager will open under user root rights, navigate to the directory where VHD has been mounted by you. Click to open it.
Optional step:
In cases later, you want to unmount the VHD image from Ubuntu, then use the below command:
sudo guestunmount /mounted-directory-path
Replace: /mounted-directory-path with the path of the folder where you have actually mounted the image file.


sudo guestfish – -ro -a WD\ NVMe\ Win10\ quite\ fresh\ +\ installed-0.VHDX
tells me
guestfish: invalid option — ‘o’
Try `guestfish –help’ for more information.
The correct command would be
sudo guestfish –ro -a WD\ NVMe\ Win10\ quite\ fresh\ +\ installed-0.VHDX
Wrong is the space at “-_-ro”
Congratulations on the content!
Thanks for sharing!
Here it worked!
Hi, s there a way to recover a corrupted vhd file in linux?
The question is, can I keep the drive mounted permanently? even after a reboot/shutdown?