From showing your giving skills to your friends and the outside world to cherish your gaming moments when you are away, the only way to do that, is to record the gameplay. Besides recording the gameplay, you can even broadcast the gameplay live so that you can entertain others while you are playing your favorite game. When there are a host of game recording and broadcasting platforms are available out there, Microsoft introduced its own game recording feature on Windows 10, and we all love it. As long as you are having the minimum requirements to use the feature you can record the gameplay, take screenshots, and broadcast the gameplay live.
However, depending upon the configuration of your system, the game recording and broadcasting might not take place in the quality that you want, maybe because you are not having enough system resources, or your CPU and GPU, or the hardware altogether might not be efficient enough to help you play the game record or broadcast it at the same time. Windows will automatically choose quality, which your hardware can efficiently handle so that you do not face any kind of glitches during the gameplay. However, if you are confident about your hardware, and you know it can handle gameplay, broadcasting and the actual processing at the same time, you can manually change the settings so that you can get the optimum quality of the recording.
So, without any further delay, let’s get started with how you can manually change the game recording settings in the Xbox DVR that is available on Windows 10.
Changing the game recording settings Windows 10
- Click on the start menu and then click on ‘Settings’.
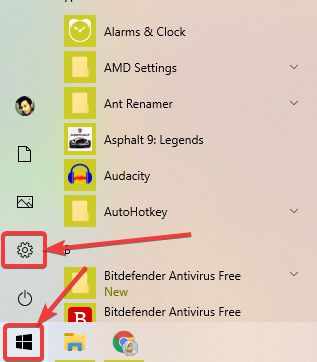
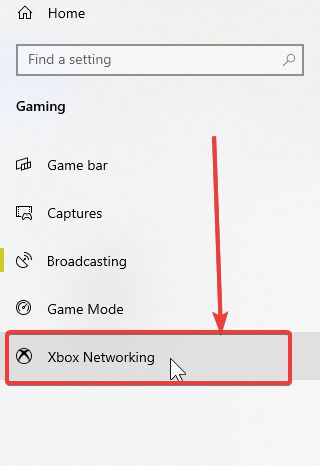
- In the settings menu click on ‘Gaming’ to change the settings related to gaming, game recording, and broadcasting.

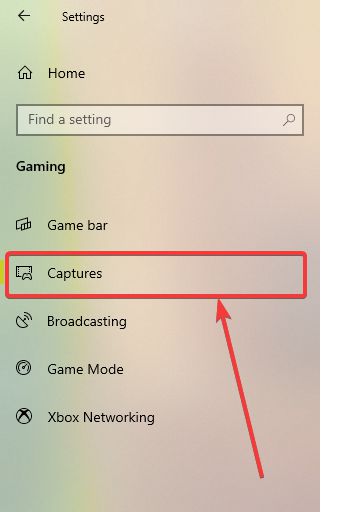
- On the left side, click on ‘Captures’, to change the settings related to game recording and broadcasting.
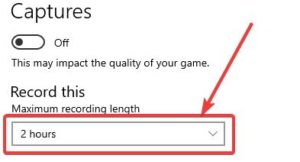
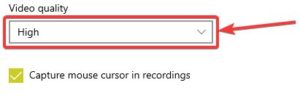
- Here, you can change the maximum length of a game recording, which is set to a maximum of 2 hours for me, and you can scroll down to change the audio quality, frame rate and the video quality of your game recording.

- Besides changing the recording settings, you can even change the location of your recording file, background recording, the volume of the recorded voices and many more.
- To change the settings related to game broadcasting, simply click on the ‘Broadcasting’ on the left side of the gaming settings window.
In the gaming settings window, you can change a number of other useful settings associated with game recording and broadcasting. You can even change the hotkey to open the game bar. The game mode can also be configured from here, which can be useful to make your PC optimized for gaming at the time of actually playing some games.
If you change the game recording settings and change the quality, I will recommend you to test the gameplay with the changed settings and make sure you are not facing any kind of troubles while playing the game.
So that was all about how you can change the quality of the game recording and broadcasting using the Xbox game bar on your Windows 10 computer. Do you have any questions or faced any problems? Feel free to comment on the same below.


“How to change the game recording quality on Windows 10 using the Xbox gaming bar”
You mean, how to choose between “standard” and “high” quality, both of which are rubbish.
I have been trying SO DAMN HARD to change my microphone settings from 128k to something much higher.
Control Panel > Gaming > Captures > Audio Quality (<-GREYED THE HELL OUT)… I need a registry key or something – ANYTHING AT ALL – that will let me edit this despite windows greying it out!
how i can record 1080p or 720p
I want to record my Roblox gameplay but whenever I try to, it ends up being a little recording on the upper left corner of the screen when playing the video. I have been through absolutely ALL the settings but I cant find any way that will help me fix this.
But i want change resolution to 1080p(HD)
For that you must set your in game resolution to 1920×1080
because the recorder will automatically set the recording quality according to the game resolution