
Pygame Zero installation on Windows 11 is not a difficult task if you already have Python and PIP manager. Nevertheless, we have shown the quick steps that you can follow to set up this game development library on your system.
For those who don’t know, this Python development library is used for creating simple 2D games. It is built on top of Pygame which is another popular Python library for game development, and provides a higher-level interface.
Key features and characteristics of Pygame Zero include:
- Simplicity: It is designed to be easy to learn and use.
- It abstracts away some of the complexities of Pygame.
- Pythonic Syntax, hence any Python familiar developers can use it
- Built-in Functions such as handling keyboard and mouse input, drawing images, and managing game loops.
- Event-Driven Programming
- Pygame Zero includes an integrated development environment called “Mu”, designed for beginners.
- Community Support
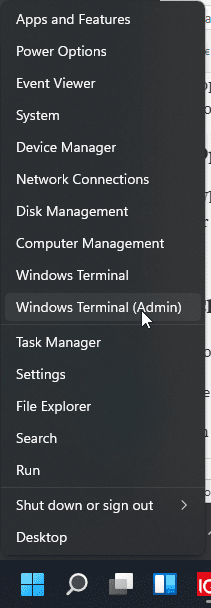
Step 1: Open a Windows Terminal:
Right-click on the Windows 11 Start button and select Terminal (Admin); we need the command line to not only install Python and PIP but also to run pygame zero commands.
Step 2: Install Python & PIP:
To install PyGame, we need Python and PIP on our Windows 11 system, if you already have them then can directly jump to the third step of this article.
Those who don’t have them and are not comfortable with the command line can visit the official website of Python to download its latest version. However, it is recommended to use Windows 11’s built-in package manager “Winget” to get the applications with just a single command.
In your terminal run the given command to get the Python and PIP.
winget install python3
Once the installation is completed, close the Terminal and open it again as Admin, just like we did in the first step of this article.
Check the Python and PIP versions:
To confirm that we have both Python and its package manager PIP on our system, check their versions.
python -Vpip -VStep 3: Install Pygame Zero on Windows 11
Now, we can use the PIP, the Python package installer, to download the Pygame Zero library along with its dependencies and use it on Windows 11 using the command terminal.
pip install pgzero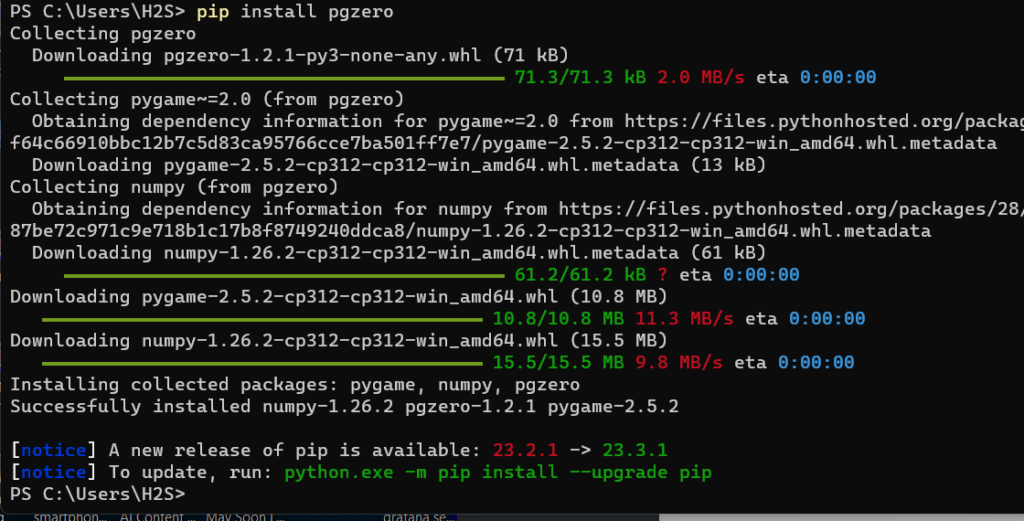
Step 5: Create a Pygame Zero Project:
As we have the Pygame Zero installed, we can start creating a gaming program. To give an example, here we create a simple code using pygame to show a yellow background window with some text.
notepad myfirstgame.pyPaste the following code in which we are importing “pgzrun”, command to run the Pygame zero and write a simple line that tells it what to do.
import pgzrun

def draw():
    screen.fill((255, 255, 0))  # Fill the screen with yellow color
    screen.draw.text("Hello, Pygame Zero!", topleft=(10, 10), color="black")

pgzrun.go()
Save the file.
Step 6: Run Your Pygame Zero Game:
Now, in the Command terminal, use the pgzrun command to execute the code we have created in the previous step.
pgzrun myfirstgame.pyAs you execute the file (myfirstgame.py) using the above command, a window will open with a yellow background and the text “Hello, Pygame Zero!”.

Those who want a complicated example with a moving object can see the given code:
Note: where you have created your project file as we did here “myfirstgame.py” in the same directory create a folder named “images” and download & save two images one with the name – “apple” and the other with “alien“. It is because we have used them in this example:
import pgzrun
import random

WIDTH = 800
HEIGHT = 600

player = Actor("alien")
player.pos = WIDTH / 2, HEIGHT - 50

apples = []

def draw():
    screen.fill((135, 206, 250))  # Set background color to sky blue
    player.draw()
    for apple in apples:
        apple.draw()

def update():
    move_player()
    move_apples()
    check_collision()

def on_key_down(key):
    if key == keys.LEFT:
        player.x -= 10
    elif key == keys.RIGHT:
        player.x += 10

def move_player():
    if player.left < 0:
        player.left = 0
    elif player.right > WIDTH:
        player.right = WIDTH

def move_apples():
    for apple in apples:
        apple.y += 5
        if apple.y > HEIGHT:
            reset_apple(apple)

def reset_apple(apple):
    apple.y = 0
    apple.x = random.randint(20, WIDTH - 20)

def check_collision():
    for apple in apples:
        if player.colliderect(apple):
            reset_apple(apple)

def create_apples():
    for _ in range(5):
        apple = Actor("apple")
        apple.pos = random.randint(20, WIDTH - 20), random.randint(0, HEIGHT)
        apples.append(apple)

create_apples()
pgzrun.go()
Again save the file and run it using pgzrun.
Here is the output you will get…

Conclusion:
So this was the quick way to install Pygame Zero on your Windows 11 system and create a simple program to know how to use this Python game development library. Although we have just given quite a simple example, you can use Pygame to create more complex gaming programs. Know more about PyGame Zero from its official documentation.
Other Articles:
Related Posts
How to create email groups in Gmail? Send one email to multiple recipients in a matter of seconds.
Getting the right dashcam for your needs. All that you need to know
How to Install 7-Zip on Windows 11 or 10 with Single Command
Install Google Earth on Windows 11 or 10 Using a Single Command
How to install Gaming Services on Windows 11
How to Install Telnet Client on Windows 11 Using PowerShell