Ubuntu 20.04 Server is the latest addition in the Long term server distro, released by the Canonical team. In this tutorial, we will see the process of creating a Ubuntu server bootable USB drive and then install it on the system using the same.
requirements
- A Ubuntu 20.04 bootable USB disk or DVD.
- PC, laptop or server with a USB drive support to install it.
Download Ubuntu 20.04 Server ISO
The first thing which we need for that installation is the ISO file of the latest Ubuntu 20.04 server version. You can visit these links. Ubuntu server ISO (Torrent link) (Direct link).
Create a bootable drive
To create Ubuntu 20.04 LTS bootable drive you can use various software. If you are Linux then Etcher or Unetbootin and Windows users can simply download Rufus. I am assuming you would have Windows access, thus download Rufus and run this portable software.
- Insert USB drive to your system
- Select the Drive on Rufus
- Then select the downloaded ISO file of Ubuntu 20.04
- Finally, click on the Start button.

Boot Ubuntu 20.04 LTS system
Once you got the bootable USB drive, insert it to the system where you want to install Ubuntu 20.04 server and boot it with that. The key to getting the boot menu generally is F12 or Esc. Check what supports your motherboard.
Install Ubuntu 20.04 Server
To install the server, we don’t need a mouse, everything will be set by using the keyboard only.
- The first thing is to select the language, use the keyboard arrow keys and select the language which you want to use for the installation wizard.

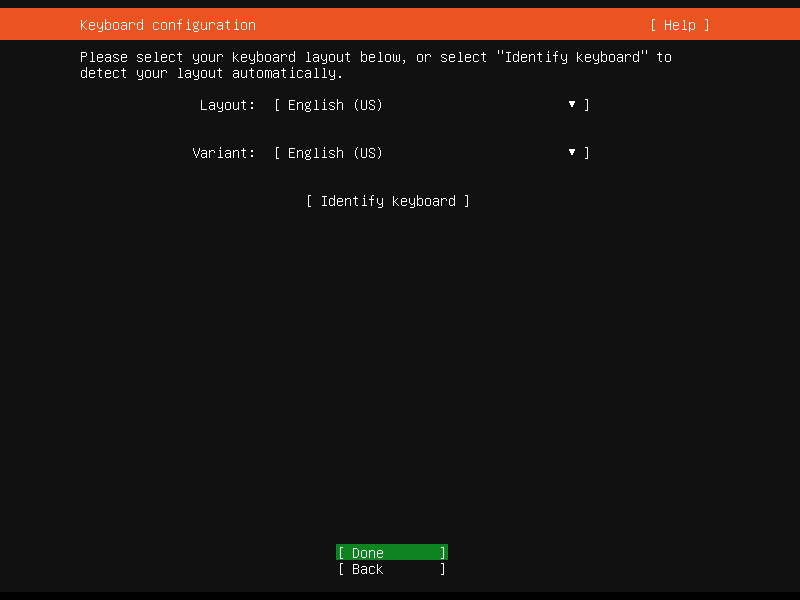
- The second thing is the keyboard configuration, select your keyboard layout. However, the setup will automatically identify the keyboard you are using and will see the layout accordingly, thus simply press the Enter key.
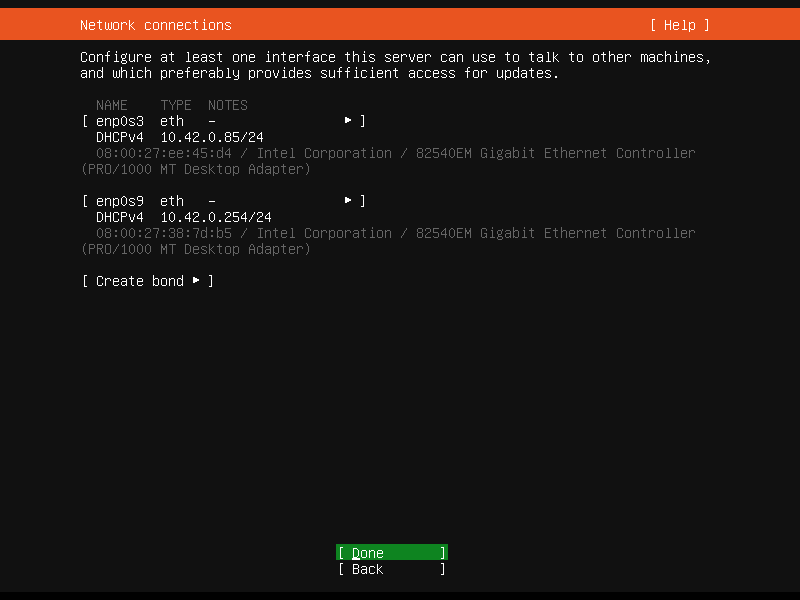
- Now, if you have DHCP enabled, the Ubuntu 20.04 LTS server will automatically fetch the IP address and display that on the screen. Whereas, if you want to use static Ip address then enter that manually.
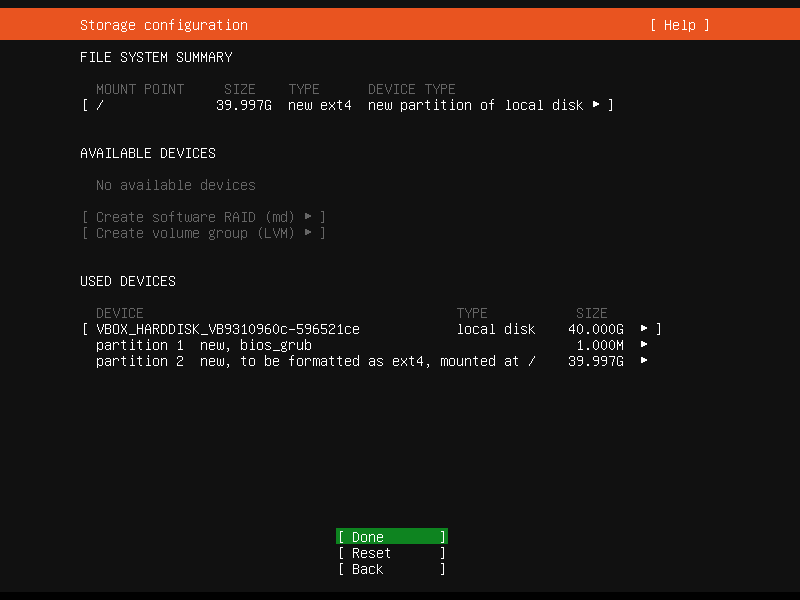
- Guided Storage configuration: Here you will see the attached hard disk, by default the entire hard disk will be selected, if you want to manually partition the disk; select the “Custom Storage layout” using the TAB key.

- Next display will show the File system and the disk partition structure.
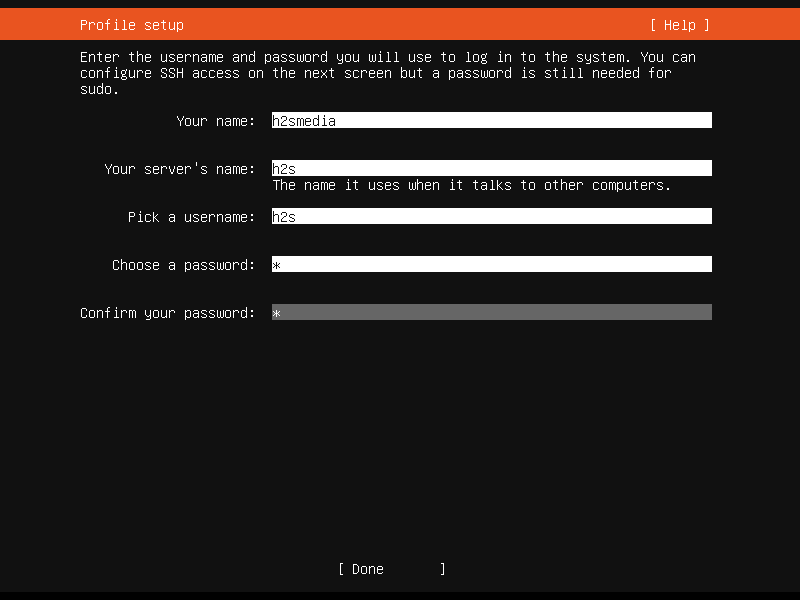
- Enter the username and password that you want to use to log in to the system.
- If you want to set the OpenSSH server on Ubuntu 20.04, then here you can select. However, we can do that later as well. Thus, simply move forward.

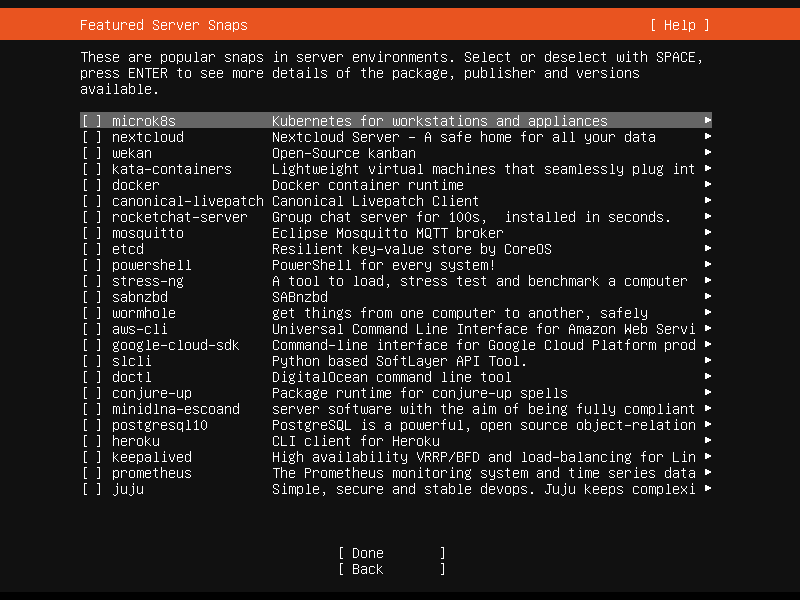
- Featured Server Snaps: There are popular snaps in server environments. Select or deselect with SPACE key, if you want to install any of them, if not then leave the options as it is and press ENTER to move forward.
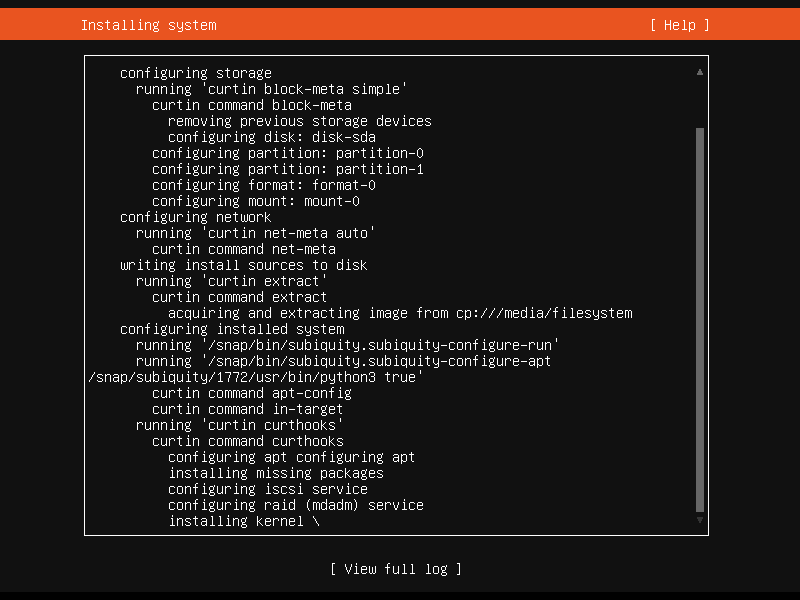
- Will show the configured Ubuntu 20.04 LTS server details and installing Kernel and other base systems.
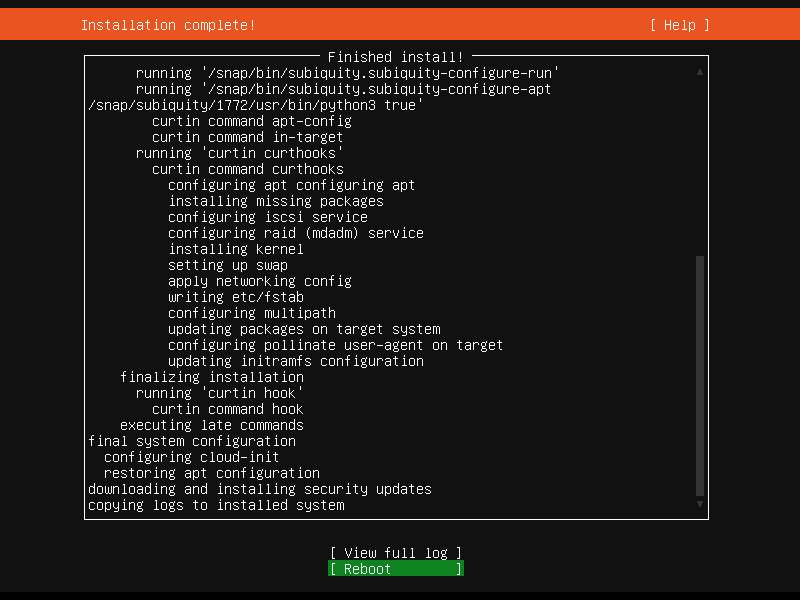
- Finally, in a few minutes, the installation of the Ubuntu 20.04 server will be done. The moment it happens, eject the attached bootable USB drive of Ubuntu 20.04 and hit the Reboot option.
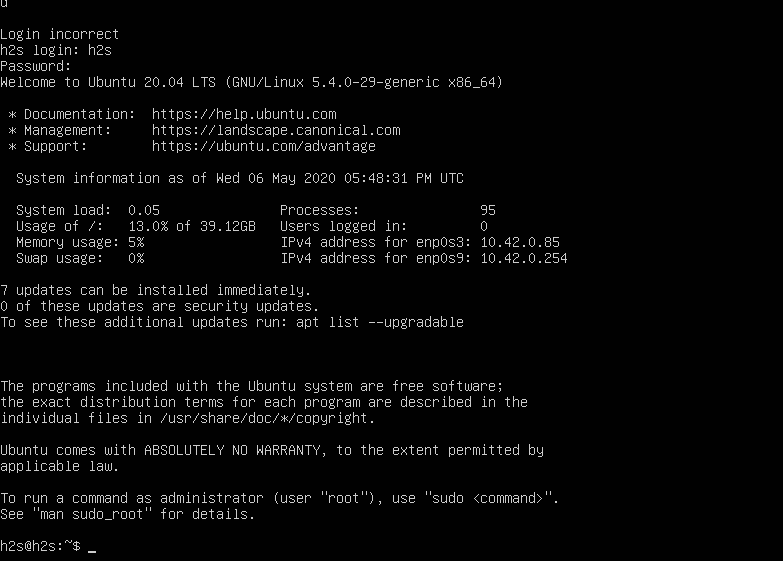
- Now, Log in with user name and password you have set.
Ending note on Ubuntu 20.04 server installation
So, it was the simple and quick tutorial on Ubuntu server installation, you can follow the same method for VirtualBox installation as well.
Related Posts
How to create email groups in Gmail? Send one email to multiple recipients in a matter of seconds.
Getting the right dashcam for your needs. All that you need to know
How to Install 7-Zip on Windows 11 or 10 with Single Command
How to Install ASK CLI on Windows 11 or 10
How do you install FlutterFire CLI on Windows 11 or 10?
How to create QR codes on Google Sheets for URLs or any other text elements