From helping our friends and family members to solve a problem on their computers, to helping clients if they face some troubles on their computers. Accessing computers remotely can be the best solution to help them. When it comes to remote access software, TeamViewer is one of the most popular freemium alternatives that you can go for. With cross-platform availability, you can even access a computer from your mobile devices and help them while you are on the go. But in order to help, or remotely access computers, both your computer, as well as the remote computer, should be connected to the internet and should have TeamViewer installed.
If you are trying to install TeamViewer on a windows computer, it is very easy to do that, and if you are doing it on your smartphone, you can easily download the TeamViewer app from your respective app stores. But when it comes to installation of TeamViewer on a computer running Linux, the installation is not that straight forward, and you might end up not being able to install TeamViewer on a computer running Linux if you do not know the steps properly. So, today I will discuss how you can install TeamViewer on a computer running Ubuntu.
Without any further delay, let’s get started with how you can install TeamViewer on Ubuntu distribution. We have used Ubuntu 19.04, however, the steps will be the same for Ubuntu 19.10, 18.04, 17.04; Linux Mint, Debian and Elementary OS.
Downloading and installing TeamViewer on Ubuntu
- Open the following link and download the ‘.deb’ package for Ubuntu. You can download the 32-bit or 64-bit version depending upon your system architecture. Here is the link to get it.

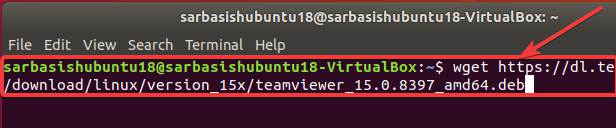
- Alternatively, just type in the following command to start downloading TeamViewer deb package 64-bit on your computer running Ubuntu, after opening a Linux terminal.
wget https://download.teamviewer.com/download/linux/teamviewer_amd64.deb
To download the 32-bit version, use the following command.
wget https://download.teamviewer.com/download/linux/teamviewer_i386.deb
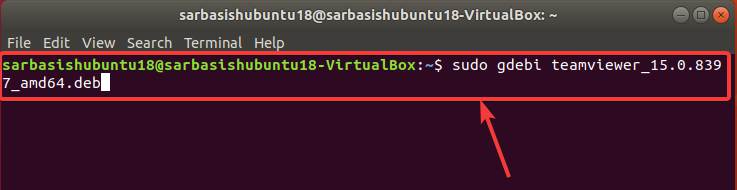
- After the download is complete, type in the following command and hit the enter key, without changing the current working directory.
sudo gdebi install teamviewer_15.0.8397_amd64.deb
Alternatively, for the 32-bit edition, use the following command.
sudo gdebi install teamviewer_15.0.8397_i386.deb
If you do not have ‘gdebi’ installed, you can see the following command to find out how you can install gdebi on Ubuntu. You can even not use gdebi to install TeamViewer and proceed with other ways to deal with ‘.deb’ files. However, here is the tutorial to install Gdebi package manager on Ubuntu.
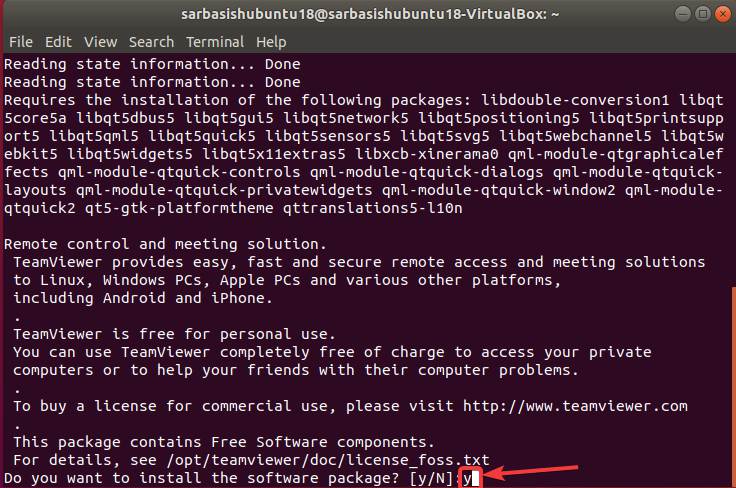
- After the installation starts, a list of dependencies will be displayed to you. Just type ‘y’ and hit the enter key to continue with the installation.
- After the installation is complete, you can open TeamViewer, either by typing ‘teamviewer’ in the Terminal, or by searching for the same from the apps, or by using the default launcher.

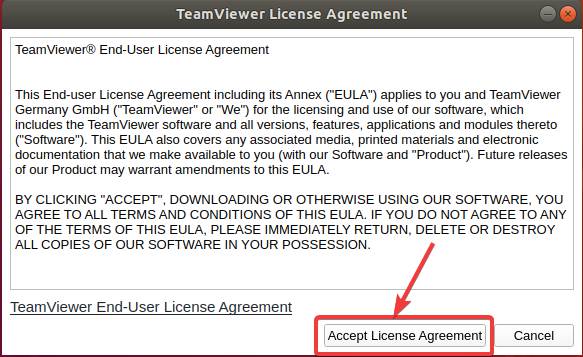
- Now, you just have to agree with the terms and conditions of using TeamViewer by clicking on the ‘Accept License Agreement’ button.
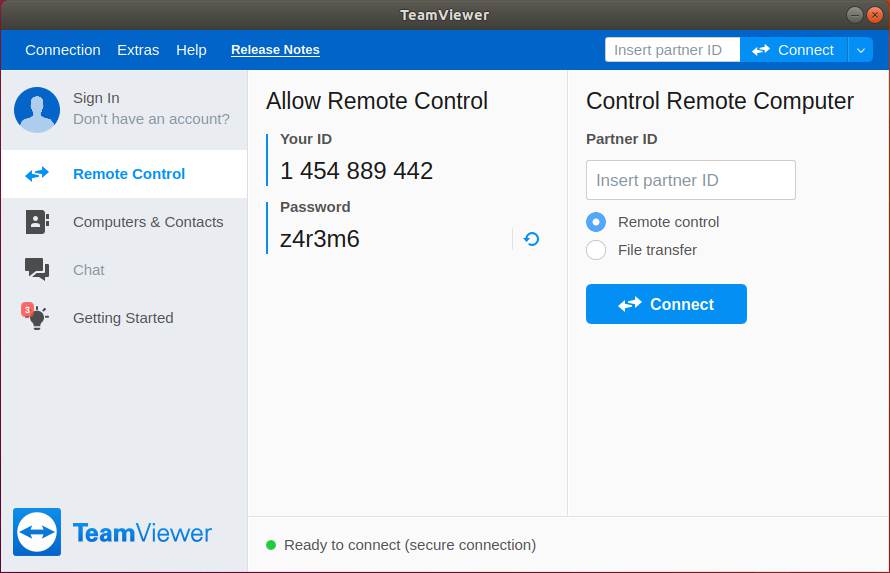
- Now, you can use TeamViewer, just the way, you use the same on other platforms.
So that was all about how you can install TeamViewer on Ubuntu. It should also work on Debian-based distros. Even though I did the installation on Ubuntu 18.04 LTS, but it should work on other Ubuntu versions, as well. Do you have any questions? Feel free to comment on the same below.
Other Articles:
Related Posts
How to create email groups in Gmail? Send one email to multiple recipients in a matter of seconds.
Getting the right dashcam for your needs. All that you need to know
How to Install 7-Zip on Windows 11 or 10 with Single Command
How to Install ASK CLI on Windows 11 or 10
How do you install FlutterFire CLI on Windows 11 or 10?
How to create QR codes on Google Sheets for URLs or any other text elements