Each time you set up your computer by installing Windows 10, a random name is assigned to the system, so that you can recognize your computer when it is connected to a network, or it is a part of it. The same applies if you are formatting your computer to install Windows 10 from scratch. Especially on Windows 10, the name starts with ‘DESKTOP’, and it ends with a certain alphanumeric combination like ‘C67J15F’, or anything like that. This can cause real trouble for your network admin to recognize your computer, or even for yourself, if you have multiple computers, and all of them are connected to the network.
Thus, it is a good idea to change the random name assigned by the installer to your system, with a new and meaningful one. You can always change the name assigned to your system by the installer during setup, but most people, including me, remain in a hurry to complete the installation as soon as possible and get the PC working. To do that, most users leave the settings to default to change them later on whenever necessary. After a new name is assigned, this will be easier to send files to the computer from a device, which recognizes a computer through its name. So, I am here to help you with, how you can change the name of your PC with Windows 10 installed.
So without any further delay, let’s get started with it.
Changing the name of a computer on Windows 10
- Click on the start menu, and then click on the ‘Settings’ cog.
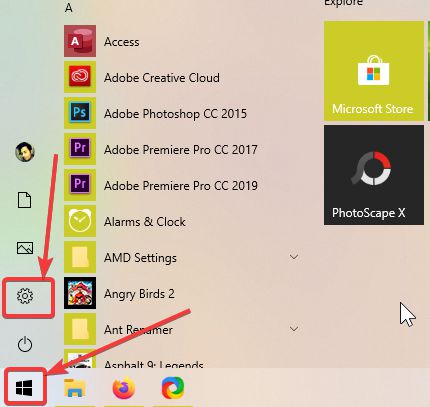
- In the ‘Settings’ menu, click on ‘System’, which should be the first item in the settings menu.

- In the ‘System’ menu, scroll down and click on ‘About’.
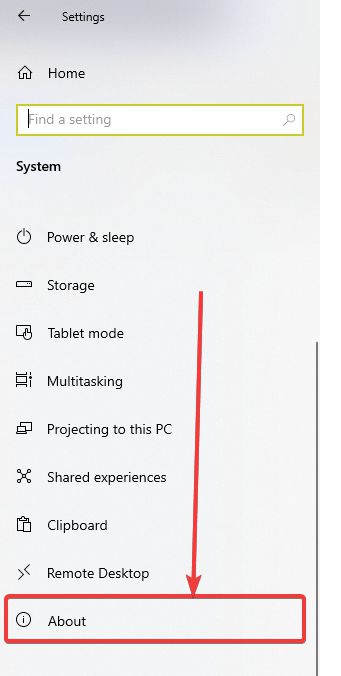
- In the ‘About’ page, click on ‘Rename this PC’.

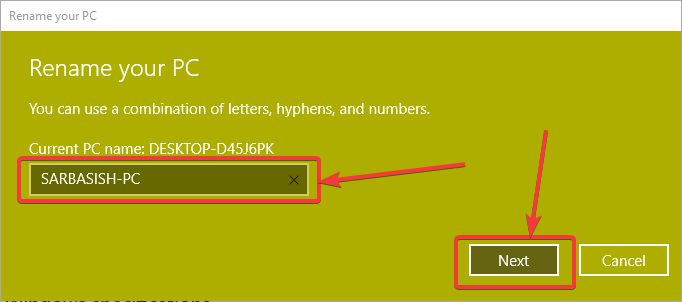
- Now, you will have to enter the desired name on your computer. While assigning a name, make sure you do not use any spaces or other unsupported characters in the name. Just choose a name that is simple, and can help you recognize your computer in a unique way. After you enter the name, click on ‘Next’.
- After the name is assigned, you will have to restart your computer for the changed name to be effective in your system. You can click on ‘Restart now’ or ‘Restart later’ depending upon when you plan to restart your computer.

- If you have multiple computers, you can repeat the same for all the computers you have access to, in order to identify your computer, when it is connected to a network. To make sure, you can share files, or want to make your computer visible to others on a network, don’t change the domain, which should by default be ‘WORKGROUP’ for most Windows computers.
So that was all about how you change the name of your computer on a Windows 10 computer. Do you have any questions in mind? Feel free to comment on the same below.
Related Posts
How to create email groups in Gmail? Send one email to multiple recipients in a matter of seconds.
Getting the right dashcam for your needs. All that you need to know
How to Install 7-Zip on Windows 11 or 10 with Single Command
Install Google Earth on Windows 11 or 10 Using a Single Command
How to install Gaming Services on Windows 11
How to Install Telnet Client on Windows 11 Using PowerShell