The dark mode is the need of the hour for most netizens out there, and the leading developers are also including this important feature on their products and applications. But still, there are applications for which we are madly waiting for the dark mode to come. But if you are using Ubuntu, which is undoubtedly the most popular distribution of Linux for most users, you can enable system-wide dark mode in the easiest possible way and this will be applicable, not only for the programs and applications that come pre-installed with Ubuntu but also for the third-party applications that you download and use.
You can disable the dark mode anytime you want, which means you can keep the dark mode disabled during the daytime if you need obviously, and enable it before bedtime so that you can have a nice night’s sleep. With the dark mode enabled, you can do all your work on your computer and even for the web browsers as well, the dark mode will be applicable. However, things will change if you are visiting a website, which does not have support for dark mode as it will override the settings. However, depending upon the website that you are visiting, you will always find a way out to enable the dark mode for that specific website.
So without any further delay, let’s get started with how you can enable dark mode on Ubuntu.
Enabling dark mode on Ubuntu
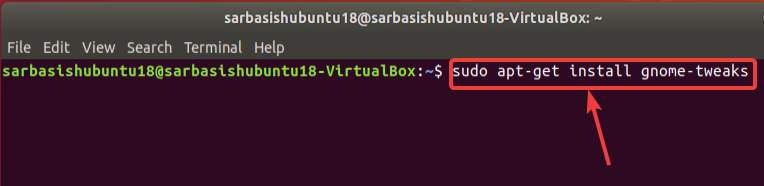
Step 1: The first and most important thing is to download Gnome Tweaks on Ubuntu. To do that, type in the following command and hit the enter key.
sudo apt-get install gnome-tweaks
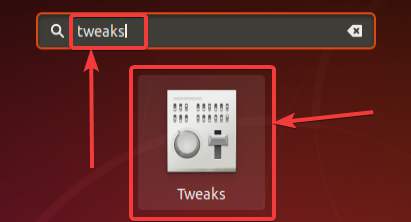
Step 2: After the installation of Gnome Tweaks is complete on Ubuntu, open your default launcher and type in ‘tweaks’ to open the following application as shown in the screenshot below.
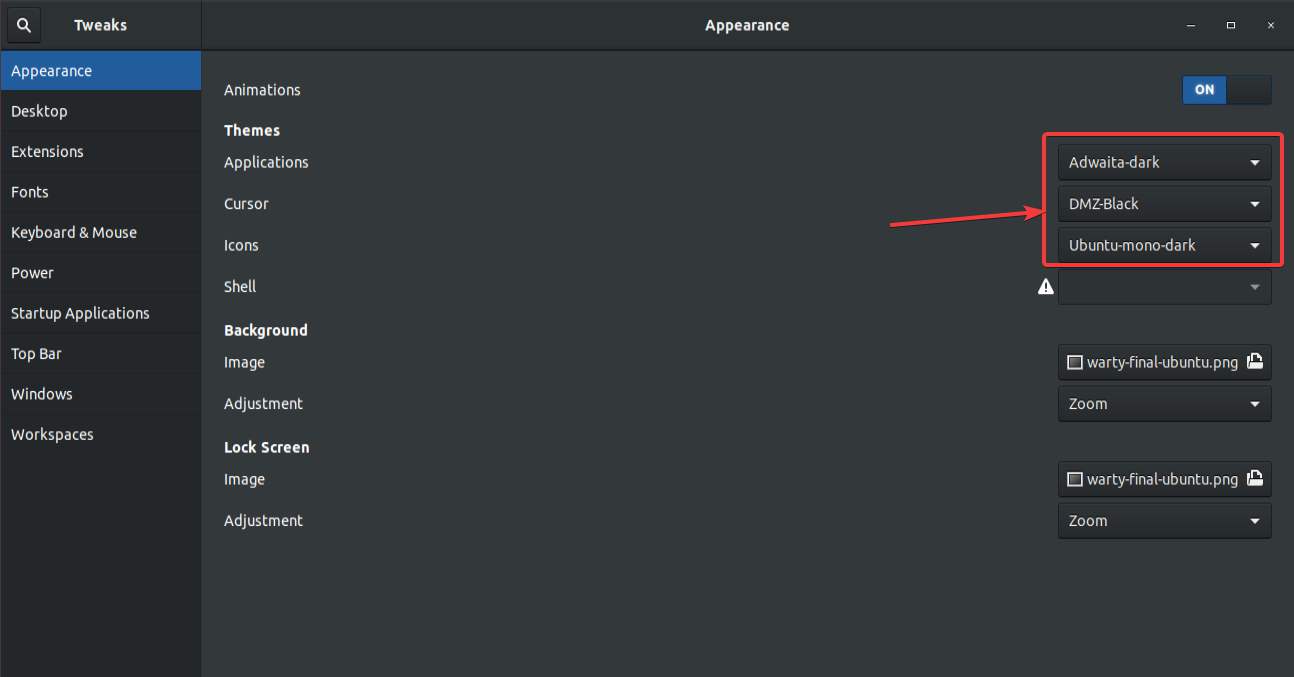
Step 3: After you open Gnome Tweaks, Click on the drop-down menu corresponding to applications on the appearance tab. Among the number of teams that will be displayed to you, just click on one of the dark themes that are available, and I have chosen the ‘Adwaita-dark’.
Step 4: That should immediately change the background to a dark colour. You can simply exit from here, however, you can also change the colour of your cursor and the icons that are displayed. Corresponding to the cursor, you can Choose ‘DMZ-Black’, and ‘Ubuntu-mono-dark’ or ‘Humanity-Dark’ for icons, from the respective drop-down menus.
Step 5: Now you can exit tweaks, And the system-wide dark mode should be available in front of you. To make things darker, you can even choose a dark background that will be soothing to your eyes.
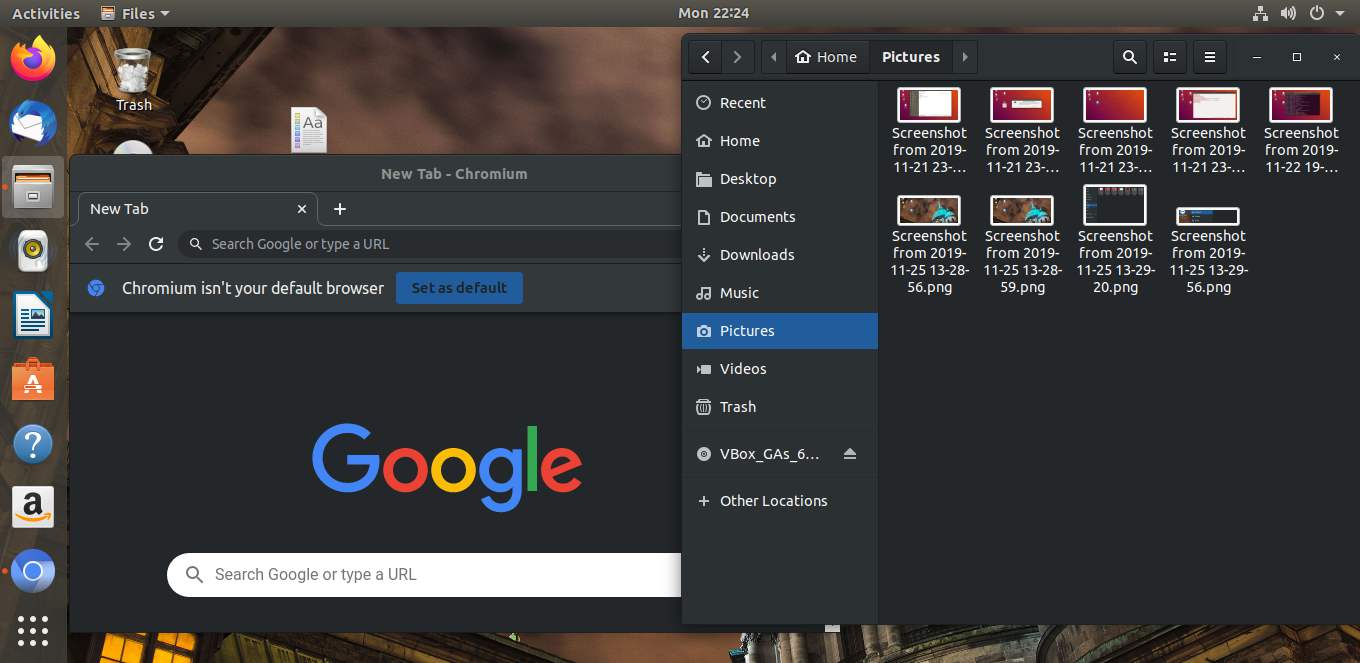
Step 6: Here, I have opened the default Files app, which comes pre-installed with Ubuntu, and the Chromium Web-browser, which I have downloaded from the repository. In both cases, you can find, the dark mode is available for you to use.
This isn’t an official dark mode available for Ubuntu, as all these are some themes, which can resemble a dark mode on your Ubuntu computer. That’s the reason, why you cannot schedule the dark mode so that it can automatically get activated during night time at a certain point of time depending upon your requirements. You can use this as long as you are using the Gnome or the Unity desktop environment. If you switch to a different environment, this trick is not going to work, as it is only applicable for Gnome.
So, that was all about how you can enable dark mode on your Ubuntu computer. Do you have any questions? Feel free to comment on the same below.
Related Posts
How to create email groups in Gmail? Send one email to multiple recipients in a matter of seconds.
Getting the right dashcam for your needs. All that you need to know
How to Install 7-Zip on Windows 11 or 10 with Single Command
How to Install ASK CLI on Windows 11 or 10
How do you install FlutterFire CLI on Windows 11 or 10?
How to create QR codes on Google Sheets for URLs or any other text elements