Digital audio workstation programs can be really useful to boost your productivity and streamline your workflow while dealing with audio files. Among the many popular digital audio workstation programs available, Ardour is one of the most popular and functional programs that are available for Windows, Linux, and for users of other major platforms. Ardour is mainly targetted towards core audio enthusiasts, audio engineers, etc., and you will not even find a hard time dealing with Ardour, even if you are a noob. Ardour also comes with the JACK Audio Connection Kit, which has the unique ability to export audio output from a program to another program, like Ardour.
Ardour is completely free to use, and the installation of Ardoir is a piece of cake on Windows computers, but it isn’t that straightforward when it comes to the installation of the same on Linux platform, you have to download it from the official repository, and carry out some extra steps, right at the time of downloading and installing it. So, today, I will talk about, how you can download and install Ardour on your Linux computer, running Ubuntu. After you install Ardour, you can now easily convert your computer running Linux, into a powerful audio workstation.
So, without any further delay, let’s get started with the installation of Ardour on your Linux computer running Ubuntu.
Installing Ardour on Ubuntu
Step 1: Open a Linux terminal, and type in the following command to update the list of packages that could be downloaded and installed.
sudo apt update

Step 2: After the update is successfully completed, type in the following command to start the installation of Ardour on your computer.
sudo apt-get install ardour

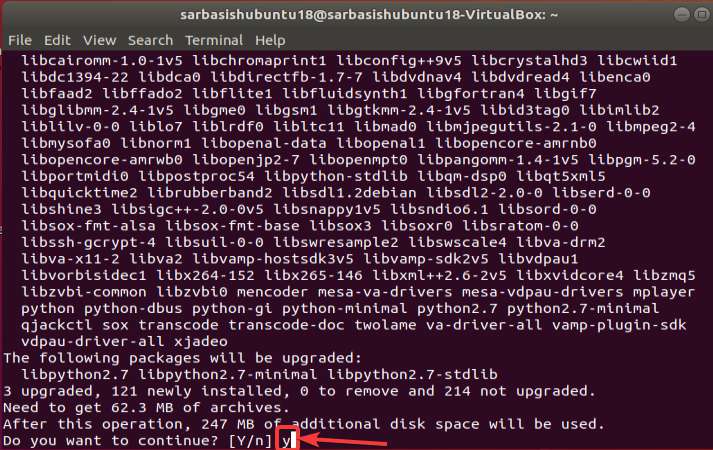
Step 3: After the installation starts, a list of dependencies, and the required space for the installation of the digital audio workstation Ardour will be displayed to you. Ardour will consume around 65 MB for the installation. Just type ‘y’, and hit the enter key to carry on with the installation.

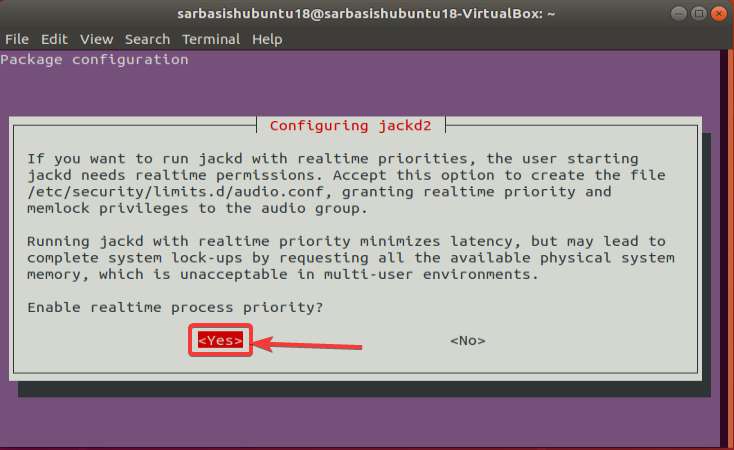
Step 4: The installation will take some time, and after some time, you can choose, whether you want to download and configure ‘Jack’, which I have talked about, in the beginning. You can skip downloading and configuring ‘Jack’, as well, if necessary. Depending upon that, select ‘Yes’ or ‘No’, and hit the enter key.

Step 5: Now, the installation will continue, and once done, you can open it from the apps section, or with the help of your default launcher.

Step 6: After the installation is complete, and you open it for the first time, you just have to change the settings and configure the program to start using it.

Step 7: You can choose the most appropriate setting for yourself to start using Ardour. You have to choose the default location for all your audio projects, The monitoring choices, which I will recommend you keep the default. However, if you have some specific requirements, you should change the settings to make the ends meet.

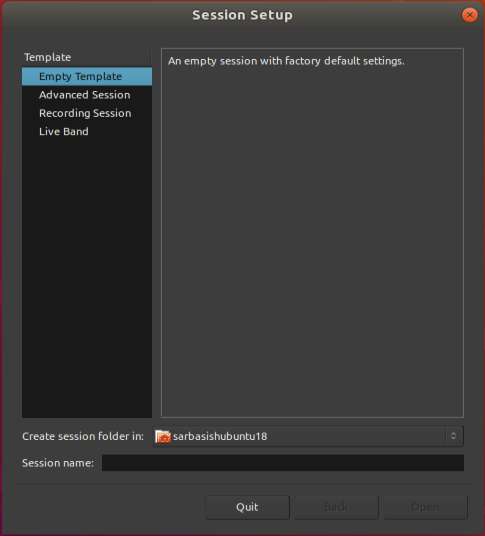
Step 8: Now you can start using Ardour and you with audio files and recordings as per your requirements by creating a new session within an existing or new audio template.

So, that was all about how you can install Ardour. The usage is going to be the same on all Linux distributions, and the initial setup after you have downloaded Ardour is also the same. Do you have any questions? Feel free to comment on the same below.
Related Posts
How to create email groups in Gmail? Send one email to multiple recipients in a matter of seconds.
Getting the right dashcam for your needs. All that you need to know
How to Install 7-Zip on Windows 11 or 10 with Single Command
How to Install ASK CLI on Windows 11 or 10
How do you install FlutterFire CLI on Windows 11 or 10?
How to create QR codes on Google Sheets for URLs or any other text elements