Follow the simple commands of this tutorial to install and use Git LFS on WSL 1 or WSL 2 systems running either on Windows 11 or 10.
Developed by GitHub, Git LFS (Large file system) is an extension of Git to allow developers to manage large files like images, videos, and other binary files efficiently and quickly. This also saves developers from the issues of slow performance and huge repository sizes while storing large files in their Git repositories. To do this, it replaces large files in your Git repository with small “pointer” files and stores the actual file contents on a separate server like GitHub.com or GitHub Enterprise. Using this Git extension developers can easily track and version large files in their Git repositories without causing any problems.
Follow to below steps to install Git LFS on WSL 2 Ubuntu system.
1. Install Ubuntu WSL 2 or 1
I am assuming that you already have downloaded and installed Ubuntu on Windows Subsystem for Linux to run. However, if not then can follow the steps given in our tutorial- How to set up Ubuntu bash on WSL.
2. Run system update
Once you have the WSL running with Ubuntu bash, go to the Windows search box and type – Ubuntu to run it. As it opens, first execute the system update command. It will not only install the available update but also rebuild the APT package repository cache.
sudo apt update && sudo apt upgrade -y3. Installing Git LFS on Ubuntu WSL 2 or 1
Git LFS is available through the system default repository of Ubuntu 22.04/20.04, therefore we can easily install it using the system repositories and APT package manager. Here is the command to follow:
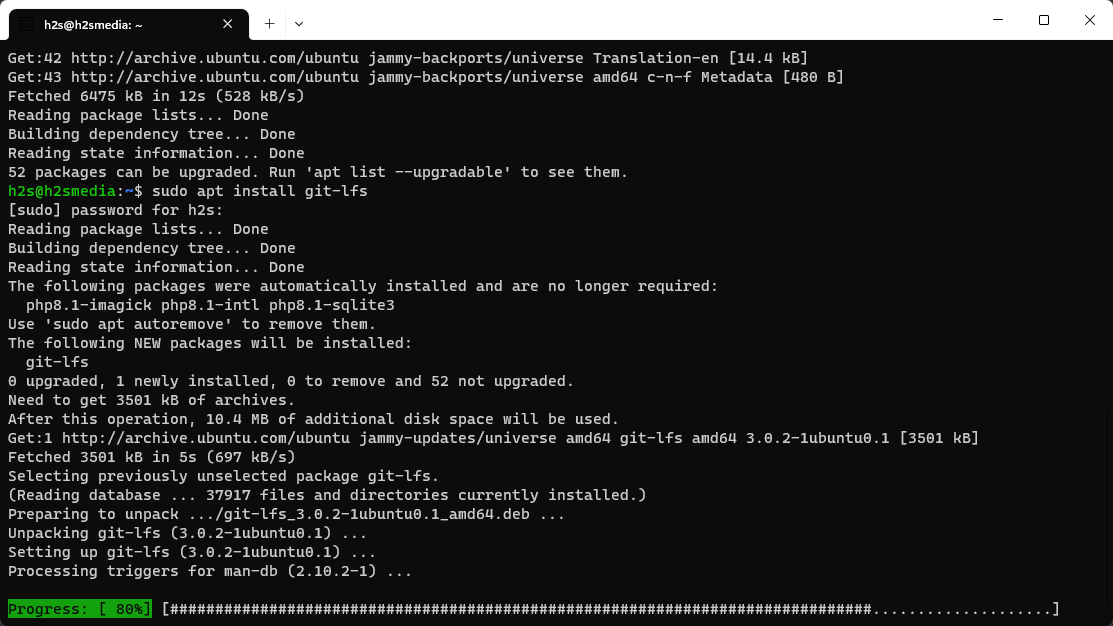
sudo apt install git-lfs
4. How to use Git LFS
After installing the Git LFS you can check out its man page to understand its commands on GitHub. To get a quick idea, users can also use the given command:
git lfs helpHowever, here is the overview of the steps involved in start using Git LFS.
1. Initialize Git LFS in your Git repository: For that switch to the root directory of your Git project and then run the given command to initialize Git LFS once for your Git repository.
git lfs installThis command will set up Git LFS in your repository and configure Git to use Git LFS for large files.
2. Configure Git LFS: We need to create a .gitattributes file in the root directory of the Git repository to configure Git LFS to track the specific types of files that we want to store in the remote server. Once the file is created add the file types that you want to track with LFS.
For example, if we want to track all files with the .mp4 extension, we can add the following line to your .gitattributes file:
*.mp4 filter=lfs diff=lfs merge=lfs -text3. Add and commit large files: After configuring the .gitattributes file with the types of files we want it to track, you can add and commit large files to your repository as you would with regular files. Git LFS will automatically replace these large files with pointer files and upload the actual file contents to the Git LFS server.
4. Push and pull changes: When you push or pull changes from your repository, Git LFS will handle the transfer of large files in the background. If you’re pushing changes to a remote repository, you’ll need to ensure that Git LFS is installed and configured on the remote server as well.
It is recommended that you should use Git LFS for files larger than 100MB because, for smaller files, it may be more efficient to store them directly in Git.
Related Posts
How to create email groups in Gmail? Send one email to multiple recipients in a matter of seconds.
Getting the right dashcam for your needs. All that you need to know
How to Install 7-Zip on Windows 11 or 10 with Single Command
Install Google Earth on Windows 11 or 10 Using a Single Command
How to install Gaming Services on Windows 11
How to Install Telnet Client on Windows 11 Using PowerShell