Qemu is open-source software for virtualization on Windows 10/8/7, Linux, and macOS but with a command-line interface, lightweight, and low hardware requirements.
QEMU stands for “Quick Emulator” and is the standard tool for virtualization and CPU emulation under Linux, Windows, and macOS. On Linux systems, QEMU uses the functions of the Linux kernel for virtualization (KVM- Kernel Virtual Machine), which are not available under Windows.
Thus, the binaries of Qemu’s ported version for Windows by Stefan Weil couldn’t provide the performance as it gives on Linux OS with KVM. Thus VirtualBox or Vmware player will be the best alternative options; still, if you want to try then here in this Qemu tutorial, we will let know the way to download, install and use Qemu on Windows 10 or 7 using its GUI VM manager Qtemu, an open-source software.
Qemu installation on Windows 10 with Qtemu GUI
Step 1: Download Qemu for Windows
From the official website of the Qemu, we can download it easily even the source code. Visit it and click on the Windows tab, it will take you to another page https://qemu.weilnetz.de to download 32 bit or 64 bit of this virtualization platform. Here we are getting the 64 bit.
Step 2: Install Qemu
Now, like any other Windows 10/7 software, just double click on the downloaded setup of Qemu and follow the installation wizard.
- Accept the suggested language setting, by default it will be English. Select the “OK” button.
- Press the NEXT button.
- Confirm the usual license terms (GNU General Public License) with “Accept“.
- All modules required for QEMU have already been selected in the “Select components” dialogue. Confirm with “Next”.
- Check the suggested destination folder and go to “Install“.
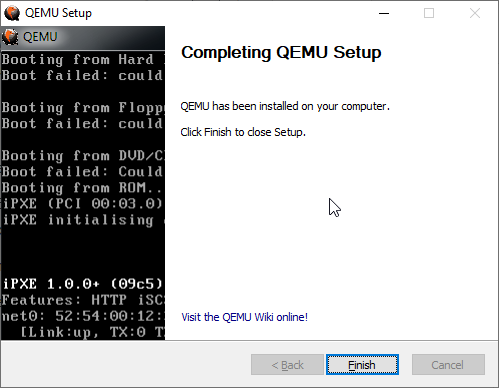
- Click on “Finish” to complete the setup of QEMU.
Step 3: Install GUI for QEMU on Windows 10
As we know the QEMU uses the command line to create virtual machines by default. But it would be not feasible for standard computer users using CLI to manage virtual machines, thus we install another open-source application to provide a Graphical user interface (GUI) to QEMU. This program is known as Qtemu which is a fork of a dead project available at https://qtemu.org.
Here are the links to download an active Qtemu project for Windows 10/8/7 available on Gitlab.
If you don’t want to install it, go for the portable version.
Gitlab Page Link of the project.
Step 4: Setup QEMU manager Qtemu GUI
After the installation of Qtemu run it from the Windows Start menu.
- In the first column “QEMU binaries path” copy-paste this: C:\Program Files\qemu\ Or enter the path where you have installed the QEMU.
- For the second column enter the path of the Qemu-img file that is: C:\Program Files\qemu\qemu-img.exe
- Now create a folder anywhere on your computer where you want to save the virtual machines created by QEMU. And click on the folder icon given in the front of the third column to select that particular folder.
Note: You can change this configuration any time from the Qtemu Settings.

After that click on the Finish button.
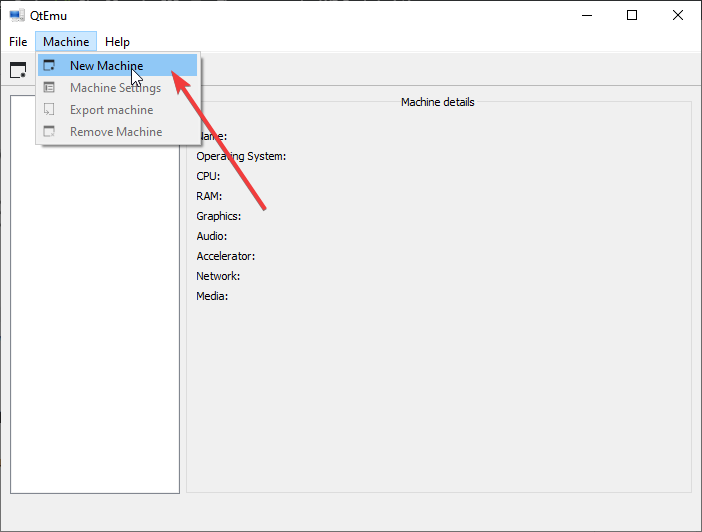
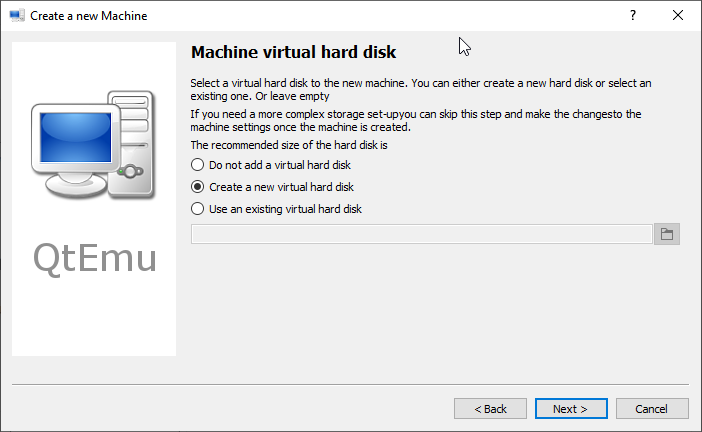
Step 5: Create a Virtual machine
Now, from Qemu GUI manager Qtemu, simply click on Machine and select New Machine.
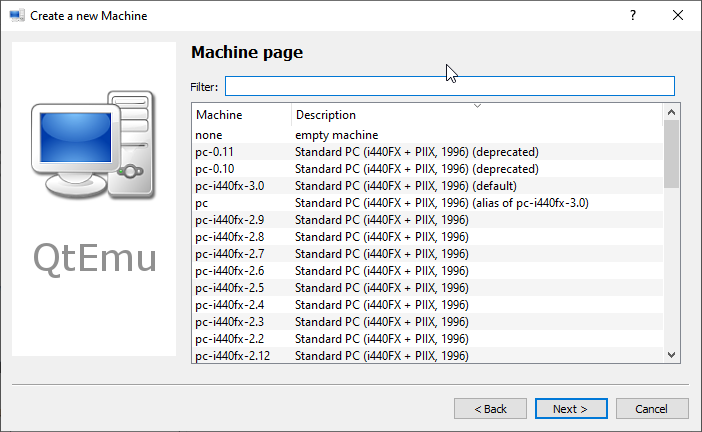
Leave the Machine which is meant to select some particular motherboard chipset.
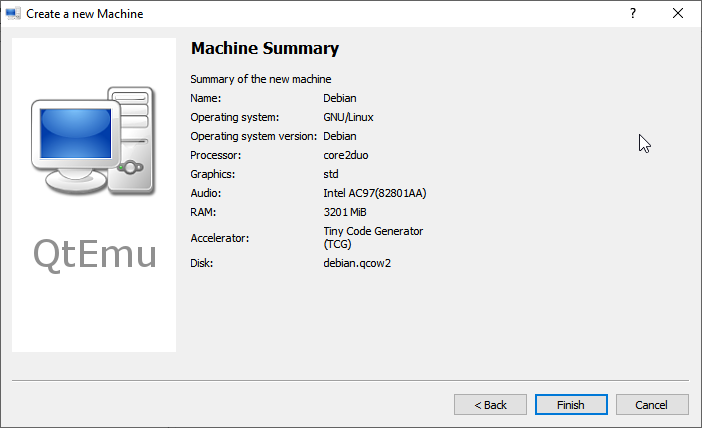
Configure the Virtual Machine hardware, select the CPU type such as Core 2 Duo, Base, or any CPU that Qemu would be able to emulate on your system whereas setting the CPU count, cores, Thread as shown below screenshot.
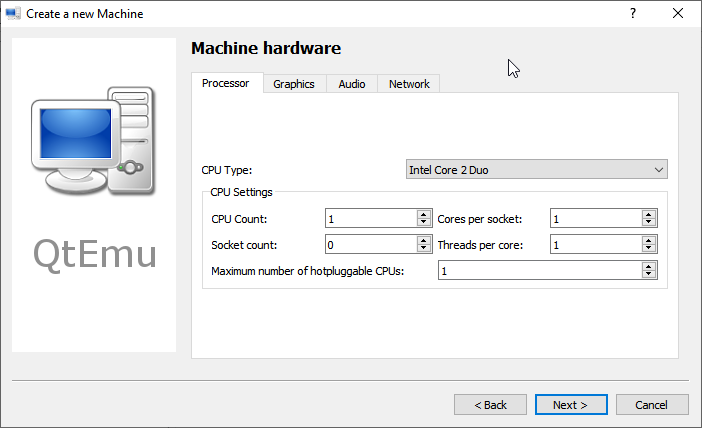
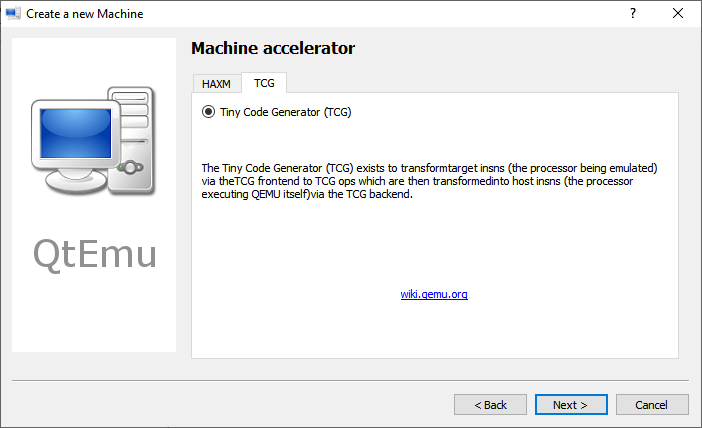
By Default, the HAXM- Hardware Accelerated Execution will be selected in the Qtemu but in case the HAXM is not supported by your system or not available, thus uncheck it and check TCG- Tiny Code Generator.
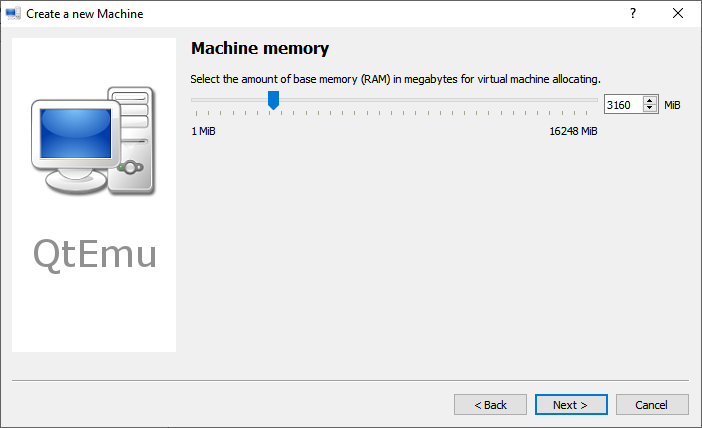
Set the amount of RAM you want to assign to your VM.

Step 6: Set bootable medium CD/DVD
Now, everything is ready, we have created a Virtual machine, its time to set a bootable medium to CD; so that our ISO file could be used while booting the QEMU VM.
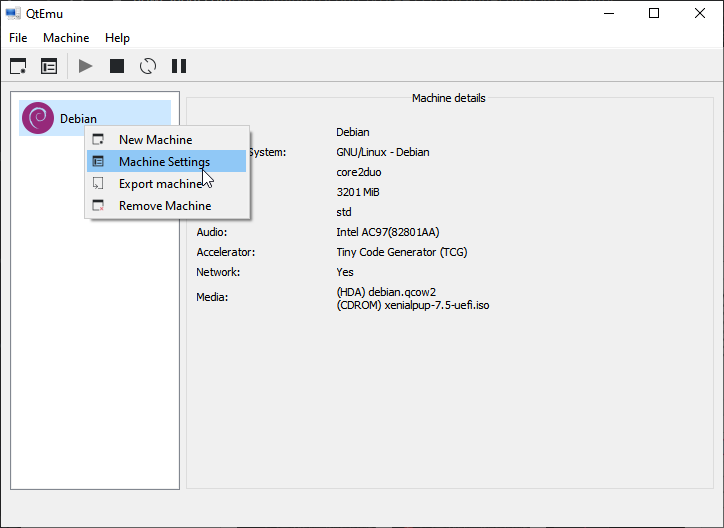
For that right-click on the created VM on the QTEMU interface and select Machine Settings.
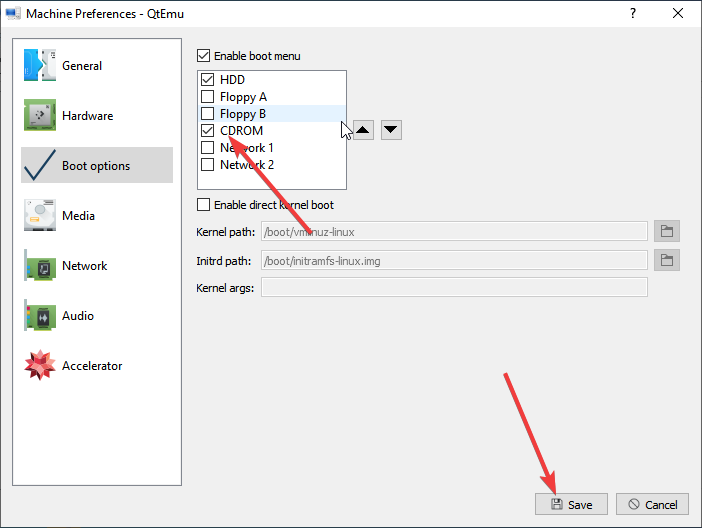
There select the Boot options from the right-side panel and after that check the “Enable boot menu” and then the CD ROM option following the Save button.
Step 7: Insert ISO file in QEMU via Qtemu GUI
Under the Machine settings, go to the Media menu and click on the CD icon. This will open the Windows file explorer, navigate to the ISO file of the OS with which you want to boot in QEMU, and click on the Save button.

Step 8: Boot Qemu Virtual Machine via GUI
Now, on the main interface of the Qtemu GUI, select the created VM and click on the start button. This will open the boot screen.
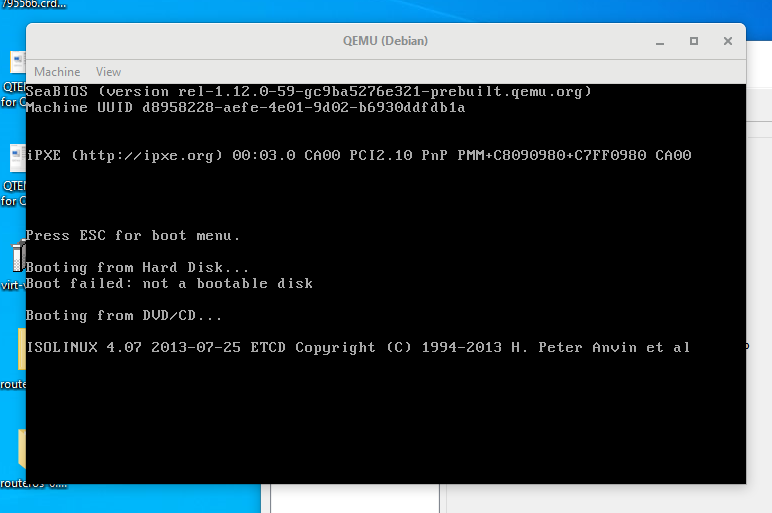
Wait for a few minutes depending upon the OS distribution you are using, it will show the LIVE screen of the same. However, I tried to boot and install Windows 10 on Qemu using the GUI but it was quite sluggish and slow.
Verdict:
Although the CLI can be used to create and manage a Virtual machine on Windows 10 using the QEMU, with the Qtemu GUI tool it becomes quite easy, however, in my case it worked well with Lightweight Linux Distros but for Windows guest VMs quite slow and low performance. I recommend using VirtualBox instead. Yet, if someone wants to experience Qemu on Windows 10 this is the easiest possible way. Still, be cautious with Qtemu hardware configuration because slight here and there will not let you boot the VM.


Thank you for this article! You made me aware of QtEmu which is a fine GUI to make life easier in setting up a VM without having to use the CLI.
Hello, your article was very clear. I’m wondering if I can install QEMU on a *non-virtualized* 64-bit Windows 10. My computer is 64-bit, but *not* all 64-bit support hardware virtualization. (Mine’s old and it does not.) VirtualBox installs and runs but contrary to the manual, it *does* require HW virt!
I don’t care if I have the GUI or not, I just want to run various Linux on Windows 10 64-bit without HW virt.
Yes, you can use Qemu without HW virt because of the software emulation technology used by it. However, the performance will not be up to the mark, hence you will have sluggish and slow virtual machines.
Hi,
thx for this tutorial, it helped me out here and there but I haven’t been able to run DSL using qtemu although it runs using
http://distro.ibiblio.org/damnsmall/current/dsl-4.4.10-embedded.zip. Any idea how to get it working?By the way, are you sure to leave the field in QTEMU Machine page blank?
thx a lot stefan
Is there a way to run an iso with qtemu from teh context menu? Like you set a basic VM with some parameters and then you right click an ISO, and run it directly? Thanks in advance.
No, there is no such way available to use with QTemu
thank you for this post.
Hi there .. great article .. just wondering if you can print from within the quemu vm ?
Yes, network print is possible
I was not seeing an ARM64 CPU architecture CPU from the list to run a raspberry pi on for testing.
Any recommendations?
QEMU GUI interface is old now and has not been updated regularly. So, try the pure command-line method.
I have followed your process to create VM. But at the last step, when I start the machine, there is nothing happening on the laptop. Is it stuck? or any setting remaining?
I have changed the machine accelerator to TCG- Tiny Code Generator and it’s worked. But it is not booting up. It failed “not bootable disk”. Can you please suggest?
AFAIK you can run Linux on Windows through WSL without the need to use virtualization. You can choose your favorite Linux distro via store app. Though if you really need to use vm for Linux then stick to virtualbox, forget about vmware Microsoft’s own hyper-v is a better drop in replacement for Windows vm’s. Also QEMU really doesn’t belong on Windows, its better on Linux for gpu passthrough, its performance its terrible on a Windows host.
HI a bought a laptop and QEMU were already preinstalled and its consuming a lot of ram memory, i just wonder if i need it on my computer and why does the seller preinstall this application.
Can someone compile a new version of QEMU GUI from the source and upload it here, new version has support for new hw accelerator flags.
I would not trust something that someone else had compiled and uploaded…
I have a question on “Step 4: Setup QEMU manager Qtemu GUI”
How do we reconfigure the wizard again? The first time it will show, but I close it, how do we call it out again and reconfigure the img location.
I have been using QEMU from the command prompt for several years, and was hoping this GUI would shed some light on the innumerable options that exist but are not documented in a way a layman (software engineer of 27 years’ experience) can understand! But I can’t even get a QEMU machine to *launch* through this thing. Guess I’m sticking with the command line.