People who are looking to run Apache web server including PHP and MySQL on Windows 10, can use the popular WAMP server. As we know that Apache, PHP, and MySQL are meant to run in a Linux environment and are not available natively for the Windows platform. So, in such circumstances, third-party applications such as XAMPP and WAMP servers can be used. In a similar way the MAC users can try MAMP or XAMPP and Linux can install LAMP with help of just a few commands to set up the whole web server package along the PHP environment to develop PHP-based applications.
People who are looking for a WAMP server alternative can try XAMPP but you don’t need to because both the software are meant for the Windows platform and provide the same type of stability and features. Here in this tutorial, those who don’t know about the WAMPserver can get a complete idea of how to install a WAMP server for Windows 10, Windows 8, and Windows 7 no matter, whether you are using the 32bit or 64bit the installation process, is the same for all Windows versions.
Step By Step Guide to Install WAMP Server on Windows 10
Wamp Server installation brief on Windows
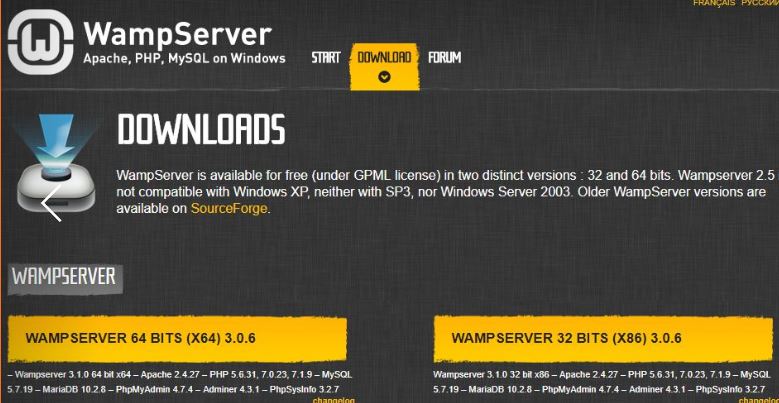
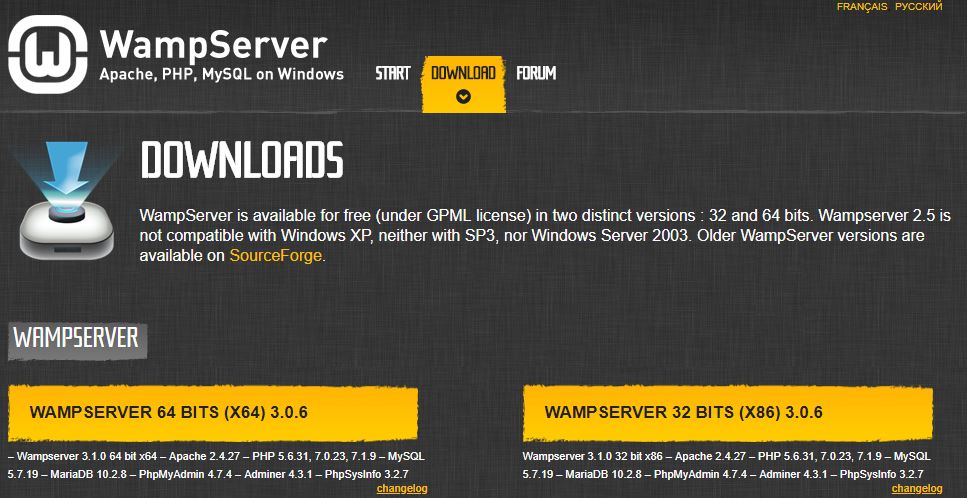
- Go to the official WampServer website and download the Wamp server 32bit or 64bit.
- Run the downloaded Wamp server.exe setup
- Select the location, if need to set it other than the default.
- Follow the instructions and install the setup.
- Click on the system tray Wamp server icon and test the webserver
Detail guide including screenshots:
Step 1: Download the Wamp server
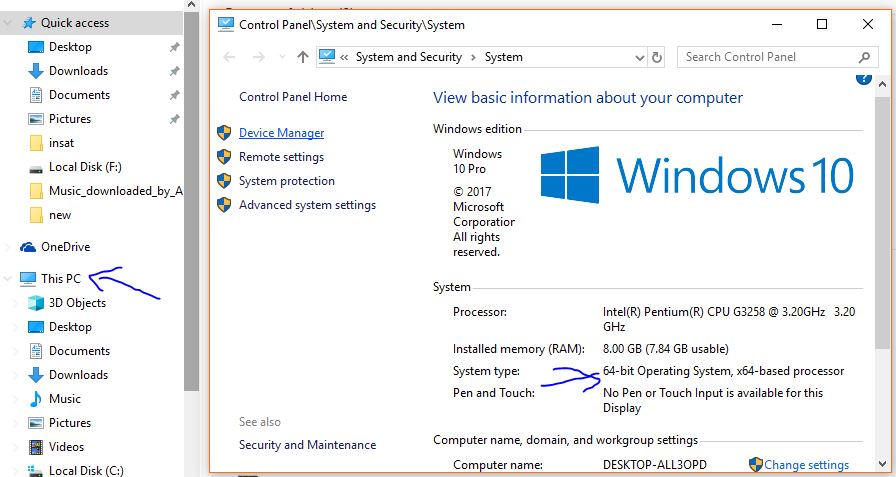
Go to the official WAMP server website (http://www.wampserver.com/en/) and download the WampServer set up according to your Windows 10 version. If you have 64bit then download the Wamp server (x64) otherwise the 32-bit (X86). To check your Windows 10 version right-click on “This PC” and select the properties.
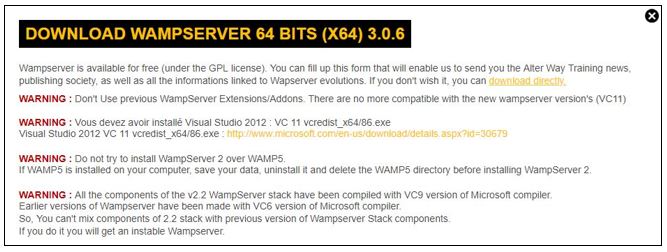
Step 2: Warnings and download link
When you click on the Wamp server to download button, a pop-a window with a download link will open that takes you to Sourceforge, and also it shows some warnings that need to see too if you using some previous version of the Wamp server.
Here are those:
WARNING: All the components of the v2.2 WampServer stack have been compiled with the VC9 version of the Microsoft compiler. Earlier versions of Wampserver have been made with a VC6 version of the Microsoft compiler. So, You can’t mix components of the 2.2 stack with the previous version of Wampserver Stack components. If you do it you will get an unstable Wampserver.
About: Visual studio, in most cases, you don’t need to install it because it is already on your as a system update and if not then while installation you get a pop-up to download it.
Step 2: WAMP server Installation
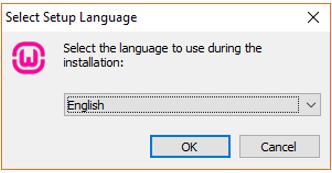
Run the setup and select the language in which you want to install the Wamp server for Windows 10.
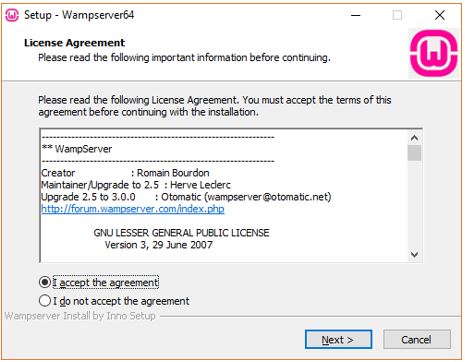
Select the “I accept the agreement”
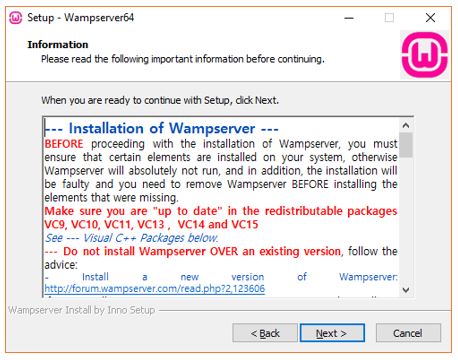
As I said it needs up-to-date redistributable packages of VC9, VC10, VC13, VC14, and Vc15. Either go to your Control Panel-> Program and features and check whether you have the Visual C++ packages installed or not or just Click on the Next button and the program will automatically identify it. In case, the program is not able to find the packages, it will warn you and then you can install them from the below-given links:
- Visual C++ Redistributable for Visual Studio 2015
- Visual C++ Redistributable Packages for Visual Studio 2013
- Visual C++ Redistributable for Visual Studio 2012 Update 4
- Microsoft Visual C++ 2010 Redistributable Package (x64)
- Microsoft Visual C++ 2010 Redistributable Package (x86)
- Microsoft Visual C++ 2010 SP1 Redistributable Package (x86)
- Microsoft Visual C++ 2010 SP1 Redistributable Package (x64)
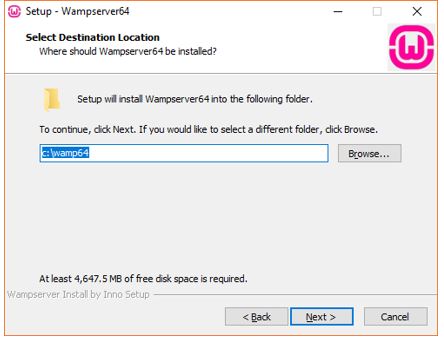
Step 3: Choose the Installation directory or location Wamp server
By default all programs you installed in the Windows system go to your system’s C: drive but if you want to install the Wamp server in some other drive or folder then click on the browse button and choose the location. And then click on NEXT.

Step 4: Change the Internet Explorer Browser and a Text editor of the WAMP server on Windows 10
While installing the setup of WampServer, it will ask which browser you want as default in the WAMP server. By default, it uses the iexplore.exe (Internet Explorer) to change it to Google Chrome or Mozilla Firefox click on YES otherwise NO.
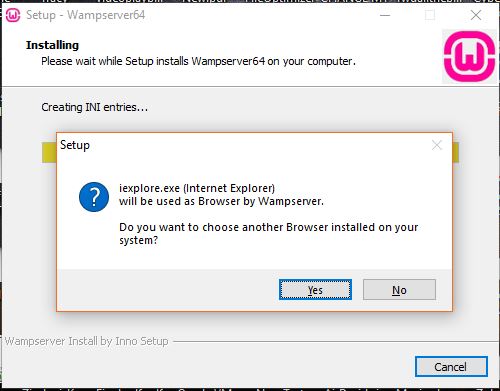
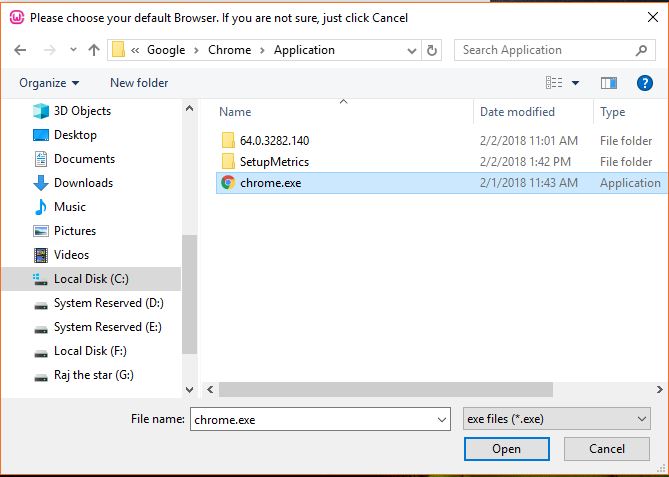
When you click on YES, the Windows Explorer will open from where go to C:\Program Files (x86)\Google\Chrome\Application and select the Chrome.exe and click on Open.
After selecting the default browser, the Wamp Server will also ask us to select the default Text editor which we need in case we want to edit Apache or PHP config files such as HTTP.config or php.ini. By default, it uses the notepad of Windows, I think it doesn’t need to be changed, so that’s why just click on NO. However, if you want to change the Text editor then click on YES and locate your third-party installed text editor as we do above for selecting Google chrome.

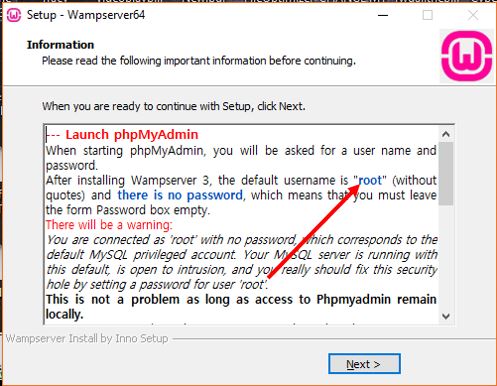
While completing the installation the setup also provides you login information of your phpMyAdmin; “After Installing Wampserver the default username is “root” without quotes and there is no password, which means you must leave the Password box empty to login into the phpMyAdmin.
Step 5: Check the Wamp Server Apache
After successful installation, click on the system tray and then on the WAMP Server icon. As you click you will find shortcuts to check and use the Apache, MySQL, PHPMyAdmin, MariaDB, Stop all services, Start all services and Reset all services.
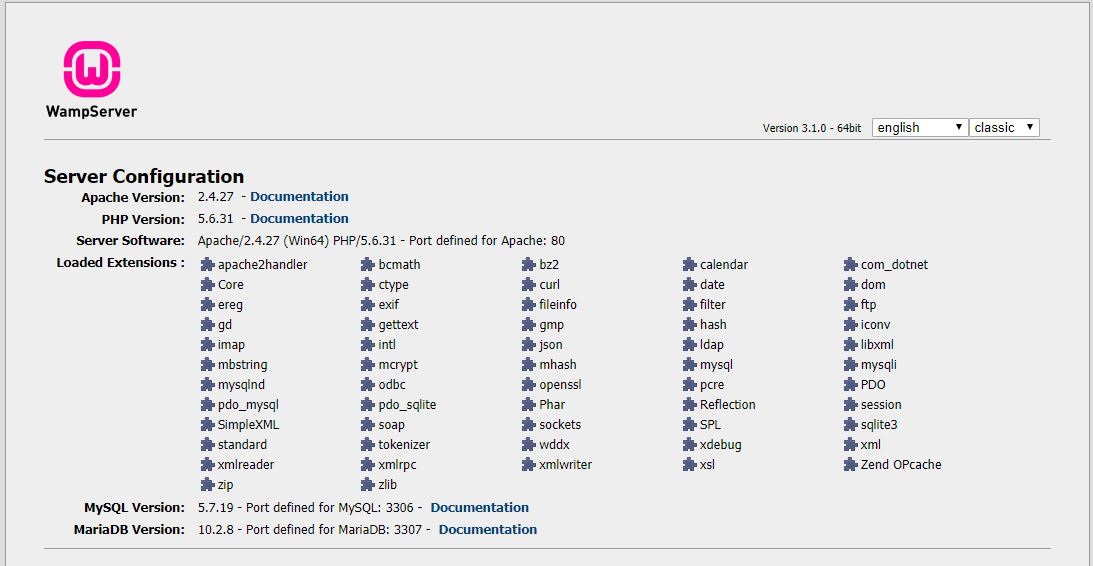
To ensure whether our Apache web server is up and running on our Windows 10 click on Localhost.

When you click on Localhost a tab will open with a page showing all server configurations in your browser. For reference see the screenshot.
Step 6: Other important Wamp server tools and settings
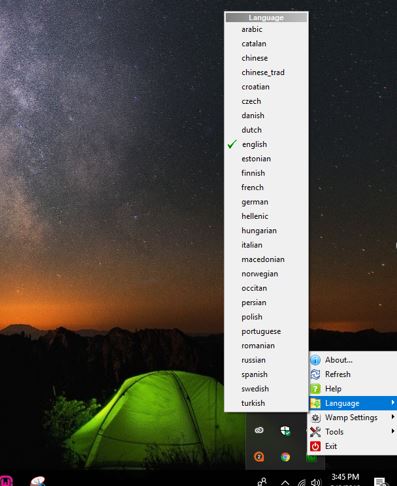
If you right-click on the same WAMP server icon that resides in your system tray, it will open several other options such as About, Refresh, Help, language, WAMP settings, Tool, and Exit. In case you want to change the software language you can choose your local language from the language option.
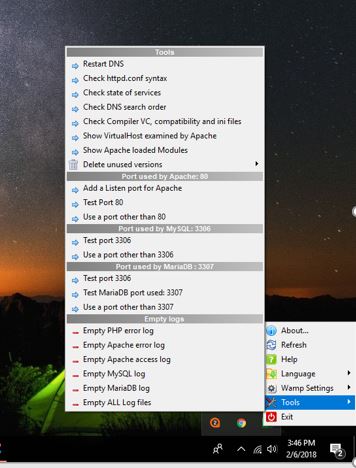
If you want to know which port is using which service of the WAMP server or some other information, you just need to go tools:
- Restart DNS
- Check HTTP.conf syntax
- Check stats of services
- Check DNS search order
- Check compiler VC, compatibility, and ini files
- Show VirtualHost examined by Apache
- Show Apache loaded Modules
- Delete Unused PHP versions
- And more…
You may like: How to Install WordPress on Windows Computer Using WAMP


In Step 5., you write “To ensure whether our Apache web server is up and running on our Windows 10 click on Localhost.”, but you assume that it will work. It does not for me. Instead, I get a Unable to Connect error page.
You should handle both could and bad cases in an install procedure, even if you just provide rough debug pointers or point to other places to get the answers.
Regards,
Lee
Excellent writeup! Thank you very much! About as straight-forward a job as it could be.
Nice work.
I have same problem as Lee Mulcahy I get a Unable to Connect error page. am lost at this point
Thans so much.
My wamp isn’t installing,what could be the problem.I’ve downloaded all the extensions needed
What is the error you are getting while installing it?
Apache for some reason won’t start. Please Help?
Please check the logs and find out what is the reason
When I run wampserver it says “1 of 3 services running”, do you know what it could be?
Hi.
New HP i3 lap top, straight out of the shop.
Windows 10 64 Bit.
Run all the suggested updates per above.
Error at the start of install
“The installation folder (c:\wamp) is not that of Wamp server
Select the installation server of Wamp server”
I get a dialog asking what I want to do with MYPhP 5.2.0, Replace or Add to
Now I am assuming the install program thinks there is a previous version installed somewhere, but I definitely haven’t installed one and so far found no trace.
I am installing the latest package from th eWAMP server home page
Any suggestions very welcome