
Wamp is a popular software for using LAMP functionality in Windows systems. And for blogging WordPress is the most popular CMS due to its functionality and availability of plugins. So if you are new to WordPress and want to play around this blogging software; or want to try out some new things or plugins on your WordPress blog, it is a good idea to install WordPress locally on your system. Trying out new plugins or customization on your live blog is full of risks but locally you can try out new WordPress plugin, themes customization, CSS changes and many more task.
If you are totally new to WordPress, you can also create a free account on WordPress.com to get familiar with the interface and features. But for testing, it is better to install it locally because the WordPress.com free account is not going to give backend file access. If you are a Developer, theme designer or plugin developers than it is recommended to create a local server environment or localhost and install WordPress locally to speed up your developments. Today we are going to show you how to install WordPress on your Windows computer using WAMP.
Benefits of installing WordPress locally:
- Understanding of WordPress Files functionality
- How to Configure WordPress
- Database connection
- Help to familiar with Front and backend
What is WAMP?
WAMP or WampServer is software that fulfill the LAMP requirement for software on Windows. It consists the Linux software in one package: Apache web server, PHP, and MySQL bundled for Windows computers. Just install WAMP to setup your own local server environment and install WordPress on Windows. Beside WAMP there some other software like XAMPP and Ampps (Good UI) available and do the same thing like WAMP. But here we are going to use WAMP for giving the demo. It is free and easy to use.
Installing Wampserver on your PC
Step 1: Download the Wampserver or WAMP from their official website, here is the LINK. On the download page select your version of Windows (64-bit or 32-bit). If you are not sure about your windows version then select 32-bit as it also works on 64-bit.
Step 2: After downloading, run the installation and follow the instruction to install it.
How to install WordPress on WAMP
Tutorial for Installing WordPress WAMP
1. Download the WordPress Zip folder from here.
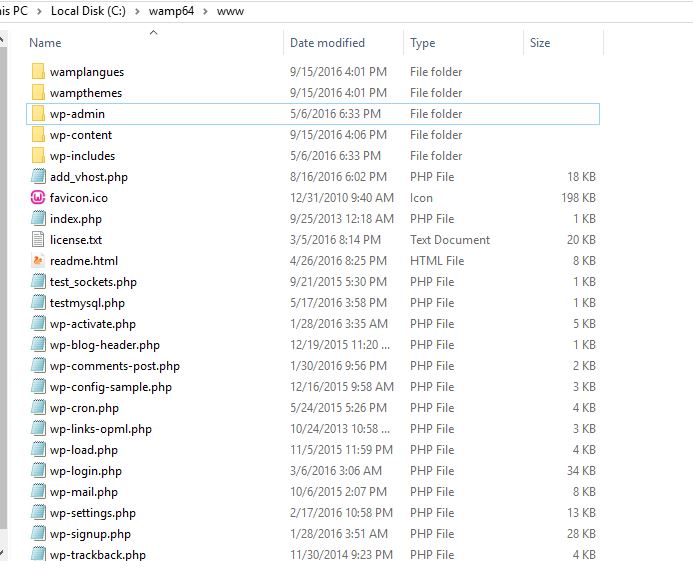
2. Extract downloaded WordPress.zip folder at C:\wamp\www you will get a WordPress folder after extracting the zip file and now cut and copy all the files and folders under WordPress folder to C:\wamp\www. As shown in the screenshot in which I have copied all the WordPress folder files to WAMP www folder.
3. Now start the WAMP or Wampserver program. When you start the WAMP a shortcut will appear on the taskbar at the right side, click on it and start all the services by left clicking on it.
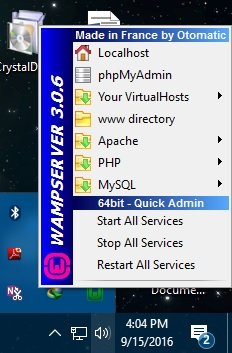
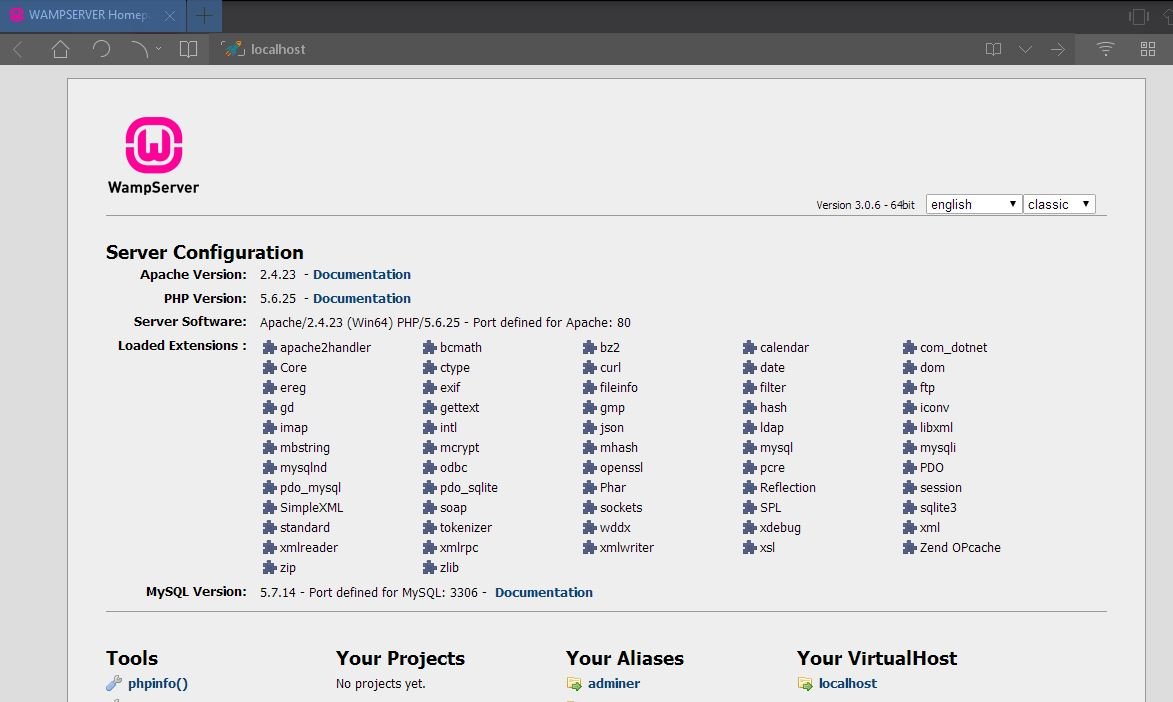
4. Go to browser and open http://localhost/ or http://127.0.01 to test everything is working. You can also click on the home localhost icon in the WAMP menu.
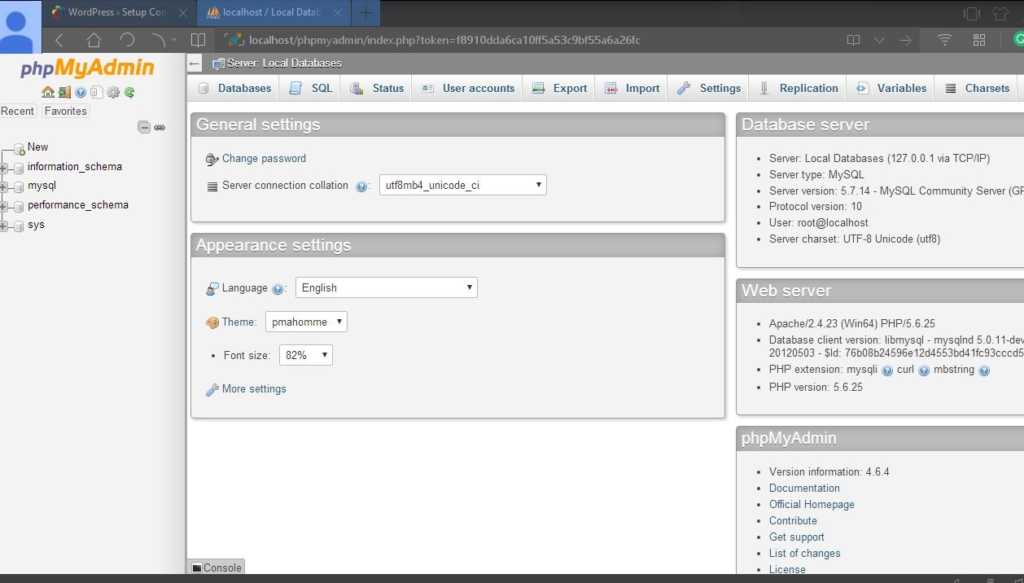
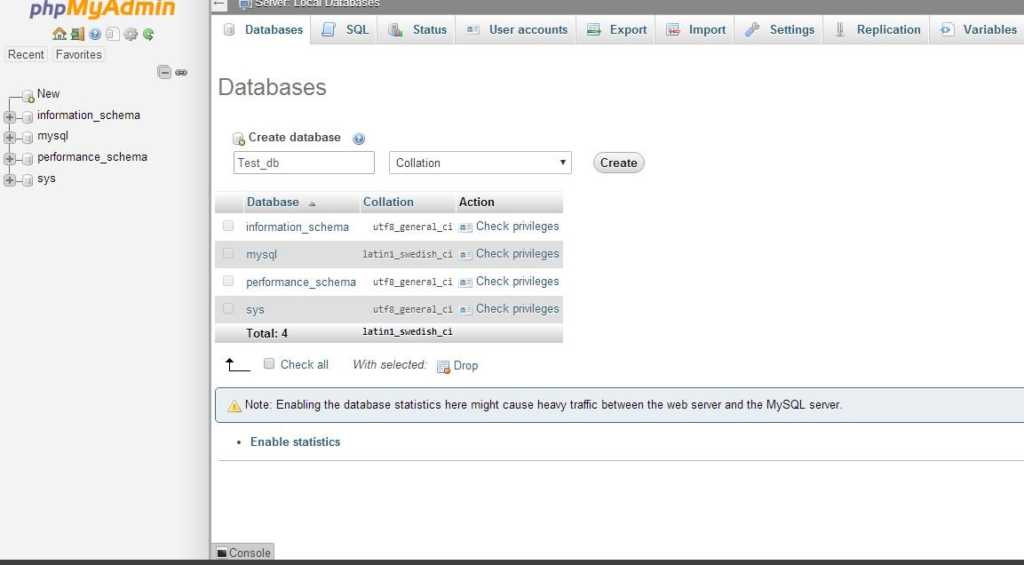
5. Now to save your WordPress content you need a database. For creating a database for your WordPress click on the Click on PHPMyAdmin from WAMP menu or use http://localhost/phpmyadmin/in your browser. The default username for PHPMyAdmin is root and leave the password column blank.
Database configuration
6. Click on the new option from the right side of the PHPMyAdmin and create a new database for you WordPress. Give some name to your database and for the demo, here we have given it test_db as shown in the second screenshot.
6. Now open http://localhost/ and select a language for WordPress and click on create Let’s go to a configuration file.
You will see multiple columns enter the details as mentioned.
- Database name : Database name you have created in step 6. Here we have created the test_db
- Username : root
- Password : Leave it blank
- database host : Keep it default (Localhost)
- Database prefix : Keep it default (wp_)


7. After the above setup on next screen click on Run the install button to setup. Next screen will appear and it asks for the Blog title and Email. Please in the password column create your own password or copy and paste the generated ones, so that in the future you can log in easily without any hassle.

Click on the Install WordPress button and it will install the WordPress and a login screen will appear. Enter the login information you have created in step 7 and you are good to go.
PC: If you already have some old database of WordPress and want to use that then please read this article.


Thanks for such a nice post and detailed post. This step by step guide for installing wamp on Windows for WordPress is really useful.
Thanks alot for your quality definition of help. it will help me now to design a website.