Visual Studio Code (VS Code) is a quite useful tool for developers looking for a free but lightweight code editor, whereas XAMPP on Windows is used to provide the popular AMP stack meant to run on Linux-based systems for creating web server environments. XAMPP includes Apache, MySQL, PHP, and PHPMyAdmin along with Mercury, Filezilla, and Tomcat. It is not for production usage instead developers use it to create and test PHP-based applications seamlessly.
Here in this tutorial, we learn how we can use the Visual Studio Code to run and test our PHP files using the XAMPP web server on Windows 11 or 10 systems.
How to run PHP file in Visual Studio code with xampp
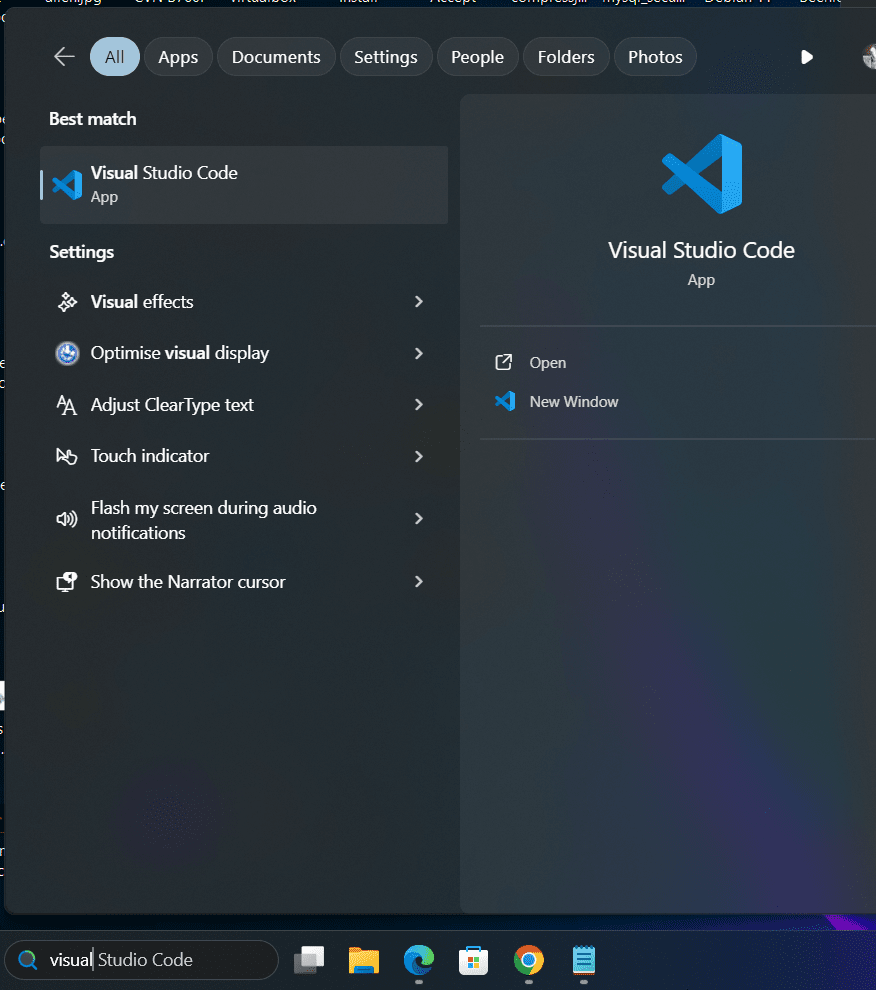
1. Install Visual Studio Code
As we are using VScode to create the PHP files in this tutorial, first open it on your PC. Those who don’t have Visual Studio code yet on their Windows desktop or server can visit the official website to get the installer. Windows users can also use the Command Terminal and Winget to install VSCode.
2. Install PHP Extension for Visual Studio Code
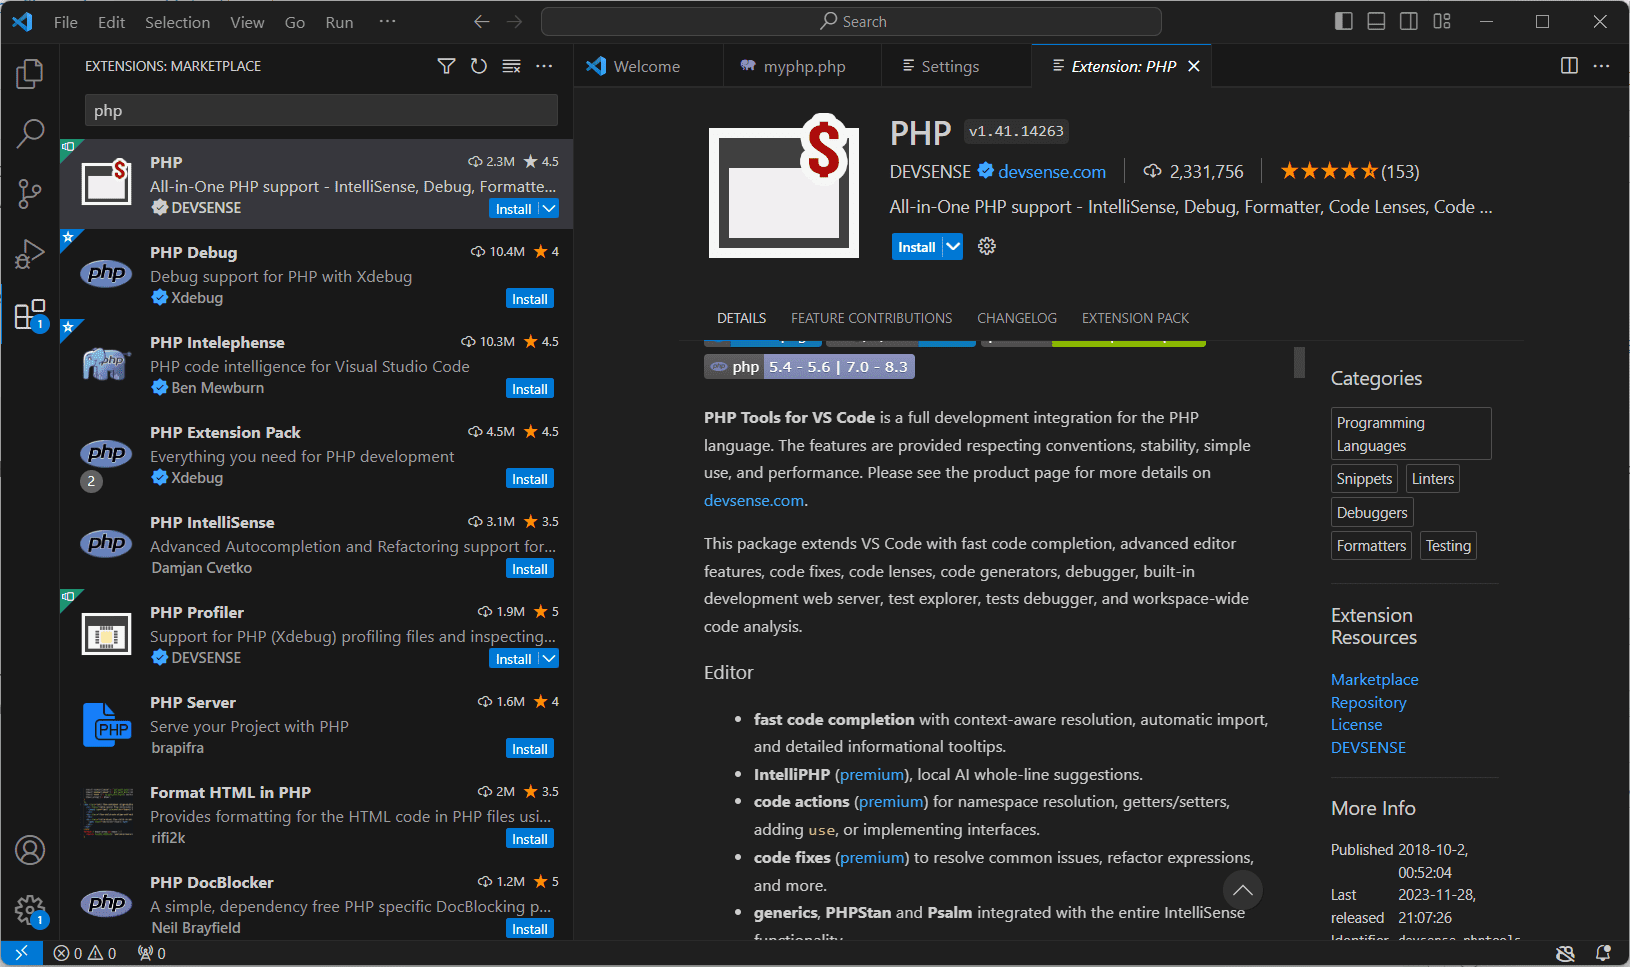
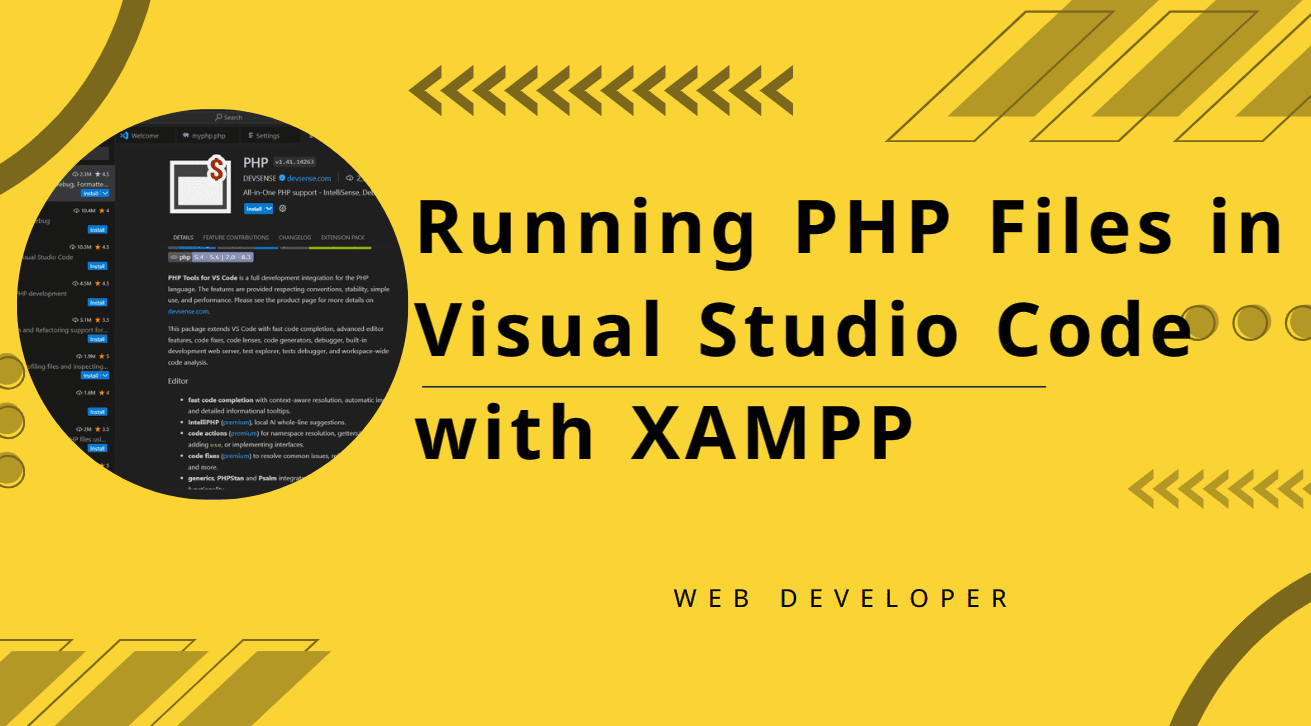
Once you have opened the VScode, install the PHP extension. For that, either click on the Extension icon, given on the left side Activity bar or use the Keyboard shortcut – Ctrl+Shift+X. There, search for PHP in the search box and then select any popular extension, for example, here we are going for PHP by DEVSENSE. Click on the “install” button to get it.
The extension will help us to efficiently write the PHP code and Debug the same if some error is there.
3. Install XAMPP
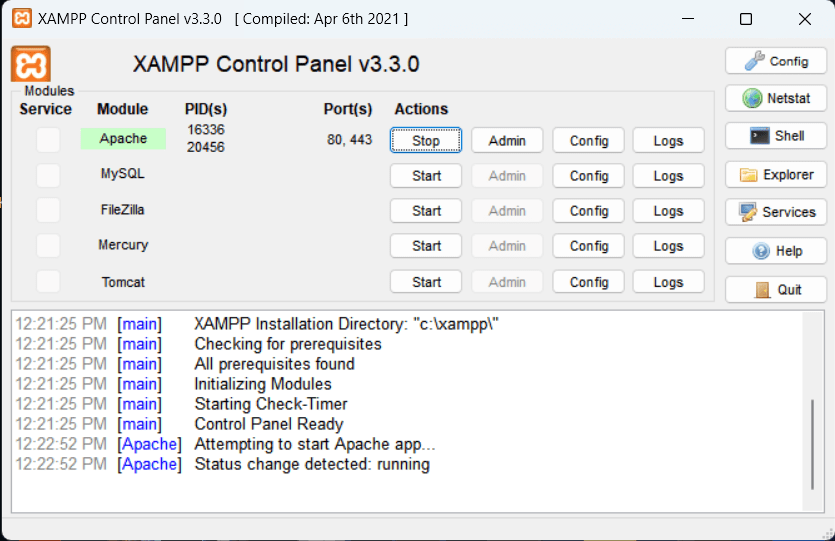
XAMPP is free but quite useful software for Windows users who want Apache, MySQL, and PHP web server environments on their PC to test web applications. So, to run or test PHP files created in Visual Code Studio, install the XAMPP. If you already have it then can move further otherwise visit the official website of XAMPP to get the setup.
After opening the XAMPP control panel start the APACHE web server because we need that to view the PHP files in the browser.
4. Create a Project folder
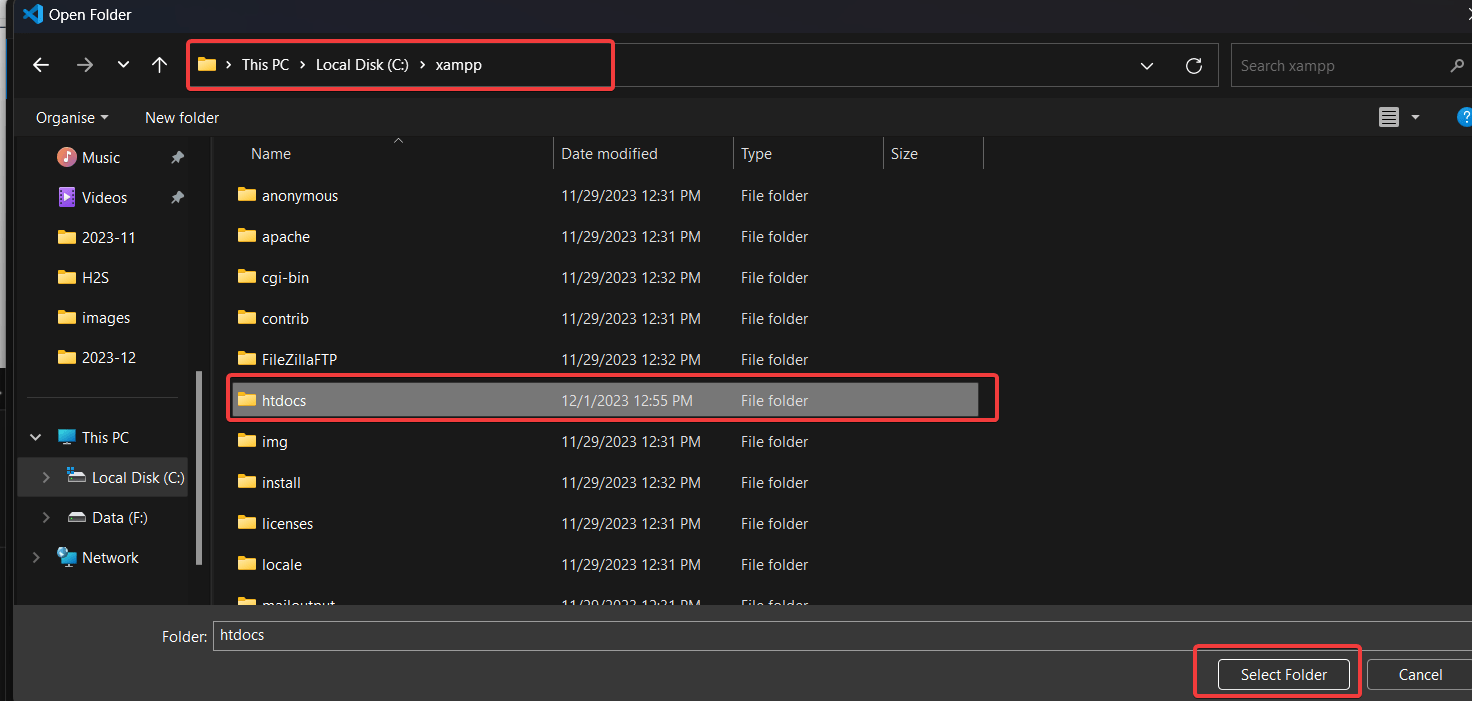
Now, let’s use the Visual Code Studio and create our project folder inside the XAMPP’s htdocs. For that open VScode, click on the “File” menu and select the “Open Folder” option or use the keyboard shortcut Ctrl+K.
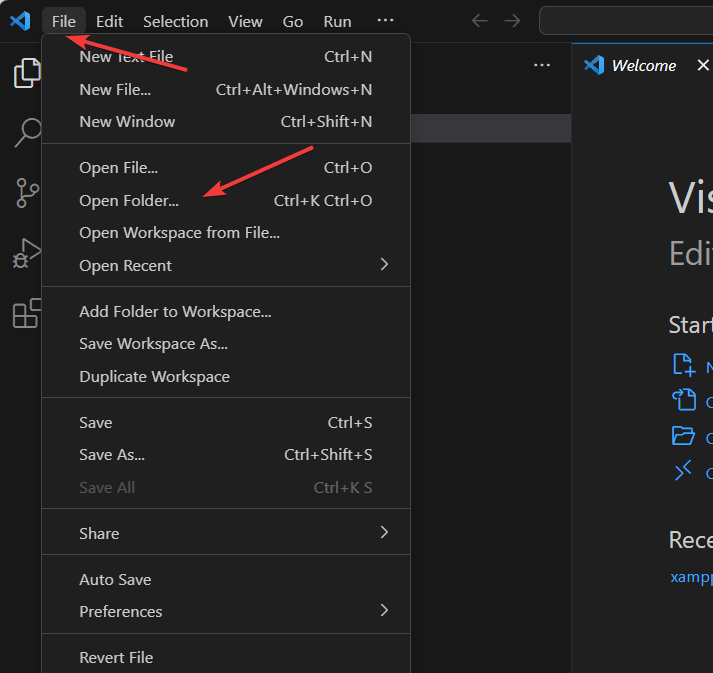
Navigate to C:/Xampp/htdocs and click on the “Select Folder” button.
Now, click on the folder icon and give some name to your project folder.
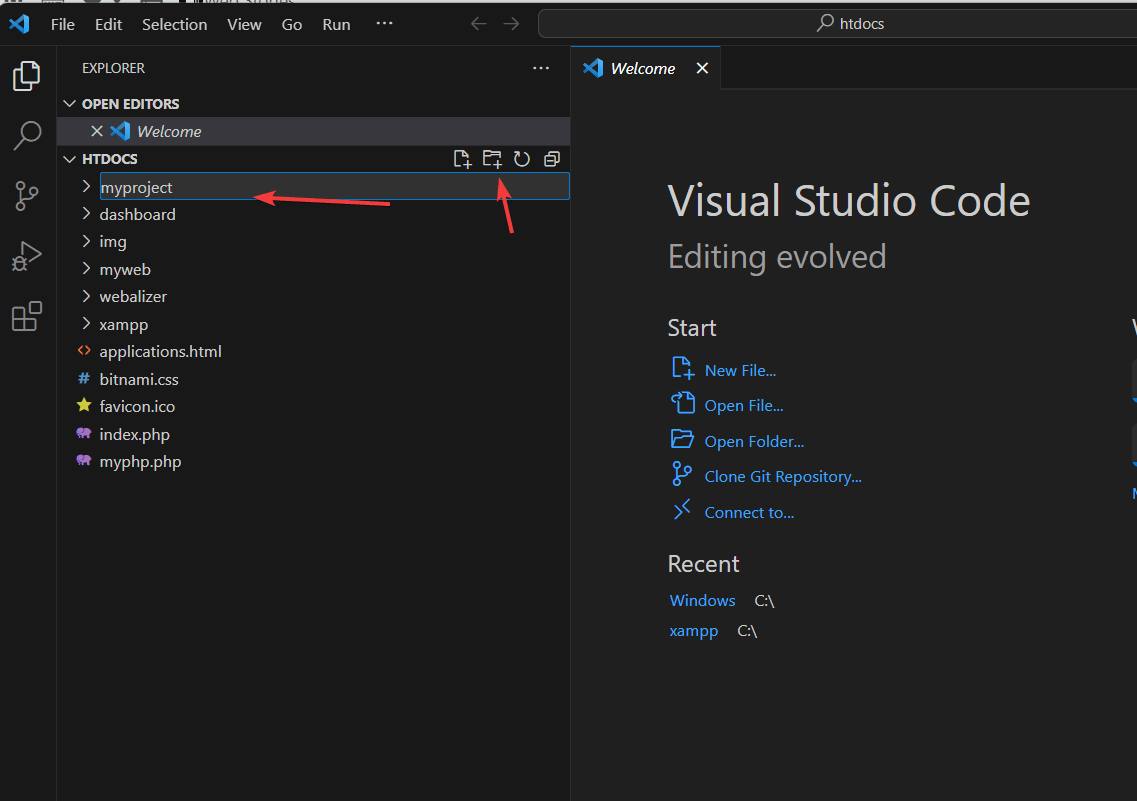
5. Create a PHP File:
After creating the Project folder, select it and click on the file icon to create a PHP file with whatever name you want along with the “.php” extension. For example, here we are creating a file “myfirstphp.php” file.
Write your PHP code or copy-paste it into the file. Save the file – Ctrl+S.
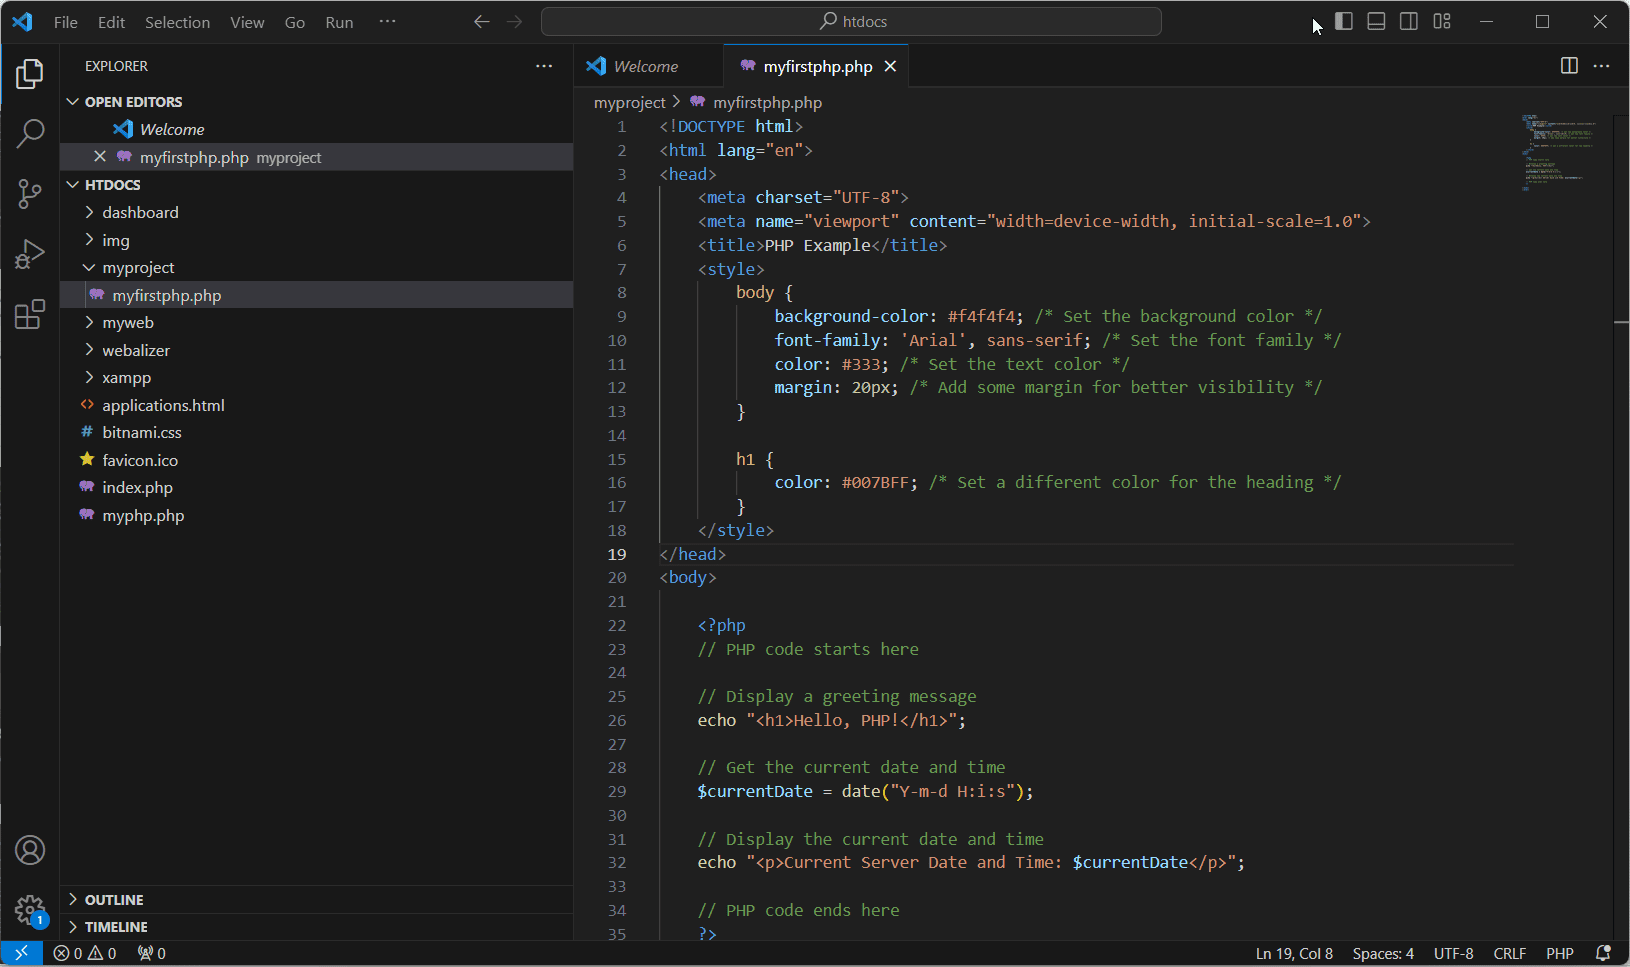
The code we have used is here, in case you need it:
 <!DOCTYPE html>
<html lang="en">
<head>
    <meta charset="UTF-8">
    <meta name="viewport" content="width=device-width, initial-scale=1.0">
    <title>PHP Example</title>
    <style>
        body {
            background-color: #f4f4f4; /* Set the background color */
            font-family: 'Arial', sans-serif; /* Set the font family */
            color: #333; /* Set the text color */
            margin: 20px; /* Add some margin for better visibility */
        }

        h1 {
            color: #007BFF; /* Set a different color for the heading */
        }
    </style>
</head>
<body>

    <?php
    // PHP code starts here

    // Display a greeting message
    echo "<h1>Hello, PHP!</h1>";

    // Get the current date and time
    $currentDate = date("Y-m-d H:i:s");

    // Display the current date and time
    echo "<p>Current Server Date and Time: $currentDate</p>";

    // PHP code ends here
    ?>

</body>
</html>
6. Run PHP File
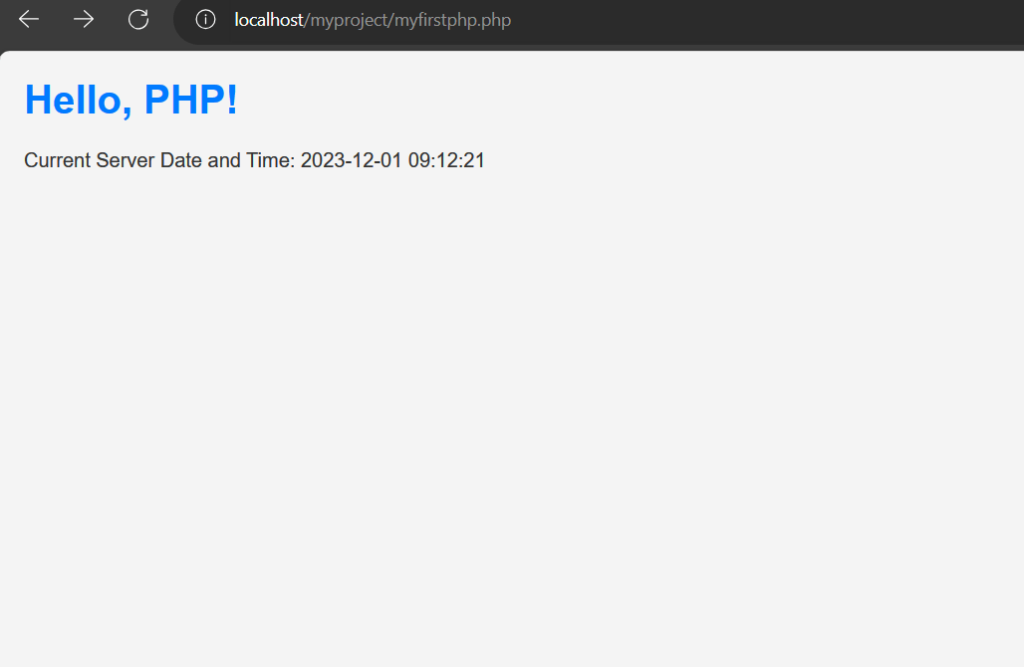
Now, we are ready with our PHP file created in Visual Code Studio. To run and test it, open your system web browser and navigate to http://localhost/project-folder/your-file-name.php. For example, our PHP file name is “myfirstphp.php“, hence the URL to access it will be like this:
http://localhost/myproject/myfirstphp.phpYou should see the output of your PHP code displayed in the browser.
Debugging PHP (optional)
Visual Studio Code also supports debugging PHP code; set breakpoints in your PHP code by clicking in the gutter next to the line numbers. Either press F5 or go to the “Run” menu and select “Start Debugging.” You can use the Debug Console to inspect variables and step through your PHP code.
Other Articles:
Related Posts
How to create email groups in Gmail? Send one email to multiple recipients in a matter of seconds.
Getting the right dashcam for your needs. All that you need to know
How to Install 7-Zip on Windows 11 or 10 with Single Command
Install Google Earth on Windows 11 or 10 Using a Single Command
How to install Gaming Services on Windows 11
How to Install Telnet Client on Windows 11 Using PowerShell