OpenFLIXR is a free and open-source virtualized media server that can be installed and run on any operating system such as Windows, macOS, Linux, FreeBSD using virtual machines. Yes, you just need to have a Virtualization platform to use the pre-built virtual image of OpenFLIXR media server.
It is available for VirtualBox (Open Source), VMWare Fusion / Workstation / Player / ESXi, Parallels Desktop, KVM / unRAID or Microsoft Hyper-V. Thus, doesn’t need any supplement guest operating system, it comes as virtual appliance pre-installed on Ubuntu operating system.
Out of the box, OpenFLIXR gives a facility to automate downloading and serving of media files stored on your local system or network. It is an all-in-one kind of Media server that features a variety of tools to extend the user capabilities for enjoying media content. The tools it has are CouchPotato, SickChill, Headphones and SABnzbd to download; we can integrate any existing Plex Media Server to bring all content at one screen. It can be used on tablets, TVs, PCs etc. It is completely web-based and includes monitoring and management tools.
Installing OpenFLIXR Media server on VirtualBox
Let’s start with the steps to get started with this Virtual Media server, in which we show how to download and install it to stream media files.
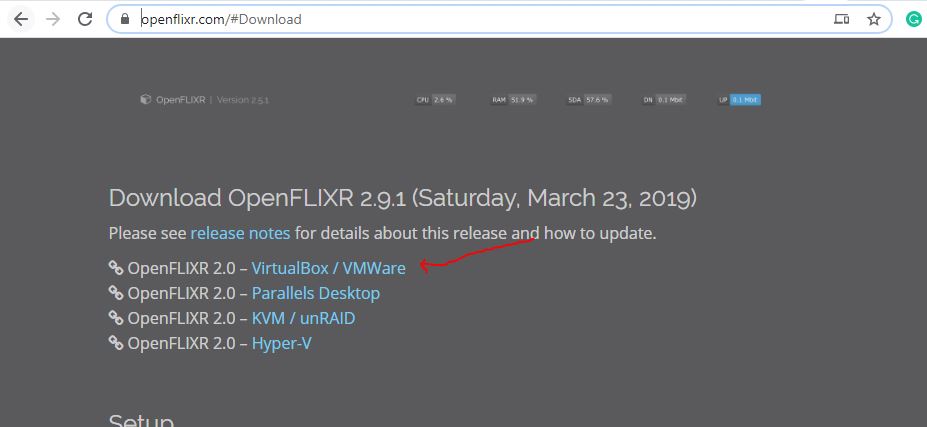
Step 1: Download OpenFLIXR
Go to the official website of the OpenFLIXR, currently while writing this tutorial the latest version was OpenFLIXR 2.0. Here is the link to download it.
On the page, scroll down and you will find different Virtual Appliances available to download as per the Virtual environment, as we are using VirtualBox, thus get the image corresponding to that. The same virtual appliance can be used in VMWARE as well.
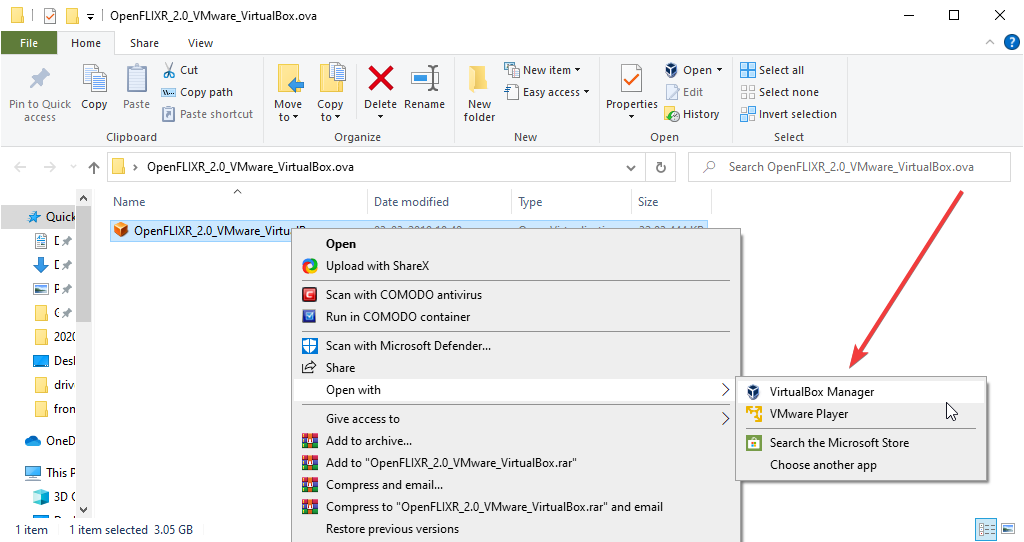
Step 2: Extract OpenFLIXR VMware VirtualBox.ova.zip file
The downloaded virtual appliance will be in zipped file format, thus right click and extract it on your system to get the OVA file.
After that open the extracted folder. Right-click on the OVA image, select Open With and then as per your need select VirtualBox or VMWARE Player. However, the point to be noted, whatever Virtualization software is on your system that will show here.
Here we are selecting the VirtualBox.
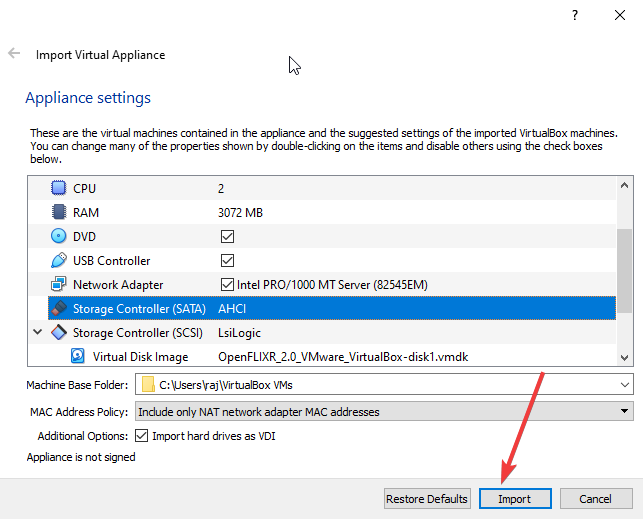
Step 3: Import OpenFLIXR virtual machine
Now, the VirtualBox will give pop a window, showing all the pre-configured information. You can change if any of them required, otherwise, it is good to go with the default one.
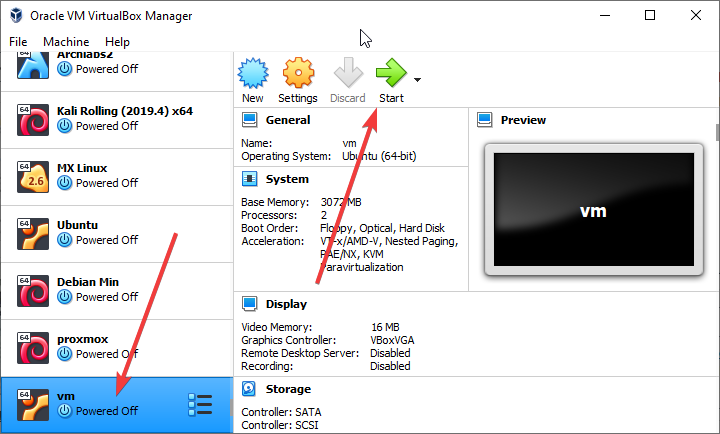
Step 4: Run Imported Virtual Machine
Select the imported VM of OpenFLIXR and hit the Start button of VirtualBox.
In a few seconds, you will see the login screen of OpenFLIXR backend along with URLs to configure and access the media server. If you want to operate its back end using the command line in order to access the files resides on it then simply use the default login and password i.e openflixr
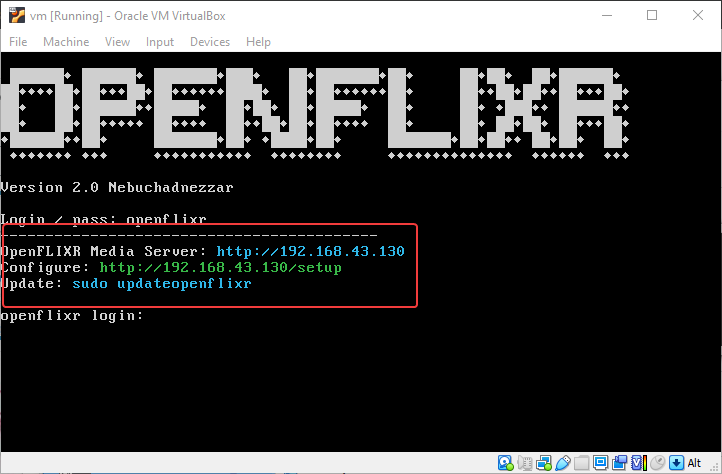
Step 5: Access OpenFLIXR Media server
Open your system browser that is in the same network of Virtual machine and enter the URL appearing on the OpenFLIXR login screen.
For example in our case:
For Media server, the URL was 192.168.43.130
To set up the same: 192.168.43.130/setup
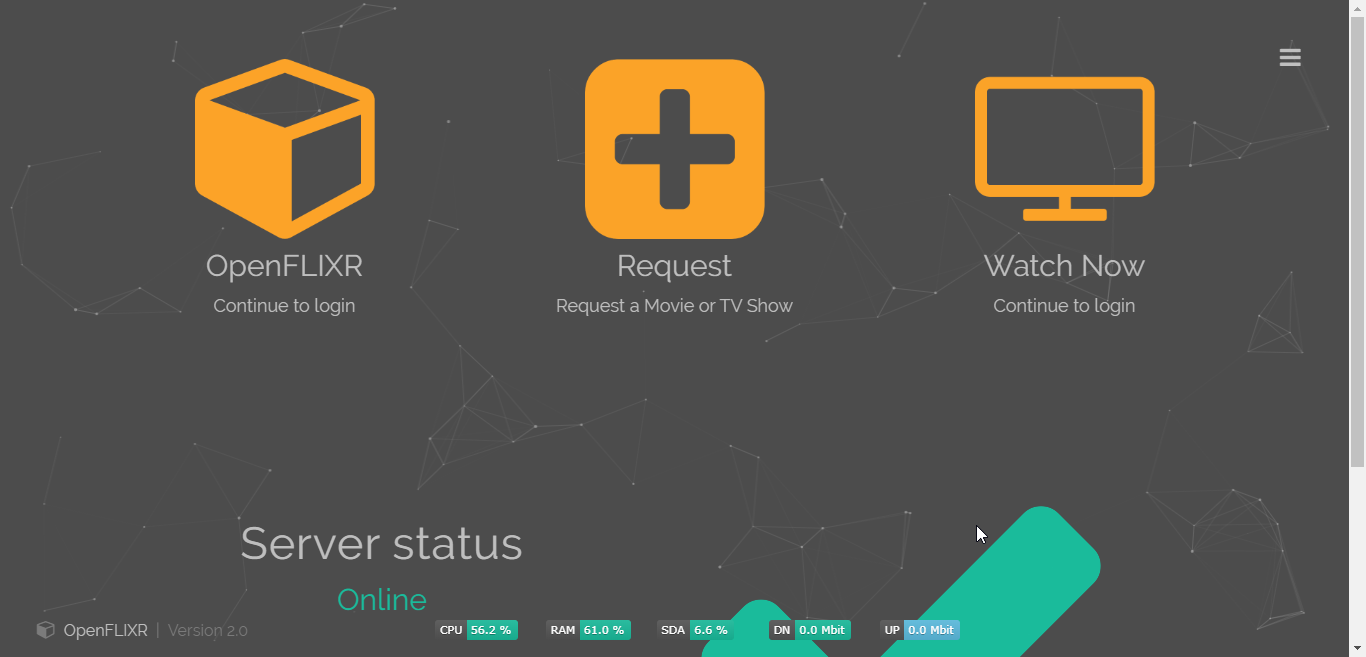
Click on Login…
Enter the username and password: openflixr
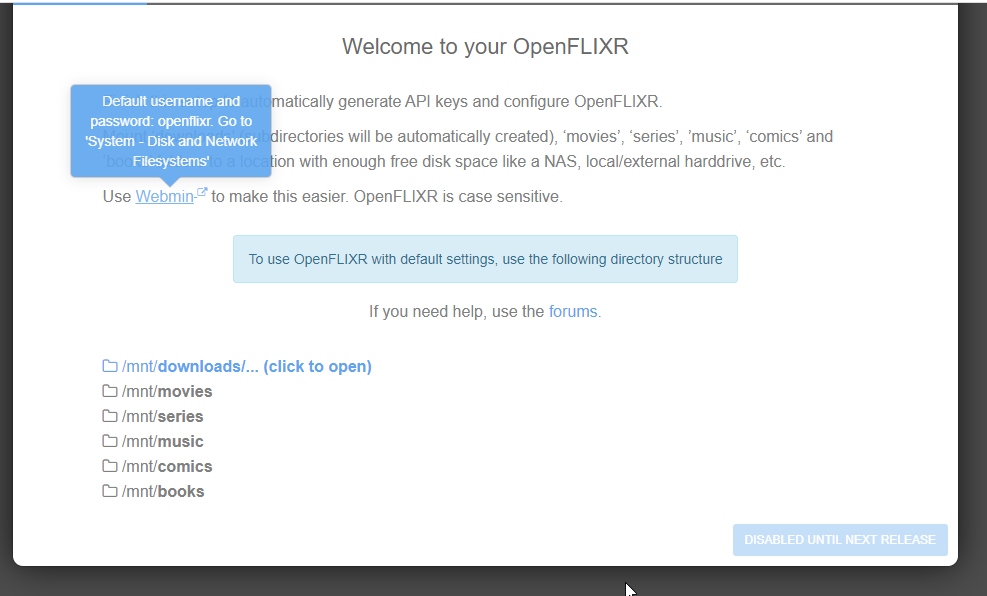
Here is the setup screen, you can use Webmin to mount the external directory such as NAS, hard drive etc.
So, this was a quick tutorial on OpenFLixr installation…
Related Posts
How to create email groups in Gmail? Send one email to multiple recipients in a matter of seconds.
Getting the right dashcam for your needs. All that you need to know
How to Install 7-Zip on Windows 11 or 10 with Single Command
How to Install ASK CLI on Windows 11 or 10
How do you install FlutterFire CLI on Windows 11 or 10?
How to create QR codes on Google Sheets for URLs or any other text elements