
Here we will show you how to sign up, create an instance and install Amazon (AWS) LightSail WordPress along with a way to attach it with static IP address.
Amazon Lightsail is a Virtual Private server service provided by the AWS (Amazon web service) which launched in 2016. It started by Amazon with fixed monthly charges within the range of even a student. It is easy to handle and with just a few clicks, you can choose a configuration from the menu and launch a virtual machine preconfigured with SSD-based storage, DNS management, and static IP addresses. One can launch its favourite operating system (Amazon Linux AMI, Ubuntu, Debian, OpenSuse, FreeBSD, CentOS 7), developer stack (LAMP, LEMP, MEAN, or Node.js) or applications (Drupal, Joomla, Redmine, GitLab, etc.), and each in the pricing plan of fixed rate for monthly payments that starts at $3.50 and includes universally supported data transfer.
If you want to know more about the Amazon Lightsail you can refer to our article- What is Amazon Lightsail?
Let’s start with the Amazon Lightsail WordPress installation…
Step 1: Sign up Amazon LightSail to install WordPress
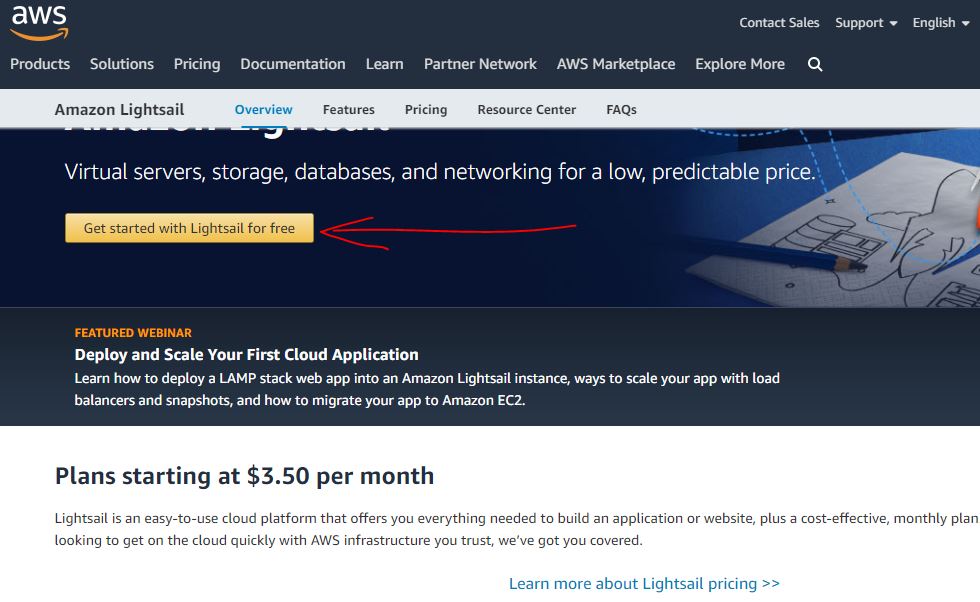
To signup Amazon Lightsail VPS we need a credit card, although the first month of AMazon Lightsail usage is absolutely free; however, we still require a credit to at least register an account with AWS Lightsail. For this, go to the official page of AWS Lightsail, for your convenience here is the link to that.
From the AWS page, click on the “Get started with Lightsail for Free“, create an account, provide credit card information and wait for few seconds to get the account creation confirmation on your provided email. This will not only provide you 1 month free trial of AWS Lightsail but also 12 months free usage of Ec2 computing engine. However, right now let’s just focus on the topic.
Step 2: Access the AWS LightSail Portal page
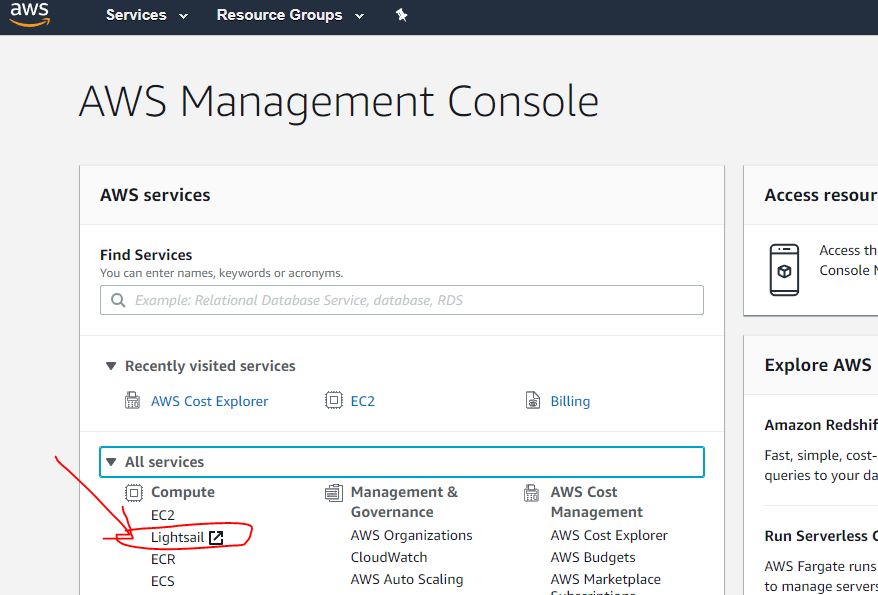
Once you got your AWS account activated, login to that and you will stumble on the AWS management console page. Click on the All Service drop-down option to see all the available Cloud computing services of AWS. From there select the LightSail service option.
Alternatively, you can directly click to this link which drops you on the main landing page of this cloud VPS.
Step 3: Create AWS Lightsail instance for WordPress
On the main page of this VPS service, you will find tabs to create instances, Database, Networking, Storage and Snapshots. The first thing which we do for the Amazon Lightsail WordPress installation is to create an instance.
Click on the Create Instance button.

Step 4: Choose Amazon Lightsail data centre region
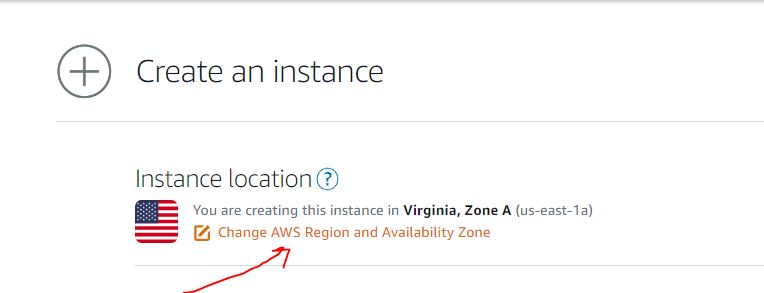
When we click on the Create instance button, a new page will open, showing different options to set up a server. The first object in the row is the selection of data centre region. By default, the AWS Lightsail will automatically select the nearest one to your vicinity, however, you can opt one of your choices by clicking on “ChangeAWS Region and Availability Zone”. Once you selected the Instance zone, move to the next step.
Step 5: Select Lightsail Linux and WordPress App
To make the tutorial and installation of WordPress on Amazon Lightsail little bit easy, we will choose an option Apps+OS.
First, select the Linux/Unix Platform, then Apps + OS option and after that the app which you want to install; here we are choosing the WordPress. This will install the latest version of wordpess+database on Ubuntu LTS version.
Note: If you want to install everything manually – LAMP+Wordpress; then select OS only option. After that select the particular Linux OS you want to install on AWS LightSail such as Ubuntu, Debian, FreeBSD, OpenSuSE and CentOS 7.

Step 6: Choose AWS Lightsail instance pricing/cost
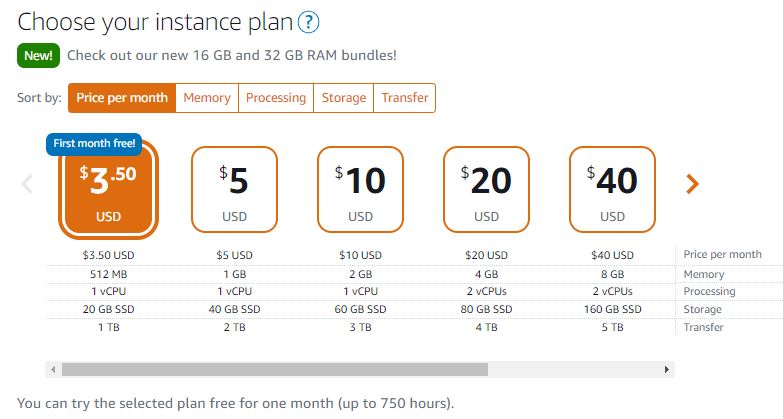
Next thing in the steps to install WordPress is to choose any of the Lightsail price plans. If you just want to try it for a month (750 hours) preceding with the cheapest plan then go for the $3.50 USD one. In that, you will get 512 MB RAM, 1 vCPU and 20GB SSD configuration which is basically enough for a basic starter WordPress website or blog. However, later with an onerous load on the website because of traffic, a user can shift to any other high resource plan without losing the data by creating a snapshot.
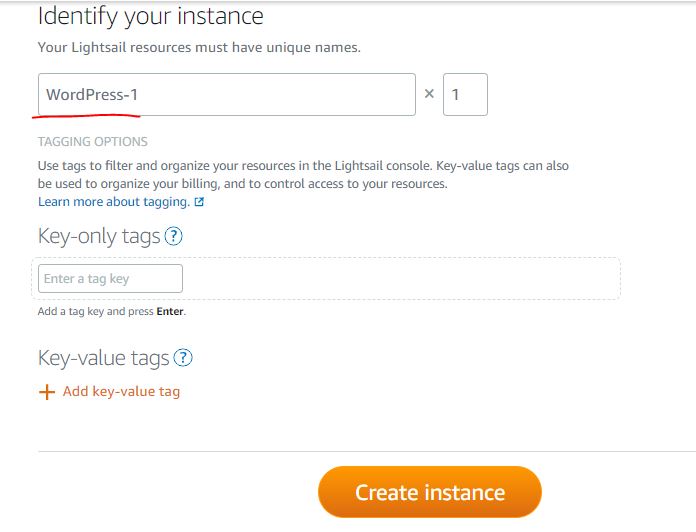
Step 7: Identify your instance
At this step, although the AWS Lightsail will automatically provide a name to your instance, depending on your configuration you can change it manually. Here we are going with the default one that is Wordrpess-1, you can change and named it to whatever is feasible and easy to remember for you.
If you have any plan to install multiple apps on your Lightsail then you can assign some tags to each instance to easily recognize, filter and manage them. (skip it if you seeking to install the only instance)
Finally, click on the Create Instance button.
Step 8: Access WordPress instance
The newly created instance with installed WordPress will appear under the Instances tab of AWS Lightsail. Click on that to access further options.

Step 9: Find the Username and Password of Lightsail WordPress
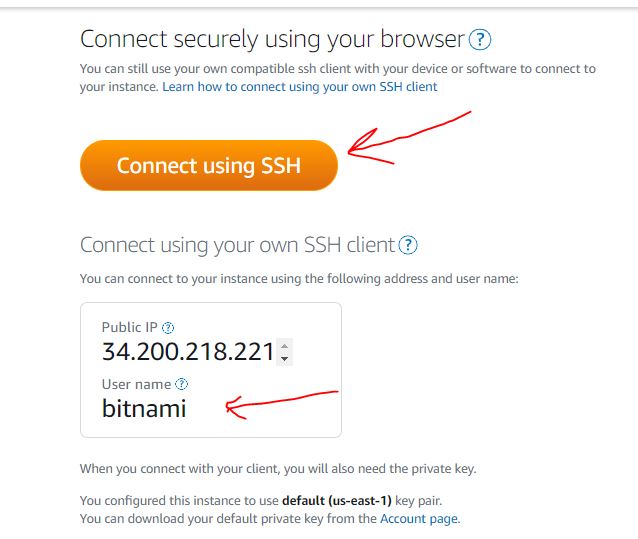
As you click on the WordPress instance under Connect tab you will see three things a button to Connect to SSH; Public IP to access the installed Lightsail CMS app and username of installed OS.
In our case, the IP is 34.200218.211 and must be different in yours.
However, one thing which we don’t know yet is the password to login and access the backend of WordPress. To find out the password click on the Connect Using SSH button.
Note: The default username for WordPress app is – user
On the connected SSH command line window type the below command to retrieve the password of your AWS LightSail:
cat bitnami_application_password
Copy and save the password somewhere safe.
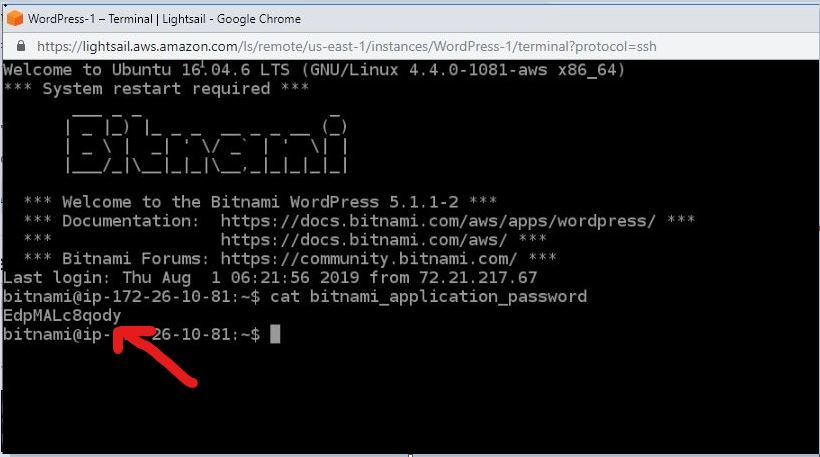
So, now we have both the username and password, let’s login to Lightsail WordPress Administrator backend.
Close the SSH windows.
Step 10: Login to WordPress backend
Copy the given public IP address under the instance you have created, paste into the browser and press the Enter button.
You will see the installed and up WP website.
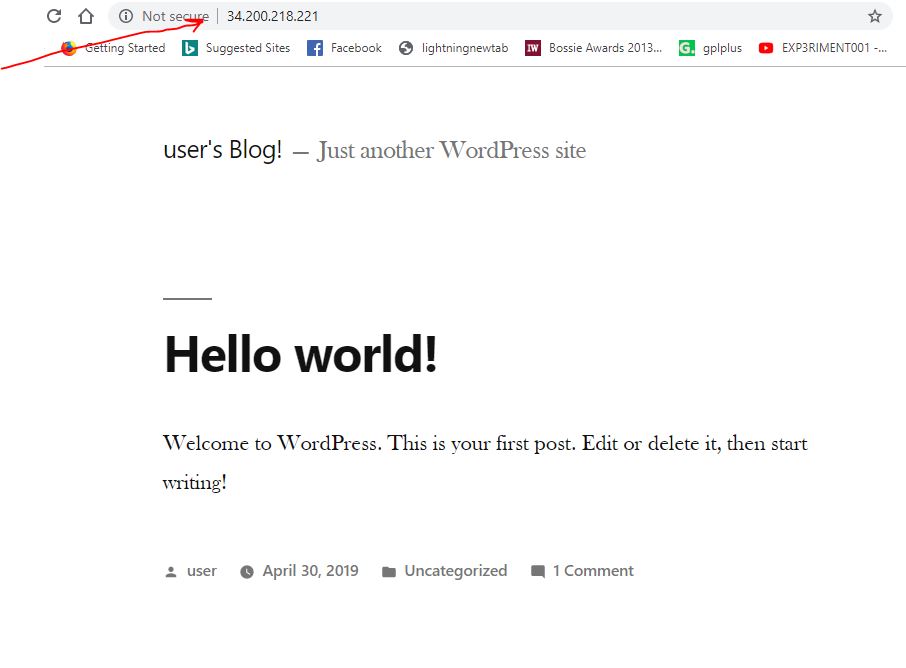
To login backend of the same, just type /wp-admin at the end of the IP address. For example our Ipaddress id 34.200.218.221. So, it will be like this:
34.200.218.221/wp-admin
Note: You have to use your public IP address…
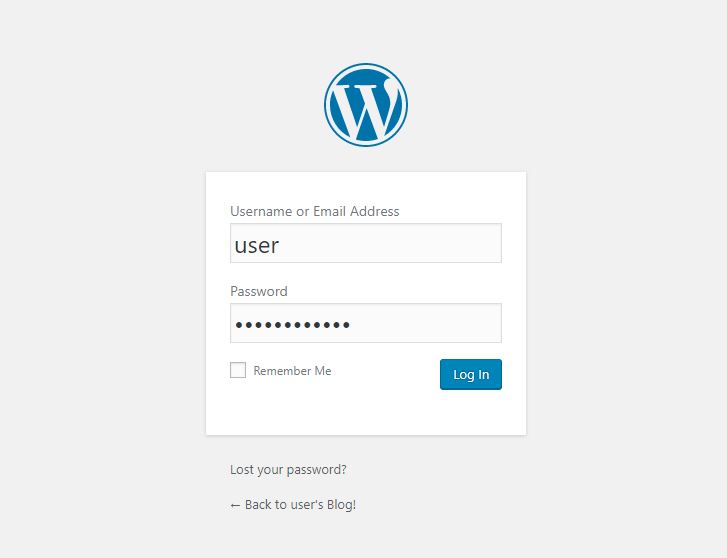
At the login screen type
Default Username- user
Password- You find above using SSH connect.
Finally, press the Login button.
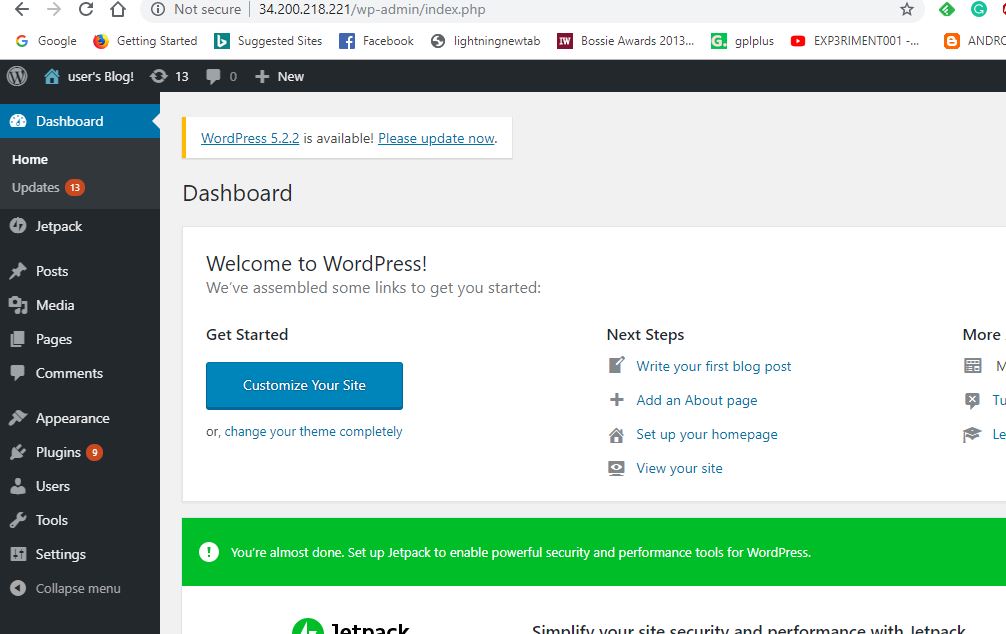
Dashboard
Step 11: Networking- Create a Static IP address
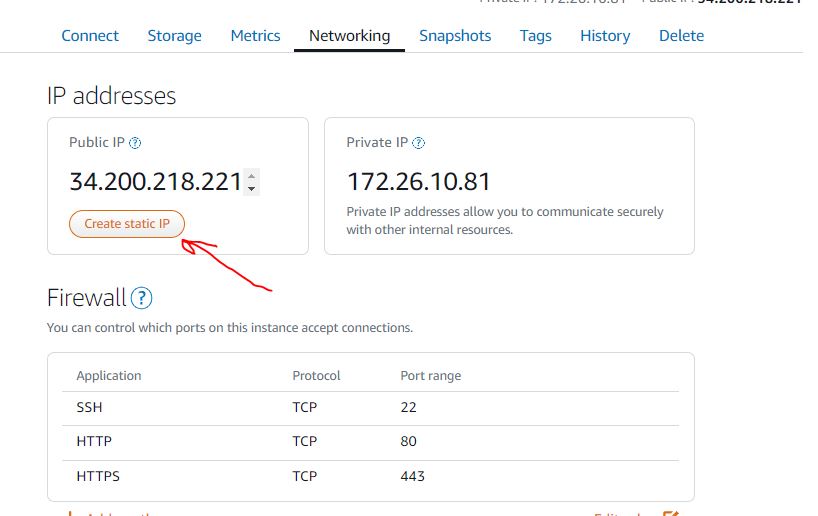
Everything is up and running, now the thing is to point your domain name to the Public IP address of your Amazon Lightsail. However, by default the public IP address is Dynamic, means the moment you stop and restart the WordPress installed server it could be changed, results down of your website. Thus, to tackle this we have to create a static IP address.
Go to Networking Tab and under the Public Ip address, you will see a button labelled with “ Create Static IP” Click on that.
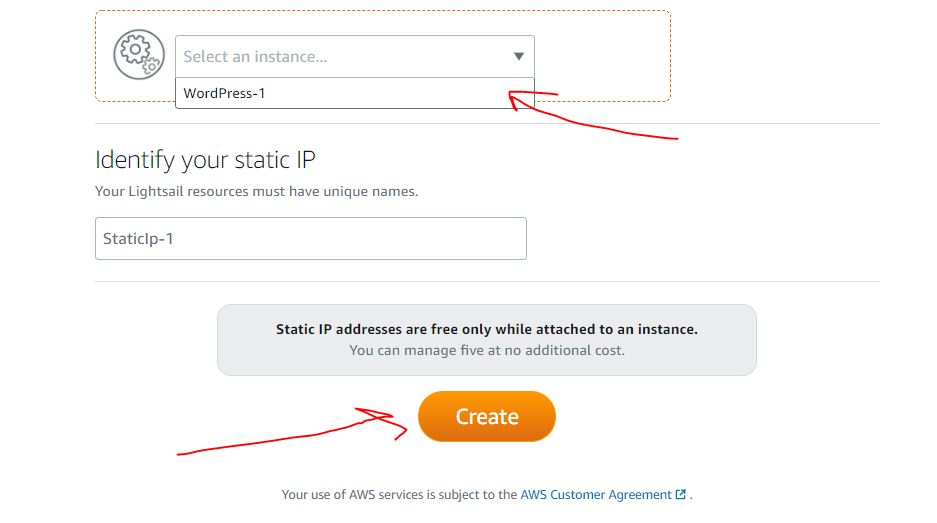
Next, select your created WordPress instance and click on the Create button.
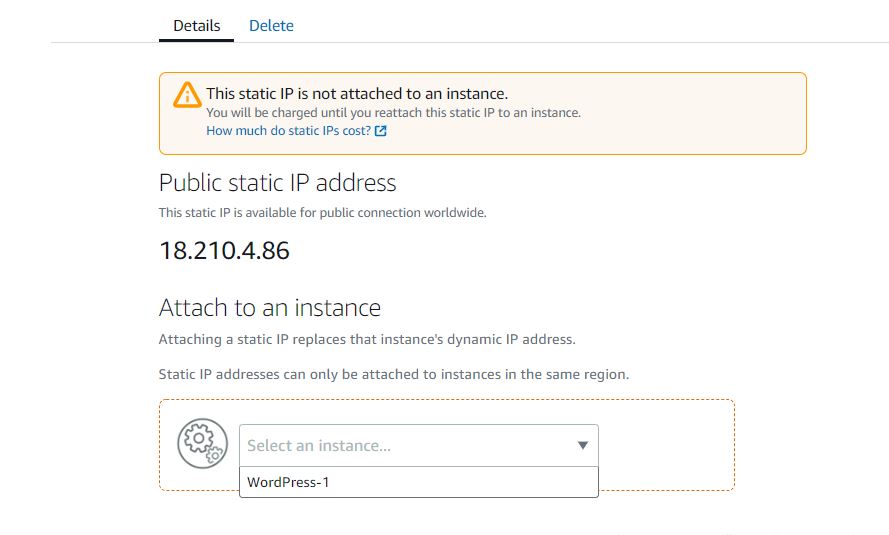
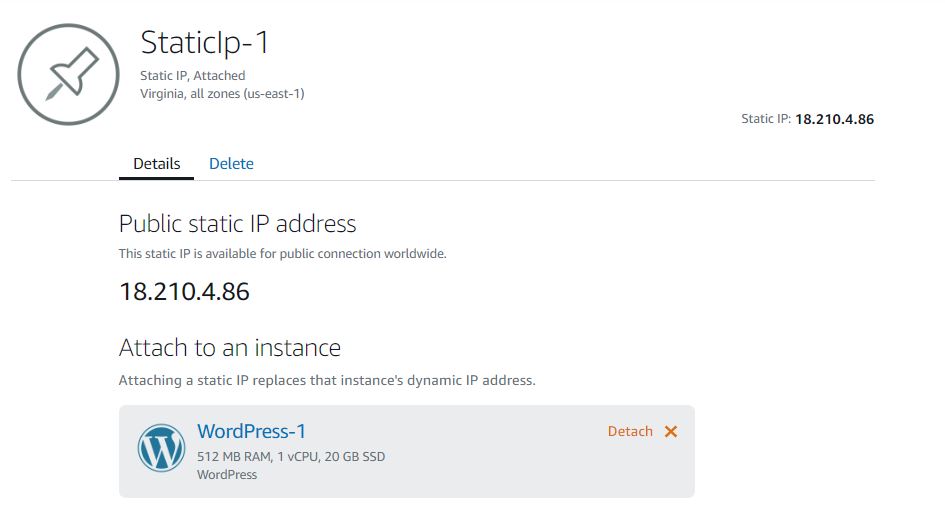
Attach Static IP to Instance
The static IP has been created and now attach it to your instance for that select the one you have created from the drop-down box and click on the Attach option.
What do Lightsail static IPs cost?
They’re free in Lightsail, as long as you are using them! You don’t pay for a static IP if it is attached to an instance. Public IPs are a scarce resource and Lightsail is committed to helping to use them efficiently, so we charge a small $0.005 USD/hour fee for static IPs not attached to an instance for more than 1 hour.
Note: After attaching the static IP address, you have to use the same to access your website.
Now, go to your Domain name registrar from where you have purchased your Top level domain and access DNS management section. Sets its A record pointing to the public IP of Amazon Lightsail.
So, in this way, we can install and set up the Amazon Lightsail WordPress app, if you have any doubt or question, please feel free to ask in the comment section…


Bitdefender Tοtal Security Multi-Device 2017 Coupon Codes