Cockpit for Linux is a best and easy to use alternative to Webmin like server web management platforms. However, Webmin has a slightly different approach with extra features whereas Cockpit Linux server management web interface tool is very straightforward.
Cockpit installs itself as a Systemd service that starts its own web server and thus enables server operation via HTTPS, no need to install Apache or any other web server to use the Cockpit.
It connects to third-party servers via SSH but requires the cockpit installation on each managed server. Let’s see the process of Cockpit installation on Ubuntu 19.04 Disco dingo.
How to Install Cockpit on Ubuntu 19 Linux
However, here we are using Ubuntu 19.04, the steps will be the same for Ubuntu 18.04. 17.04. 16.04, 14.04…
- Open a command terminal. You can use the keyboard shortcut CTRL+ALT+T.
- Log in as root or you must a user with Sudo access.
- For Ubuntu 19.04, 18.04 and 17.04, you don’t need to add any repository to install Cockpit, its packages can be downloaded from the default Ubuntu ‘s repository. However, those are running an older version of Ubuntu such as 16.04 and 14.04, for them, it is available as an official backport. Be default backports repo is already enabled on the system. Thus the command will be:
sudo apt install cockpit
- Open your local or remote browser and access the IP-address of the server where you have installed the Cockpit along with port number 9090. So, it will be like this: http://ipaddress:9090
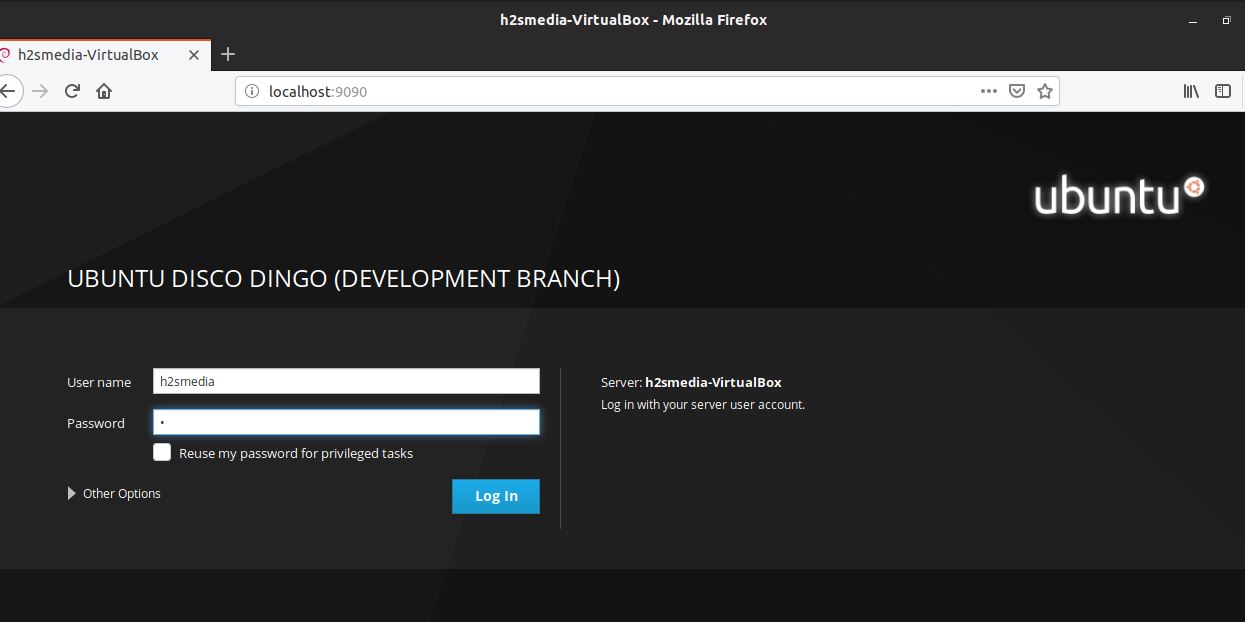
- When the login screen will open, enter your server system password, the same where the Cockpit has been installed. After that click on the login button.
- Now the Dashboard is here, you can monitor, manage and issue commands to a remote server using the inbuilt terminal of Cockpit Linux web management platform.

Related Posts
How to create email groups in Gmail? Send one email to multiple recipients in a matter of seconds.
Getting the right dashcam for your needs. All that you need to know
How to Install 7-Zip on Windows 11 or 10 with Single Command
How to Install ASK CLI on Windows 11 or 10
How do you install FlutterFire CLI on Windows 11 or 10?
How to create QR codes on Google Sheets for URLs or any other text elements