If you have multiple Windows 10 PC in your network and want to manage all of them using your system’s browser then here is the tutorial on that by installing Windows Admin Center on your PC.
What is WAC- Windows Admin Center?
If you yet don’t know about WAC- Windows Admin Center, then it is freeware available to download and install on Windows operating system to manage network computers using the browser.
As we know for Linux servers, we already have multiple web-based platforms to completely manage them. Hence, in the same way, if a user wants to manage Windows Servers or Desktops, the WAC enables him/her to do that, centrally, using a modern browser (HTML5). The installation is quite simple, but the added value by WAC is enormous.
Furthermore, WAC simplifies the management of core server installations, as the systems can be managed almost completely via the browser. For example, it is possible to install features without having to know a Powershell command. Microsoft has also submitted the administration for AD DS, DHCP, and DNS via extensions and is working intensively on replacing the outdated MMC consoles.
After the extensions have been added to the WAC, they are automatically visible when managing DCs. The administration of Hyper-V clusters or hyper-converged clusters is also possible with the Windows Admin Center.
Besides all this, Windows 10 PCs and Windows servers with GUI in the network can be accessed via RDP directly in the browser.
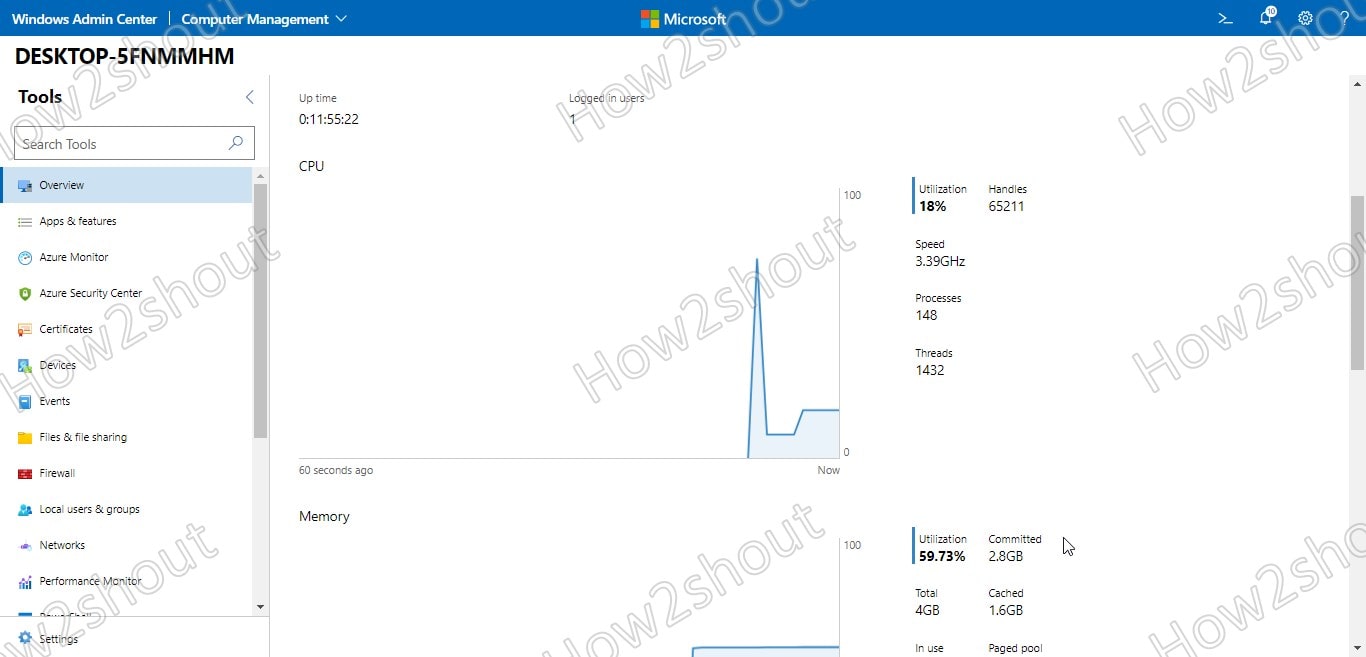
WAC Dashboard access gives you all the necessary information to monitor servers or desktops such as computer load, connected devices, running processes, and existing certificates. You also have access to various tools such as firewall configuration or remote administration. The “Windows Admin Center” can be expanded in terms of functionality with plugins and the integration of Azure services and adapted to personal needs.
Now’s let’s see the main part of the tutorial. Suppose you have multiple computers running on Windows 10 or Server OS in your home or office. And you want to manage their services such as installation/removing of apps, services, monitoring hardware, Registry, Storage, Network, Virtual Switch, Virtual Machines, Containers, and more… Then, install WAC on your main Windows system and add the rest of the local or remote Windows 10 targeted system into it. Here we will show you how to do that…
Manage Remote Windows 10 PC or Server OS using Windows Admin Center
To perform this tutorial we are using two Windows 10 machines available in the same network. One is physical and the other Virtual.
Download Windows Admin Center on Windows 10
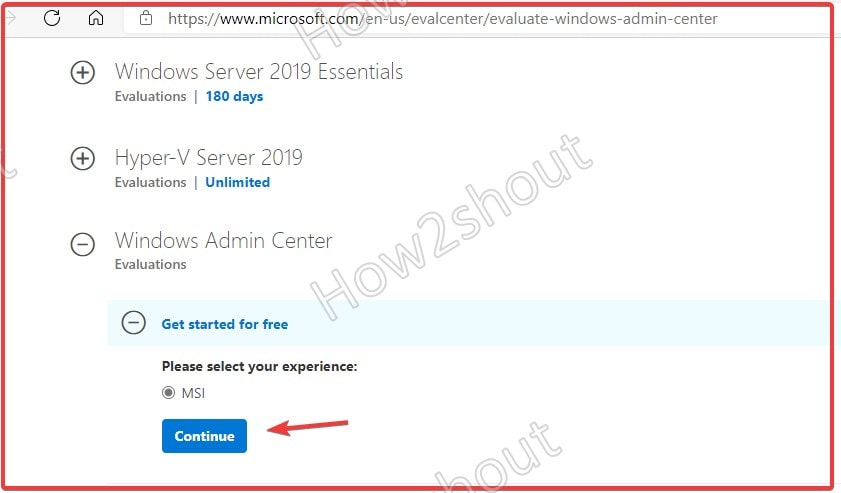
Windows Admin center is available to download from the Windows Server Evaluation Portal page, here is the link to visit it. There, under the Windows Admin center, click on the Continue button to download the MSI file of this computer management platform.
Install & Run WAC
The installation of Windows Admin Center is just like any other Windows software, double-click on the downloaded MSI file and follow the Wizard. Go for the Default options.
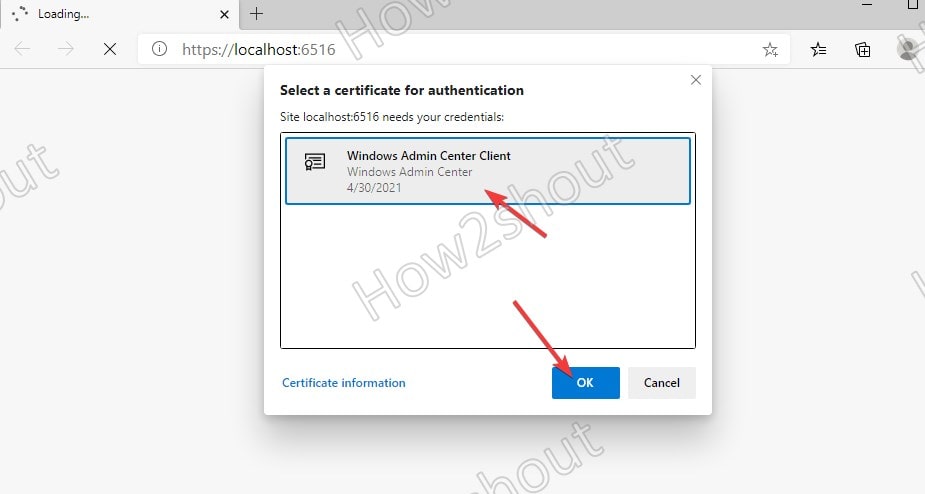
Once you are done with the installation, start WAC by clicking on its shortcut icon. This will open an URL – https://localhost:6561. Accept the Windows Admin Center Client Certificate for authentication.
Configure Remote Windows 10 system to manage and monitor
Now, we have to set up our target system that we want to manage and monitor using Windows Admin Center. Thus, access the target Windows 10 system that you want to monitor and make sure given service and firewall rules are enabled so that we can access it in WAC.
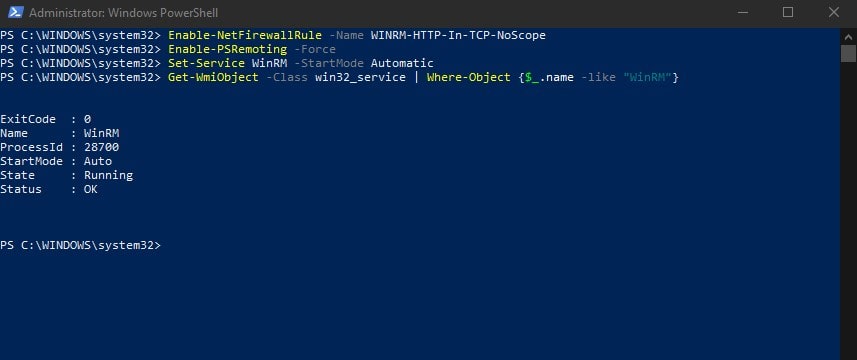
Open PowerShell as Admin in the Target Windows 10 or Server system that you want to manage using WAC and enable the following things-
1. Enable Windows Remote Management (HTTP-In)
Enable-NetFirewallRule -Name WINRM-HTTP-In-TCP-NoScope
2. Enable WinRM service
Enable-PSRemoting -Force
3. Set WinRM Service to enable automatically
Set-Service WinRM -StartMode Automatic
4. Now check whether the service has been or not
Get-WmiObject -Class win32_service | Where-Object {$_.name -like "WinRM"}
The Output state will show- Running
5. After that configure WinRM to use a built-in Administrator account to authenticate in WAC.
REG ADD HKLM\SOFTWARE\Microsoft\Windows\CurrentVersion\Policies\System /v LocalAccountTokenFilterPolicy /t REG_DWORD /d 1
Note– Run the above-mentioned commands in all the Windows systems that you want to manage and monitor using Windows Admin Center.
Find out the Target system Ip address, for that simply type-
ipconfig
Note, down the system Ip-address.
Add Windows 10 system in Windows Admin Center to manage
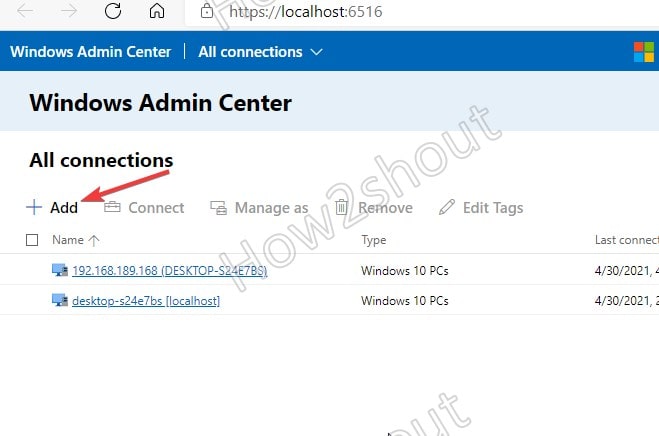
The Windows system where you have installed the WAC will automatically show as a localhost system in it. However, any other system in the network has to be added manually. Here are the steps to follow.
- Click on the Add button.
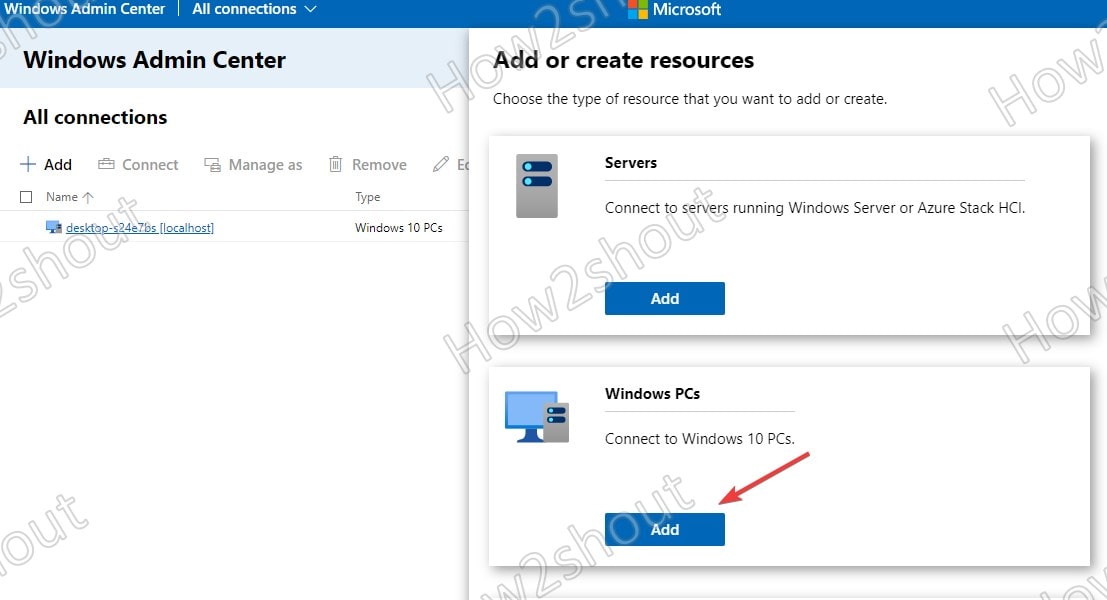
- Select Server or Windows 10 as per your targeted computer.
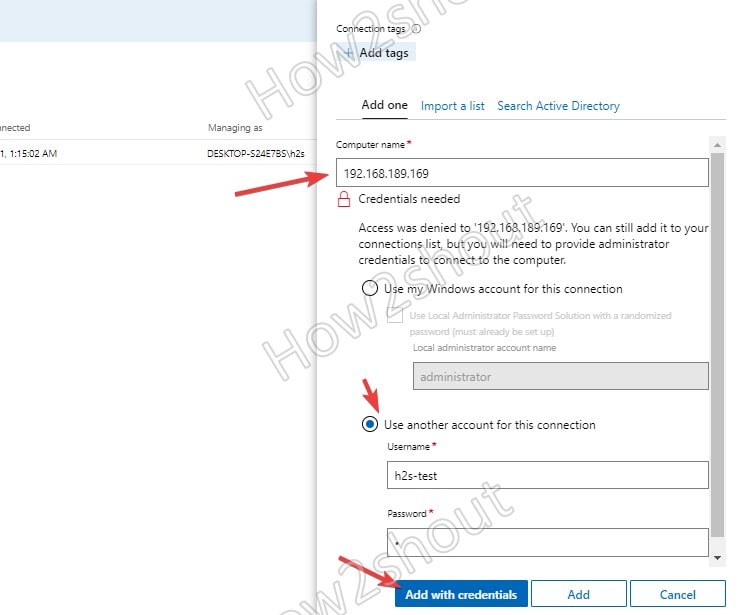
- In the Computer Name box, either type remote system’s the Ip-address or Device-name.
- Windows Admin Center will automatically search the remote system in the network to connect.
- Once WAC finds it, you have to add the remote system Username and Password to log in and access it using Windows Admin Center Dashboard.
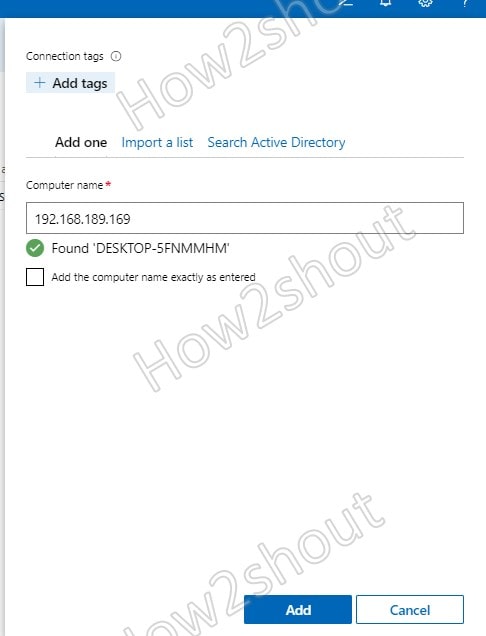
- After successfully adding the remote PC or server you will have that on your Dashboard, click it to access all the management and monitoring options.
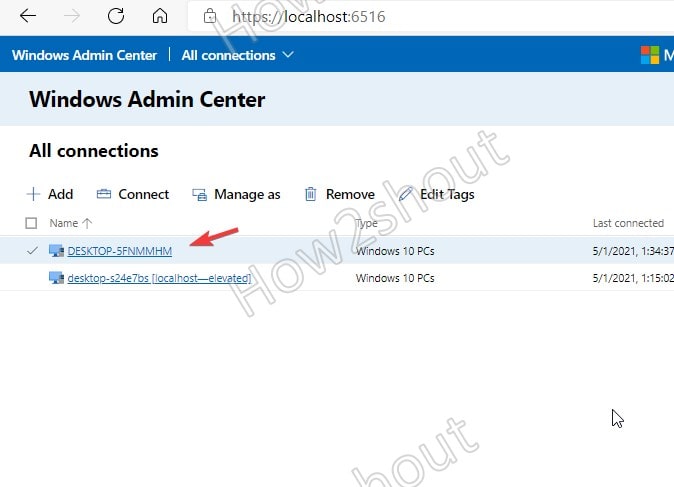
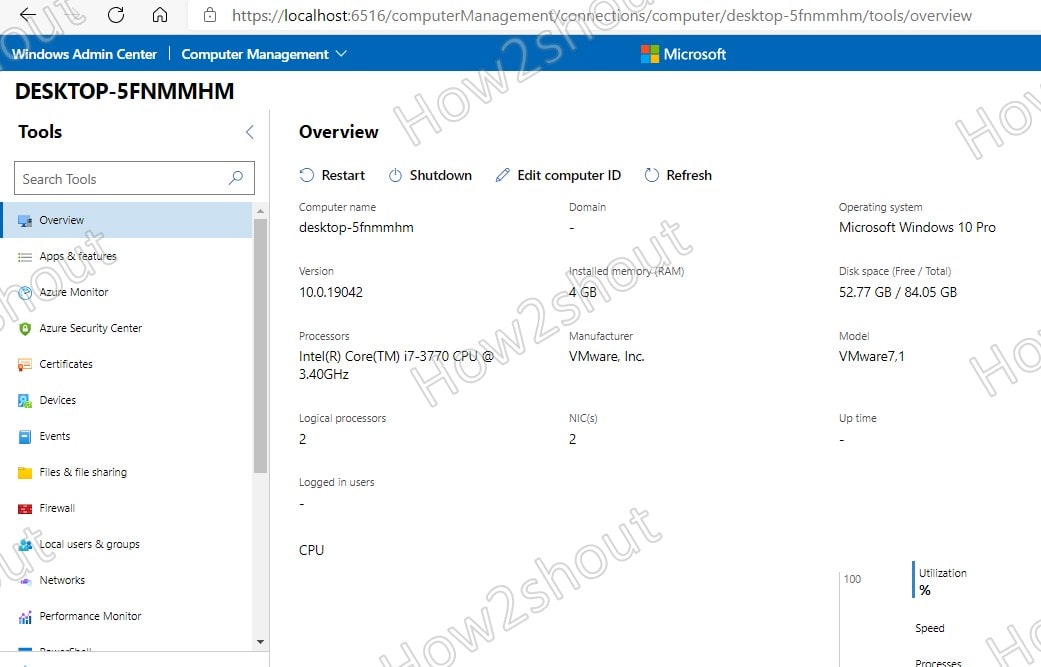
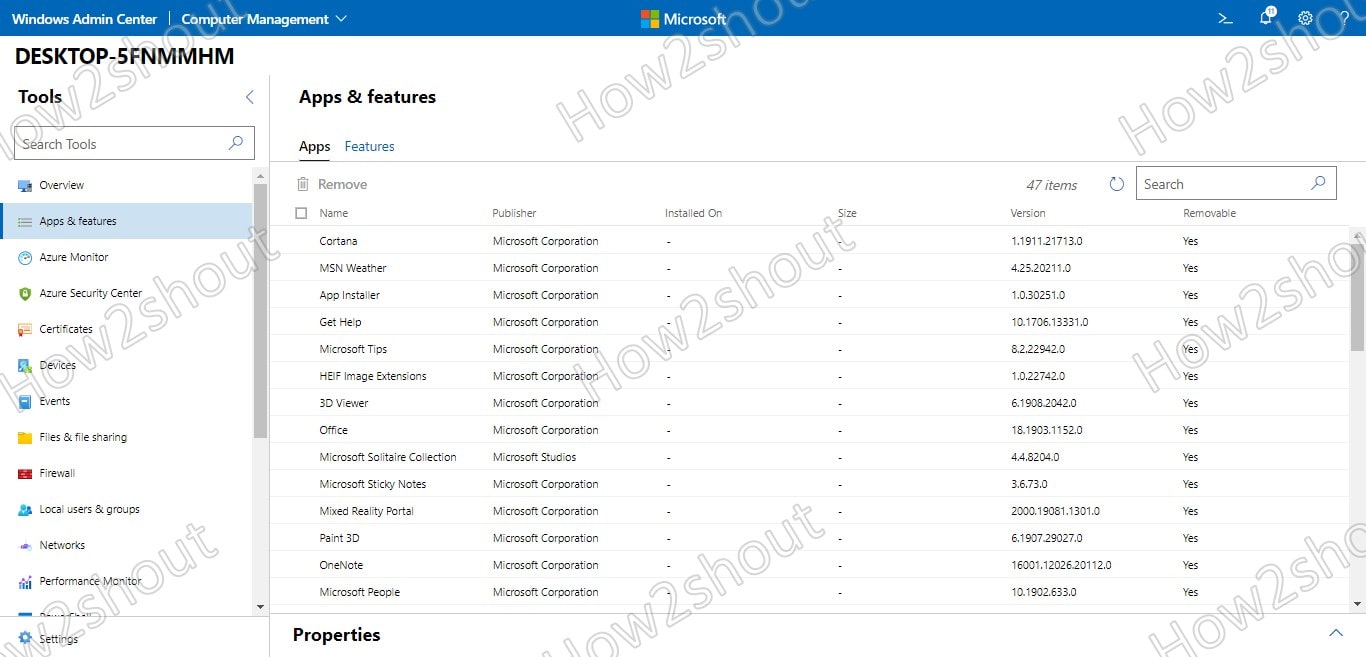
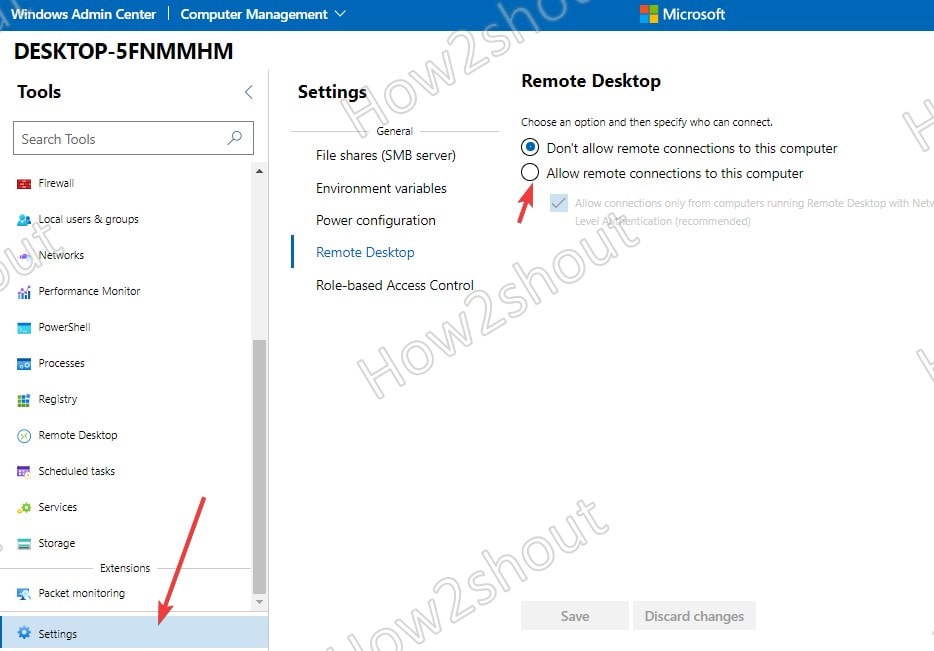
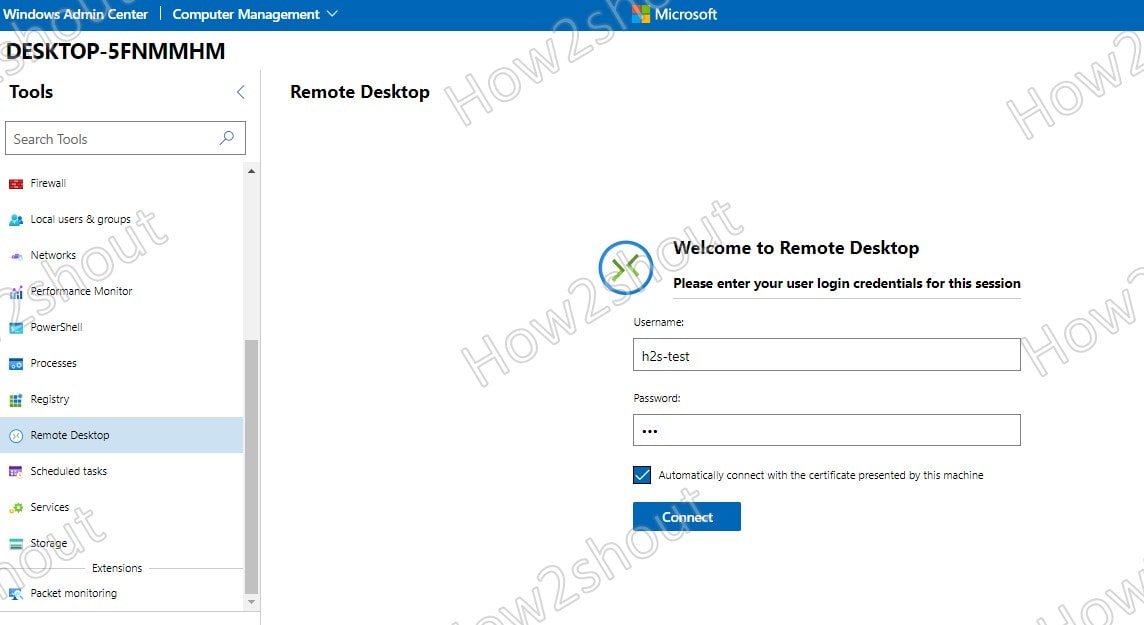
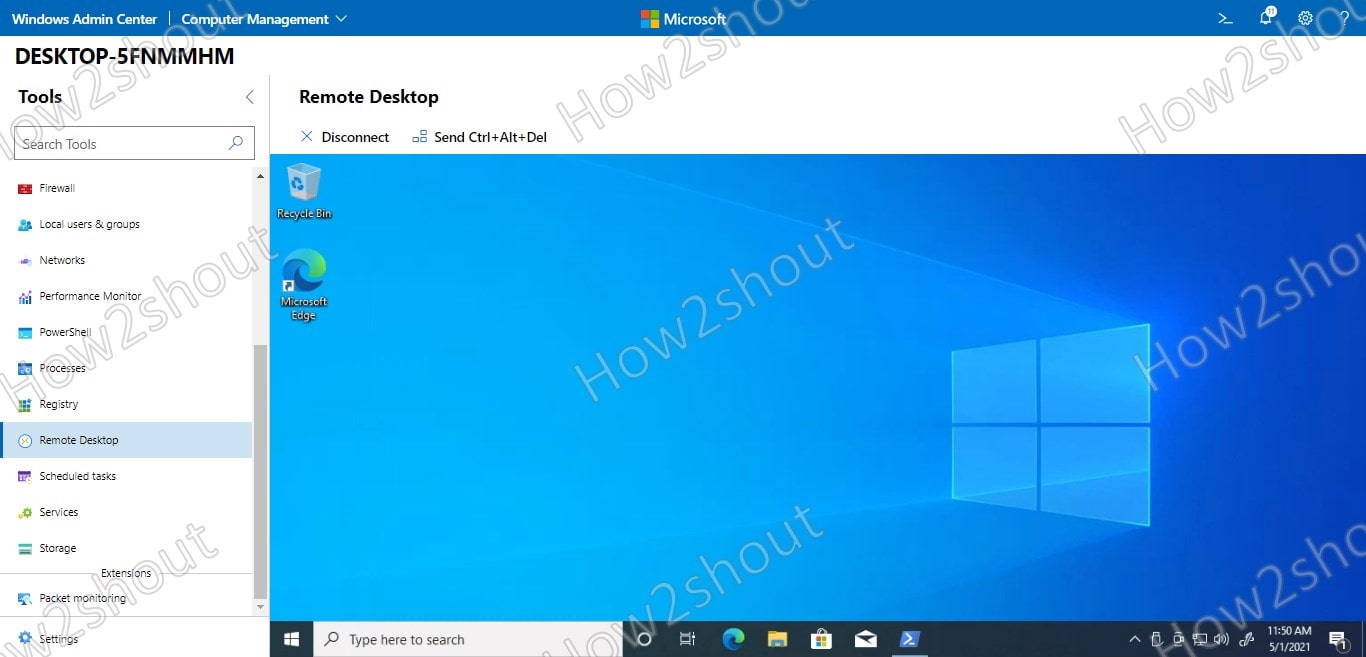
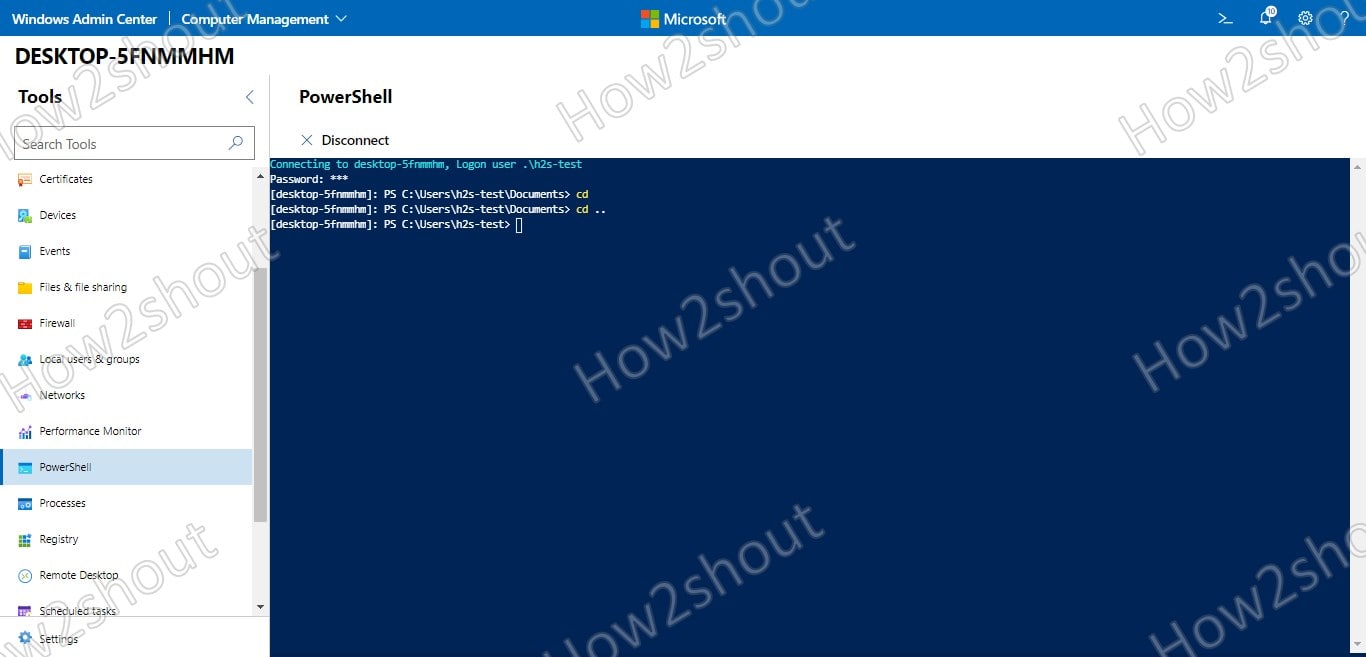
Here are the Windows Admin Dashboard Screenshots…
Now, you can manage everything available on a remote PC such as services, Firewall, Apps, Virtual machines, Hyper-V, Containers, Registry, and more even can use Remote Desktop features in Windows Admin Center to directly access the GUI interface of the remote PC.
Related Posts
How to Install 7-Zip on Windows 11 or 10 with Single Command
Install Google Earth on Windows 11 or 10 Using a Single Command
How to install Gaming Services on Windows 11
How to Install Telnet Client on Windows 11 Using PowerShell
How to Install ASK CLI on Windows 11 or 10
How do you install FlutterFire CLI on Windows 11 or 10?