If you are looking for a premium virtual Machine software, VMware workstation Pro can be the best solution for you. It comes with a plethora of functionalities, and you can even find separate applications for different requirements you might come across while using VMware workstation. Just like most other popular programs, VMware workstation is cross-platform, and you can even download it on your computer running Linux. I have talked about how you can install VMware workstation Pro 15 on a computer running depends on Linux, but the process is different if you want to install the same on a computer running Ubuntu.
On Ubuntu, you will first have to download the installer and then proceed with the installation of the same on your computer. After the installation is complete, you can enjoy the full potential of VMware workstation Pro on your computer, and manage virtual machines like a professional. Even VMware workstation is a premium virtualization software, the tools are very easy to deal with, and we will hardly find any kind of issues working with it. VMware Workstation Pro is a premium program, Andaaz, you can use it for 30 days and after that, you will have to purchase a program to use it for a lifetime.
So, without any further delay, let’s get started with how you can install and initialize VMware workstation Pro 15 on Ubuntu 20.04, 19.10, 19.04, 18.10, 18.04, 16.04; Linux Mint 19, Debian, Elementary OS or other same stream Linux distros.
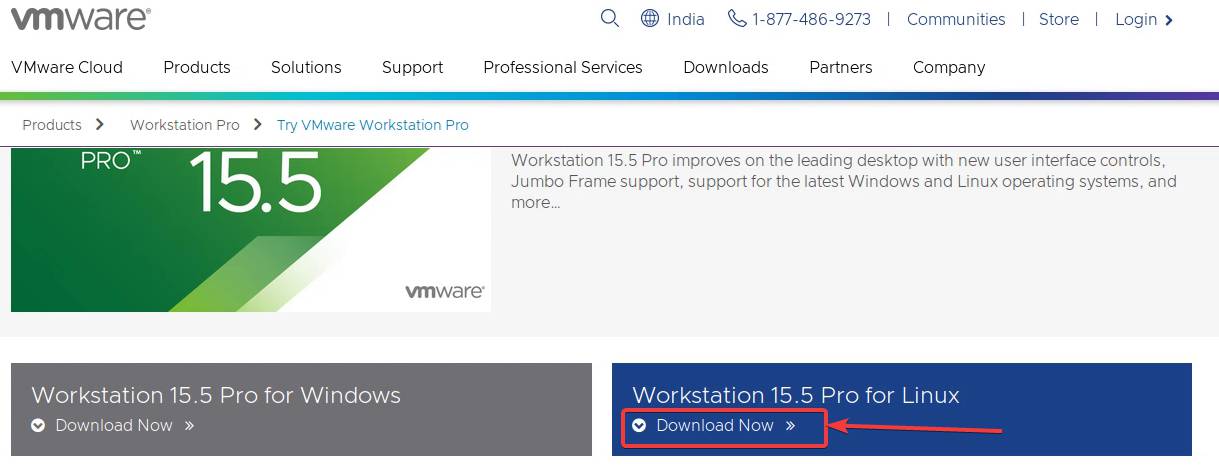
Step 1: Download VMWare Workstation Pro for Linux
Just click on the following link and click on the download button for Linux to start downloading the Installer on your computer.
Alternatively, you can even open the Linux terminal and type in the following command to start downloading VMware workstation Pro 15 on Ubuntu.
wget https://download3.vmware.com/software/wkst/file/VMware-Workstation-Full-15.5.1-15018445.x86_64.bundle

I have observed, the download speed that’s better by downloading the installer with wget, and thus, I will recommend you to do the same.
Step 2: Get into Download directory
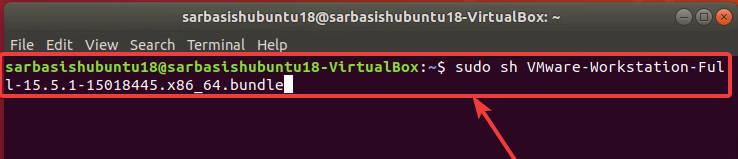
After the download is complete, navigate to the directory, where you have downloaded the installer, using the ‘cd’ command, and once you are there, type in the following command and hit the enter key to start the installation VMware workstation Pro 15 on your computer.
sudo sh VMware-Workstation-Full-15.5.1-15018445.x86_64.bundle
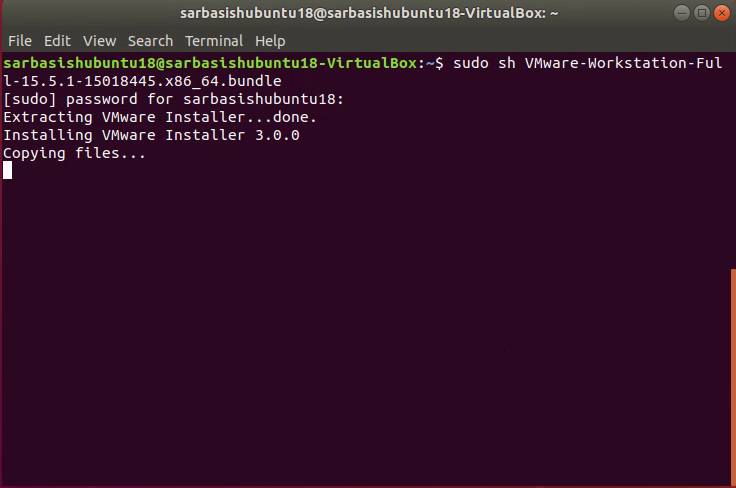
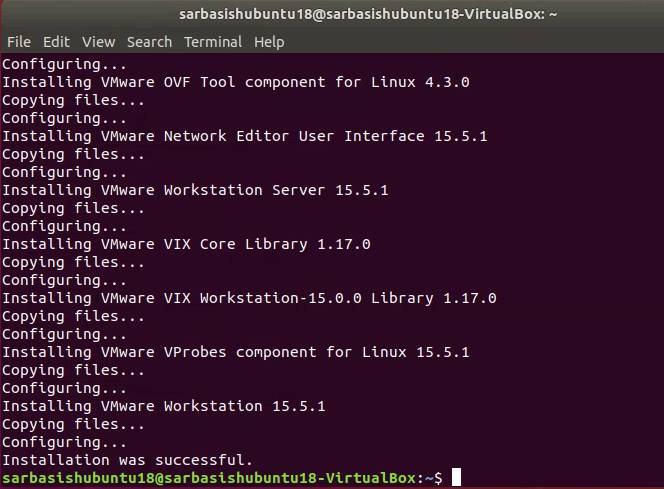
The installation will take a few minutes, and once the installation is complete you have to initialize it on your computer running Ubuntu.
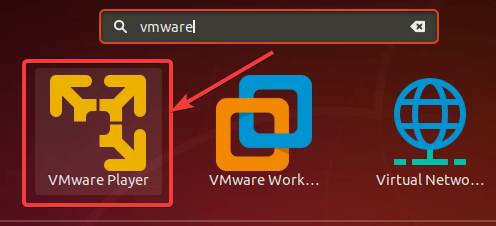
Step 3: Run Vmware Player on Ubuntu
You can run VMware workstation Pro from the apps section, or by using your default launcher on Ubuntu.
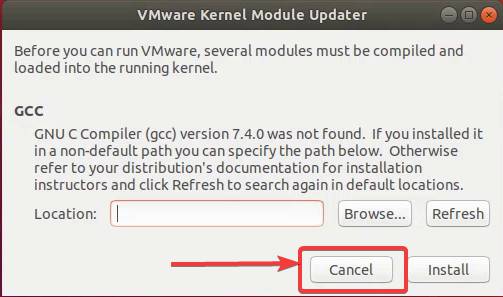
Step 4: GCC Compiler error (optional)
However, if you find some errors related to compilation issues, you will have to run a few commands, for VMware workstation, VMware player, and other VMware applications to run properly on a computer.
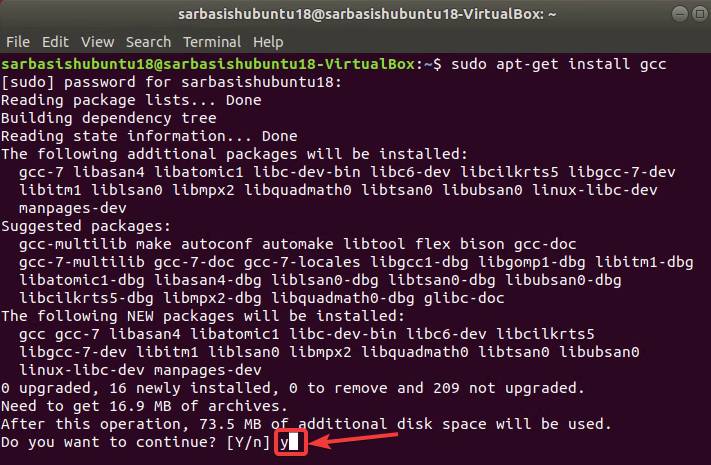
Command to install GCC on Ubuntu
Just open a Linux terminal again, and type in the following command to start the installation of GCC on your computer running Ubuntu.
sudo apt-get install gcc

After the installation starts, you will have to type ‘y’, and then hit the enter key to accept the download and install of the dependencies. It will take around 75 MB on your system.
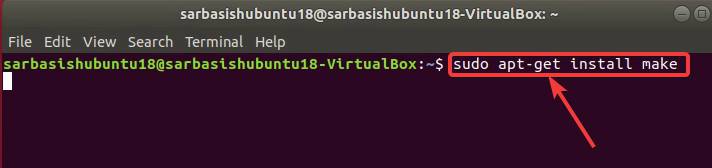
Install Make on Ubuntu
After the installation of GCC is complete, type in the following command to install make on your Ubuntu computer.
sudo apt-get install make
After the installation of ‘GCC’ and ‘Make’ is over, the installation of VMware Workstation Pro will be as easy as the installation of other programs, and after that, VMware Player or Workstation Pro should open like a charm after that.
Install- VMware Kernel Module Updater
Now, just open VMware Workstation Pro from the apps, and you will get the option to compile and load some modules on to the kernel. Just click on ‘Install’.

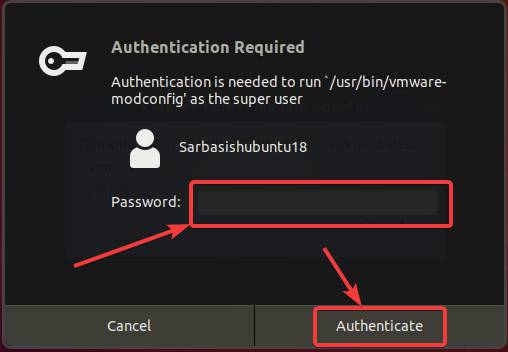
Now you will have to enter the admin password and click on ‘Authenticate’ to continue.
Now, the ‘vmmon’, and ‘vmnet’ modules will be compiled, and once that is done, you have to proceed with the installation of VMware Workstation on Ubuntu. The process is quite easy and is similar to the installation of most Windows programs.
You can follow this tutorial on, how to install VMware Workstation Pro 15 on Deepin, as the installation of VMware Workstation Pro 15 is going to be the same after the steps I have discussed here, even on Ubuntu. You just need to accept some terms and conditions, set the installation location, and do a little housekeeping in an easy-to-understand GUI to finalize the installation.
After the installation is complete, you can open VMware Workstation Pro 15 is complete, you can open VMware Workstation Pro or VMware Workstation Player, right from the apps section, or by using your default launcher on Ubuntu. I have tried it on Ubuntu 18.04 LTS, but you can use the same tutorial to install VMware even on other Ubuntu versions.
So, that was all about how you can install VMware workstation Pro 15 on Ubuntu. VMware Workstation Player, which can also be equally useful, if you are using a computer, which is not that powerful and you do not need all the additional features, which VMware workstation has to offer. Do you have any questions? Feel free to comment on the same below.
Other Articles:
- How to install VMware tools on Linux and Windows virtual machine
- Install Kali Linux on Vmware on Windows or Linux
Related Posts
How to create email groups in Gmail? Send one email to multiple recipients in a matter of seconds.
Getting the right dashcam for your needs. All that you need to know
How to Install 7-Zip on Windows 11 or 10 with Single Command
How to Install ASK CLI on Windows 11 or 10
How do you install FlutterFire CLI on Windows 11 or 10?
How to create QR codes on Google Sheets for URLs or any other text elements