Often while creating an assignment or report, we need to collect references from multiple sources, and we eventually copy text from those places to paste it within our document. Even though we can use the ‘Ctrl + Shift + V’ to paste only the text, and that will not paste the formatting of the text, including the links, there are certain situations, when we come across documents with a number of links or hyperlinks that we don’t want within the document. Depending upon the size of the document, it can be a painful task to remove each hyperlink individually, but there is a way on both Microsoft Word and Google Docs to remove all the hyperlinks, at once.
The ability to remove all the hyperlinks can come in handy in magical ways when you are dealing with a document, and today, I will talk about, how you can do that, here. I will cover only Microsoft Word and Google Docs, as these are the two most popular word processing programs, however, the process is not going to a lot different in other programs, as well. I will also talk about a way so that Microsoft Word will not consider links or email addresses as hyperlinks, as you type them. So, this tutorial is undoubtedly going to be helpful for you in numerous ways.
So, without any further delay, let’s get started with how you can remove hyperlinks from texts in Microsoft Word and Google Docs.
Removing all links in Microsoft Word with a single shortcut
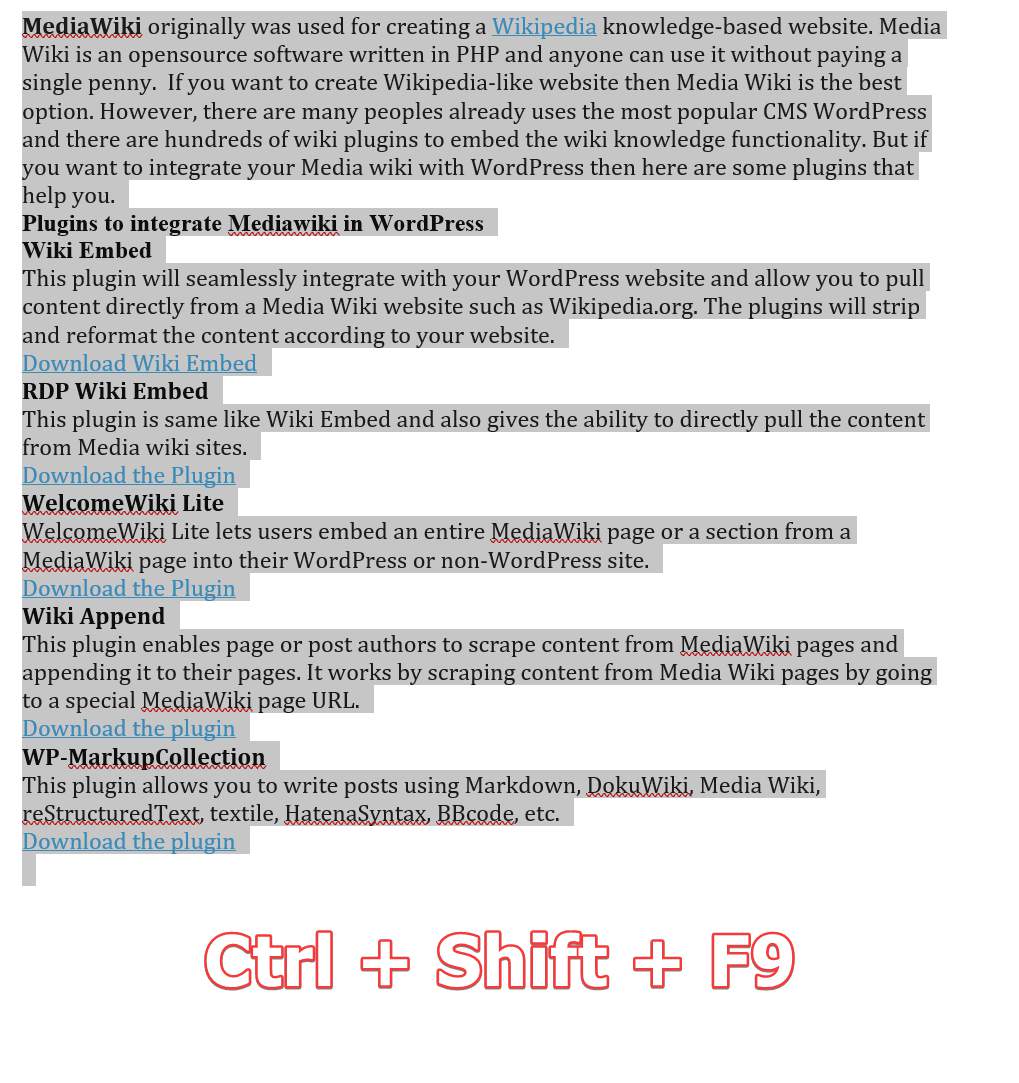
This can come in handy sometimes.
Step 1: Open the file or document on Microsoft Word, and select the complete document or a certain part of the document, from where all the links need to be removed.
Step 2: Now, use the ‘Ctrl + Shift + F9’ to remove all the hyperlinks from the selected part of the document.
Even after you remove the hyperlinks, most of them, which are typically coloured blue, will retain its font colour. However, you can use your favourite font colour, or use any other formatting option now to make those parts of the document look normal again. The bottom line is, the links are now gone from your document.
Prevent automatic hyperlinking on Microsoft Word
Step 1: Open Microsoft Word, click on ‘File’ and then click on ‘Options’.

Step 2: Under the ‘Proofing’ tab in ‘Word Options’, click on ‘AutoCorrect Options…’.
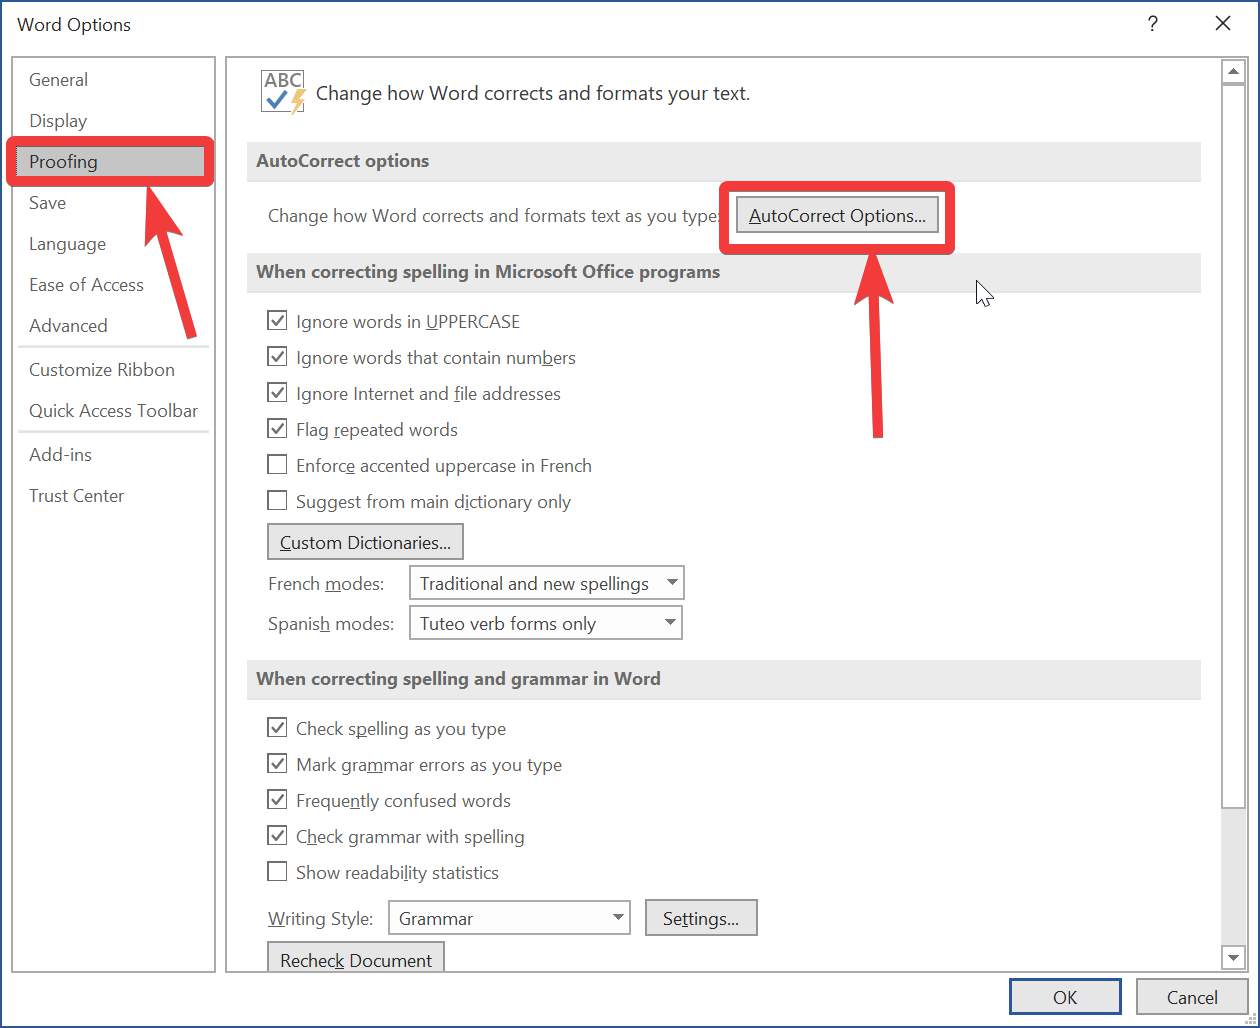
Step 3: Click on the ‘AutoFormat As You Type’ tab, and then unmark the option that says ‘Internet and network paths with hyperlinks’, and click on ‘OK’.

This setting will be applicable across Microsoft Word, which means, even if you create new files, and type in links or email IDs, they will not be hyperlinked, as well. So, this setting isn’t file-specific. If you are changing the setting on your office computer for your own convenience, better get a penny for the thoughts from your co-workers.
Removing all links from Google Docs
The ability to remove all the hyperlinks from a selected document isn’t available by default on Google Docs. You have to download an add-on ‘Text Cleaner’ for Google Docs for this purpose.
Step 1: To do that, click on ‘Add-ons’ in the menu bar of Google Docs, and click on ‘Get add-ons’.

Step 2: Now, type in ‘Text Cleaner’ in the search box, and click on the first link, that I have shown below, in the screenshot.

Step 3: Click on the ‘Install’ button followed by the ‘Continue’ button that appears.

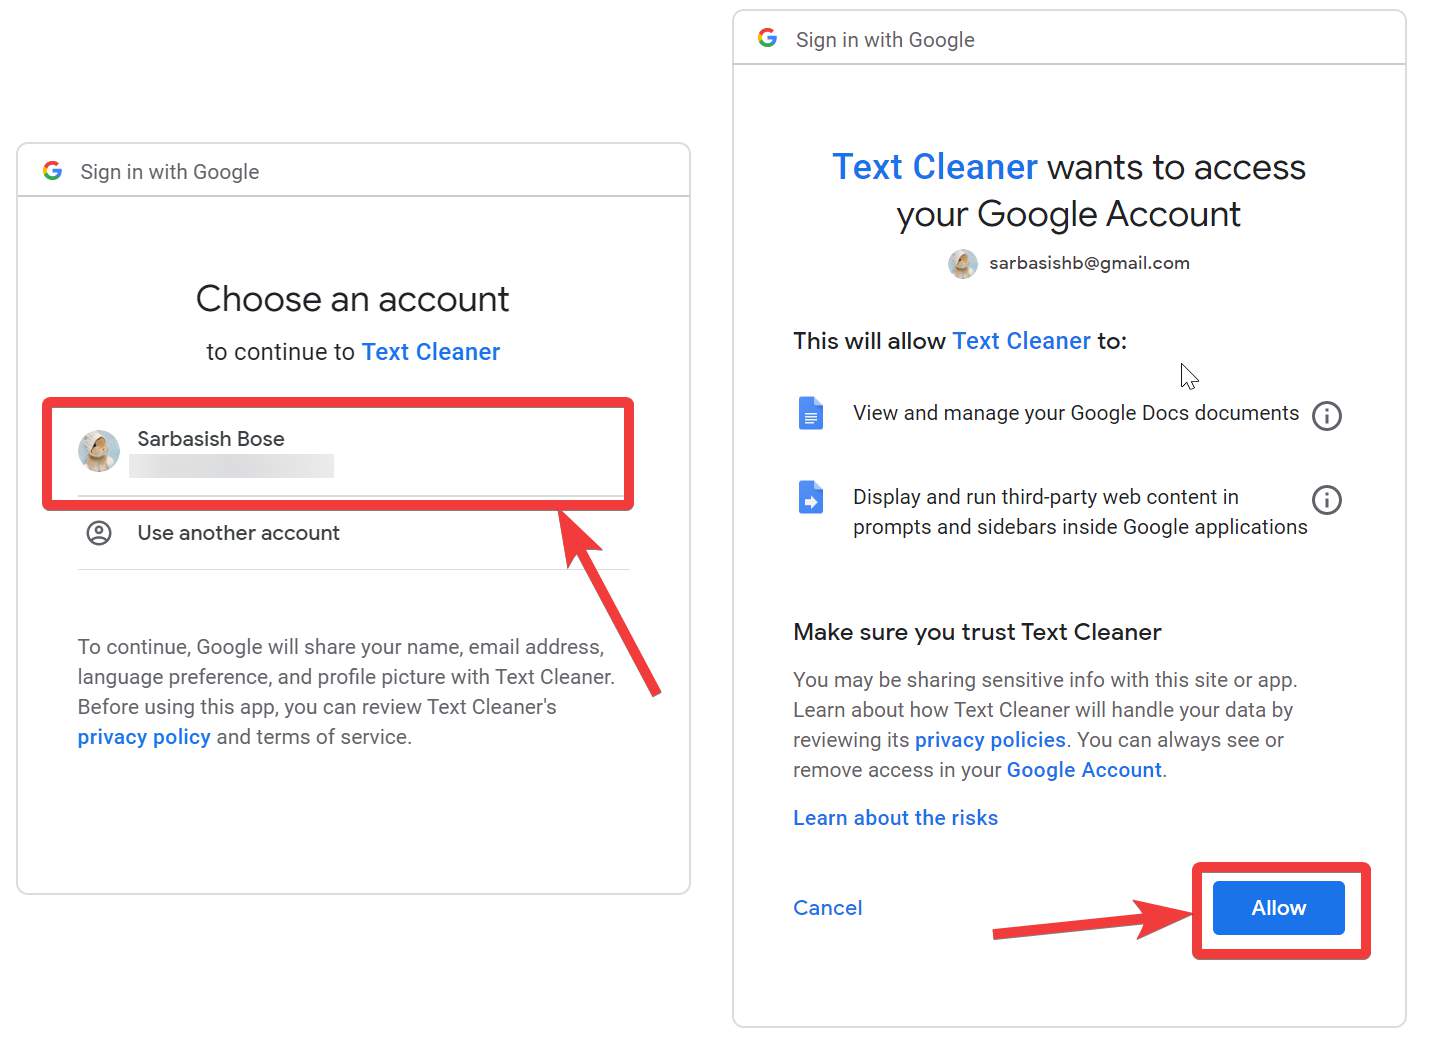
Step 4: Next, you will have to choose the Google account, which will be used to download the Text Cleaner add-on. Just click on the account, if you have multiple accounts. Next, click on ‘Allow’ accept the permissions, Text Cleaner requires, to function properly.
Step 5: Click on ‘Done’, after the installation is successfully completed.

Step 6: After the installation is complete, open the document to remove all the links. Now, as usual, select the complete document, or the part of the document, from where the links need to be removed. Now, click on ‘Add-ons’, and click on ‘Remove links and underlining’ under ‘Text Cleaner’.

Depending upon the size of the document, the process of removing the links will take some time, and after it is completed, the links, along with the underlines will be removed right away.
Prevent automatic hyperlinking on Google Docs
Step 1: Click on ‘Preferences’ under ‘Tools’.

Step 2: Unmark the option that says ‘Automatically detect links’, and click on ‘OK’.

Now, the links will no longer be automatically hyperlinked.
So, that was all about how you can prevent hyperlinking of texts while typing, on Microsoft Word and Google Docs, or remove all the hyperlinks, at once. This tutorial can come in handy in magical ways at different times. Do you have anything to say? Feel free to comment on the same below.
Other articles:
Related Posts
How to create email groups in Gmail? Send one email to multiple recipients in a matter of seconds.
Getting the right dashcam for your needs. All that you need to know
How to Install 7-Zip on Windows 11 or 10 with Single Command
How to Install ASK CLI on Windows 11 or 10
How do you install FlutterFire CLI on Windows 11 or 10?
How to create QR codes on Google Sheets for URLs or any other text elements