We all write a number of things, ranging from official documents to messages while chatting. While communicating and writing in the native or vernacular language is very easy nowadays, there is a class of users, who are comfortable in writing English for all the requirements they come across, every day. Even though English isn’t a very tough language to speak and write, we do mistakes every now and then. Some mistakes might even be made by us when we are in a hurry, and sometimes, we might even type the wrong things by mistake. But writing error-free English is something which you should always give priority to.
When you can spend countless hours reading the same document over and over again to find the errors, you might end up not finding them out, or even if you do, you might miss out small mistakes, unless you know all the extremely small grammatical tidbits of writing English. But we don’t have 48 hours a day, and that being said, you can use a tool to find out the errors in your writing so that you can save time or boost your productivity. You might already know about Grammarly, which is a browser add-on and desktop app to help you write flawless English.
But if you want to write flawless English on your Android device, the spell and grammar check tutorial is here for you.
How to use Grammarly on Android smartphone
The steps to follow
Step 1: Download the Grammarly Keyboard app on your Android device. It should consume around 100 MB or a little more on your Android device.
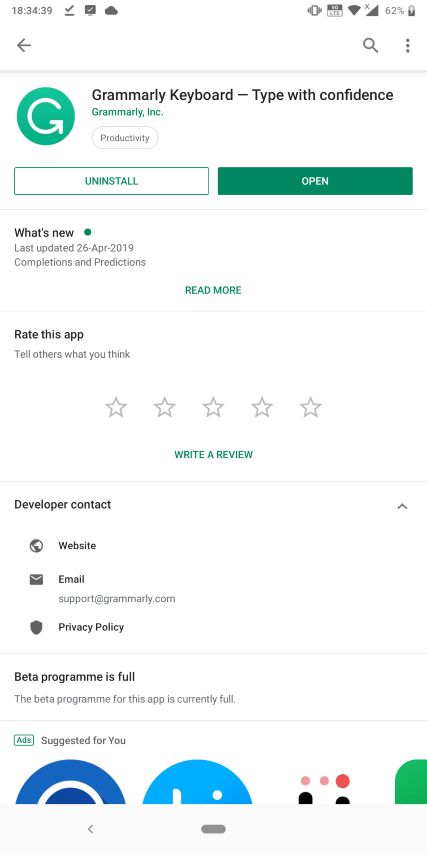
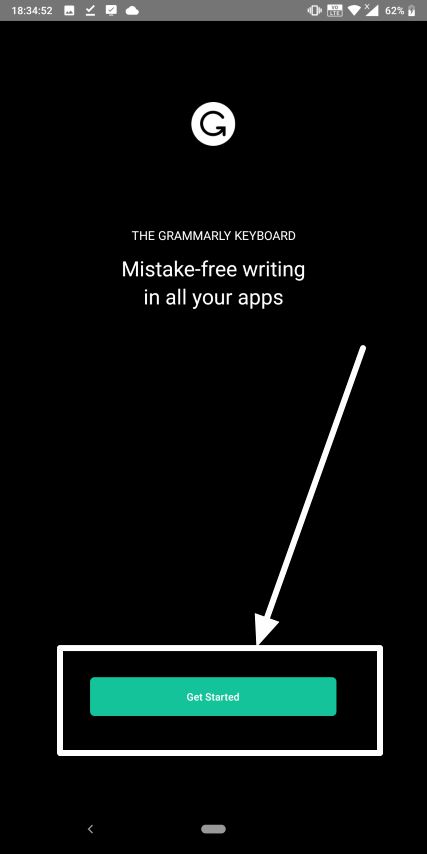
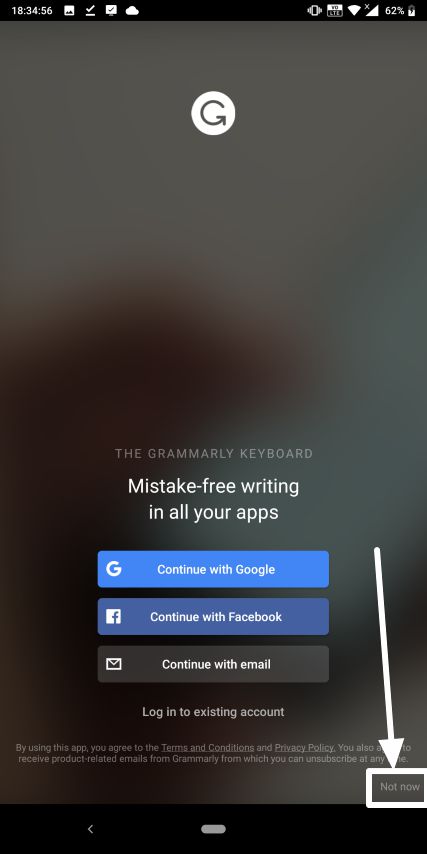
Step 2: Now open the app, and tap on the ‘Get Started’ button to start with the small set up process. After that, you will be given the option to sign in with Google, Facebook or your email. You can even proceed without logging in, by tapping on ‘Not now’.
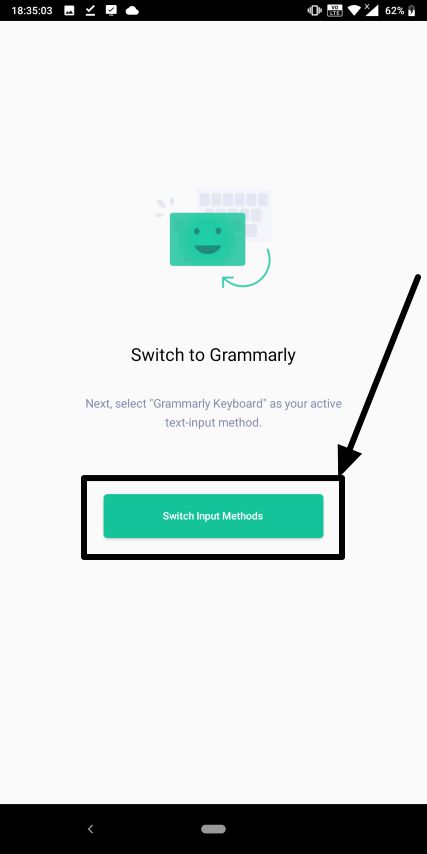
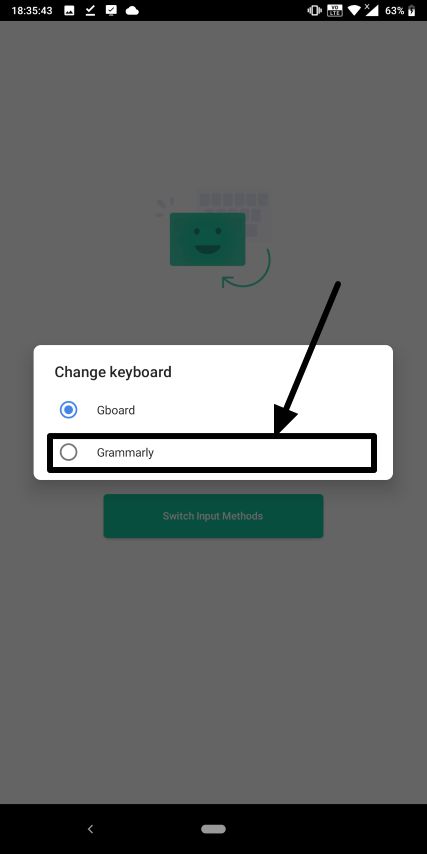
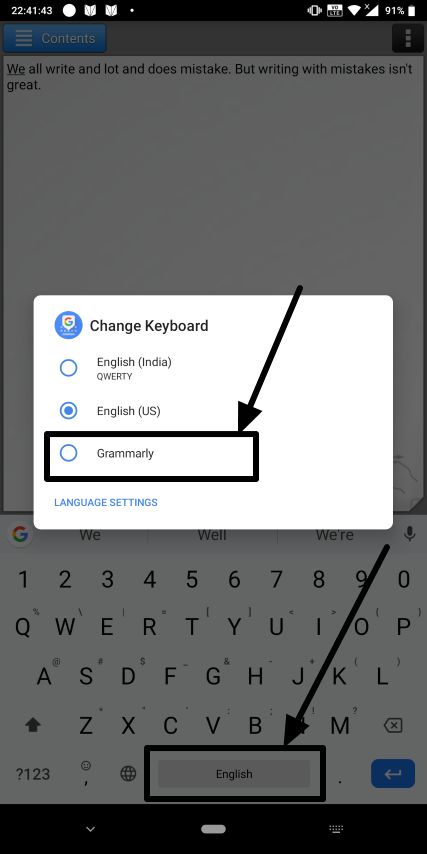
Step 3: Now tap on ‘Switch Input Methods’ to choose ‘Grammarly’ in the list of keyboards that appear. You should be able to find all the keyboard apps installed on your Android device.
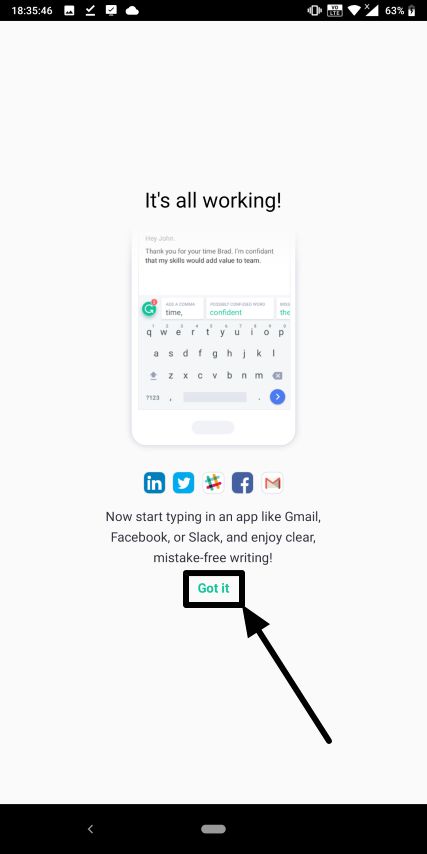
Step 4: Everything is set up now. Just tap on ‘Got it’, to exit the set up now, and start using the Grammarly app to write flawless English.
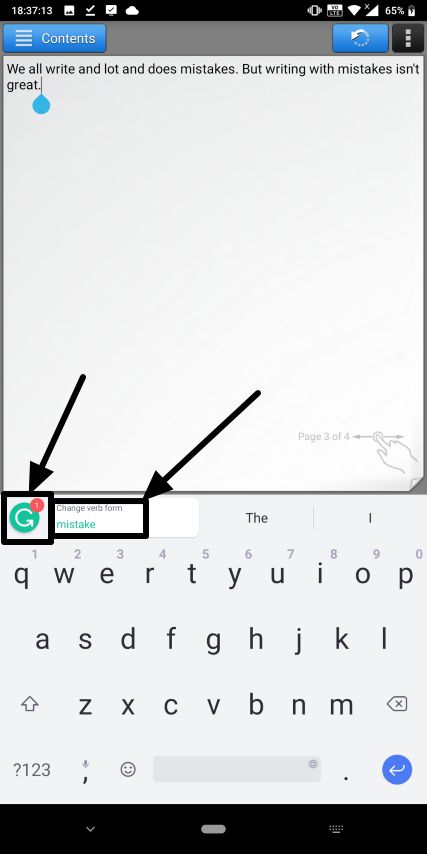
Step 5: Now start writing something on your favourite app, and you will keep getting suggestions for the errors within your writing. You can even know, why exactly it is wrong. Just tap on it to accept the suggestion and apply the changes. Alternatively, you can even tap on the Grammarly icon, to find where exactly the error is, and whether you want to apply the changes.
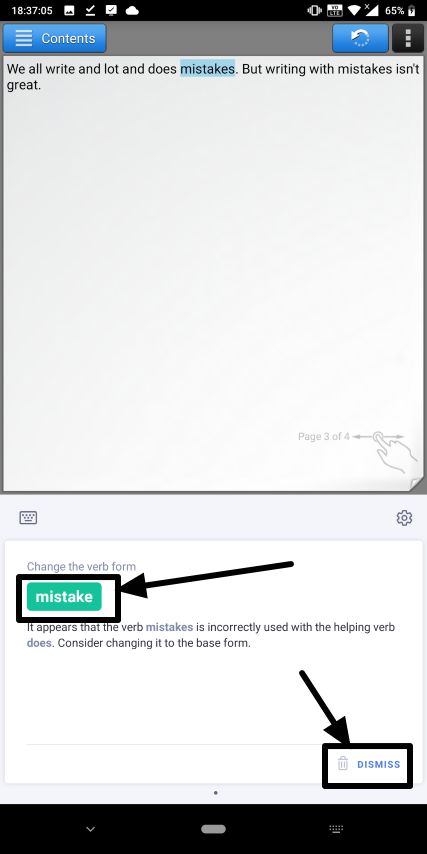
Step 6: Now if you want, you can apply the changes, or simply tap on ‘Dismiss’ to ignore the error and carry on with your writing.
Step 7: Grammarly is a regular keyboard app with extra functionality to find and correct the errors while writing. You can even open the Grammarly settings by opening the app, to change the look & feel and other small settings of the Grammarly keyboard app. The default looks and feel of the Grammarly keyboard app like Gboard, and thus can feel like at home on Grammarly keyboard.
Grammarly keyboard is great, but unfortunately, the developers had cut the corners by not providing some neat features, which is common on Gboard or other most popular keyboard apps out there. Glide typing is one of my favourite features, which make typing a lot easier, and I was out of the blue when I didn’t find the same in Grammarly keyboard. The same goes for the clipboard feature. You obviously can’t expect the translate and search feature, as those are proprietary features available only for Gboard. But every cloud has a silver lining, and you can keep using your favourite keyboard app.
Step 8: Once you are done writing, long tap on the spacebar button on Gboard to change the input method to Grammarly. The method to change the keyboard might vary depending upon which keyboard app you are actually using, long tapping on the spacebar button is the most common way to change the keyboard, however. Now you can correct the errors.
This way you can’t use the live correction option, but that isn’t a big deal as you can correct the changes once you are done with the writing.
So that was it. Hope the information was useful for you. Do you have anything else to say? Feel free to comment the same down below.
Related Posts
The ‘Grammarly for Spanish’ Correcto grabs $7M Seed Funding
Dating App Bumble’s Revised Policy Cracks Down on Bots and More
10 Best PikaShow alternatives for streaming
8 Best Free QR Code Generator Android Apps on Play Store
6 Best Google Play Store Alternatives for Android Users to install
The Best Pokémon Games of All Time