As we know the Windows Subsystem for Linux 2 has its own Linux Kernel which makes it run various kinds of open source programs efficiently. Therefore, here we are with a tutorial to learn how to install LAMP stack (Apache, MySQL, and PHP including PhpMyAdmin) on WSL 2.
LAMP stack which is also known as a Linux web server stack to run various web apps, CMS such as WordPress and more. Of course, if you are already using XAMPP on Windows 10, then there is a provision to change the default ports of Apache, PHP, and MySQL or MariaDB so that the LAMP on WSL 2 and one on XAMP can run together without interfering in each other’s services.
Why you should start using Apache web server or LAMP on WSL 2 instead of a Virtual machine?
The biggest reason to run the LAMP server on WSL 2 rather than using Virtual Machine on VirtualBox or VMware Player is the performance. As Windows Subsystem for Linux is tightly integrated into Windows 10 environment, thus the performance which we can get there will be much better than running some Linux VM. Furthermore, after the latest Windows update, now we can explore the Linux filesystem directly using the Windows explorer, even running of GUI applications on WSL 2 is possible.
Another thing is WSL uses the Windows localhost or the same IP address which the system has, thus it easy to access the created webserver and web apps using the system browser, without much hassle.
Install LAMP server on WSL 2 or 1- Windows 10 subsystem for Linux
The popular distribution available on Microsoft Store to download and use as WSL 1 or 2 is of course Ubuntu 18.04 or Ubuntu 20.04 LTS. You can choose any of them. However, before moving further make sure you already have installed WSL 1 to enable WSL 2. The steps given below will work for both versions.
Check out these two tutorials, if you haven’t had a Subsystem.
Run WSL Ubuntu 18.04 or 20.04 distro
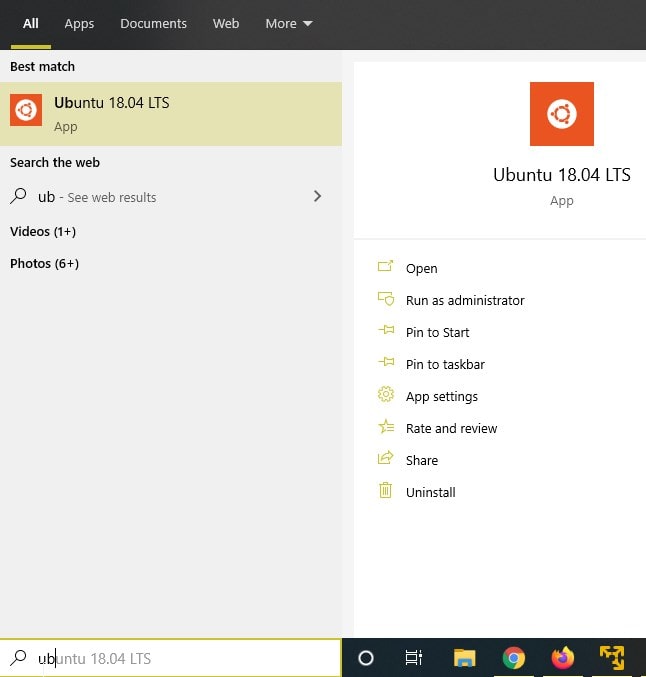
Those are using it the first time, to run bash after installing, simply go to the Windows search box and type Ubuntu, as its icon appears, click that to run.
Update system
After starting the program first time, it will be a good idea first we update its repo and packages, for that run the following two commands:
sudo apt update
sudo apt upgrade
Install Apache. MySQL and PHP – Lamp Server
Now, to install the Lamp server, we can use the below given single command on WSL Linux instead of issuing one by one for each service to get configured on the system.
sudo apt install lamp-server^
The above command will show the packages are going to install for Apache, MySQL, and PHP, accept them and let the system install the same.
Start Apache and MySQL services
Once the installation is completed, start the Apache and MySQL service using the below commands:
sudo service apache2 start
Secure and start MySQL:
sudo usermod -d /var/lib/mysql/ mysql

sudo mysql_secure_installation

sudo service mysql start
To check Apache is running perfectly, open your browser and type: http://localhost
Install PhpMyAdmin
If you want to manage your MySQL created database efficiently then also install the open-source PHPMyAdmin for easy web database management user interface.
sudo apt install phpmyadmin php-mbstring php-zip php-gd php-json php-curl
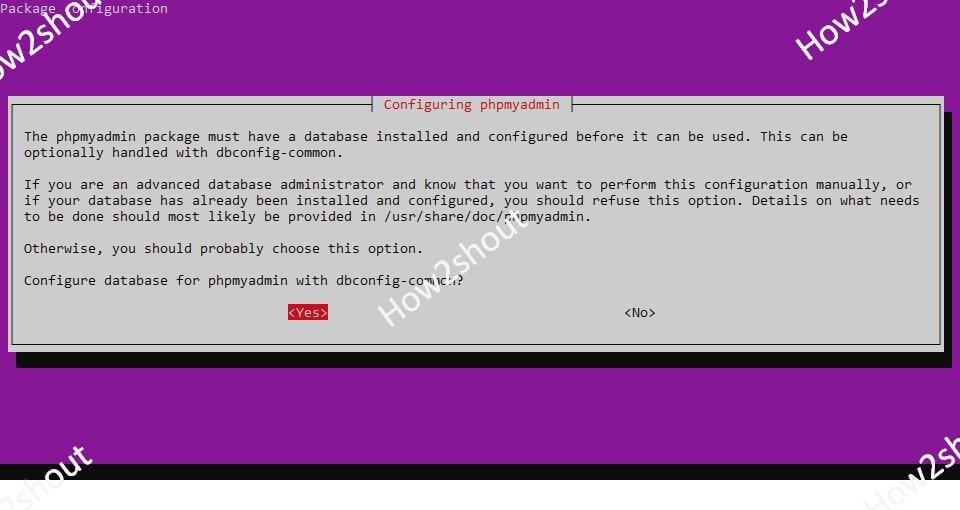
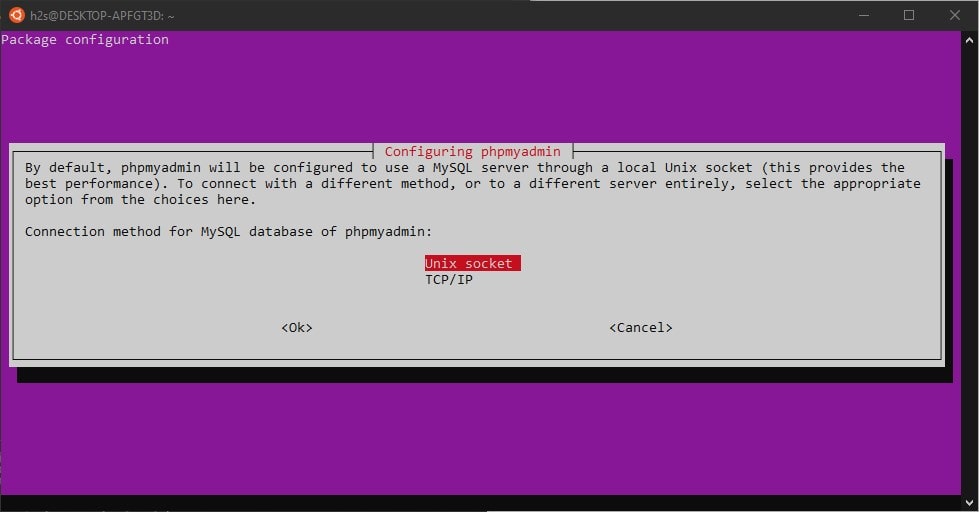
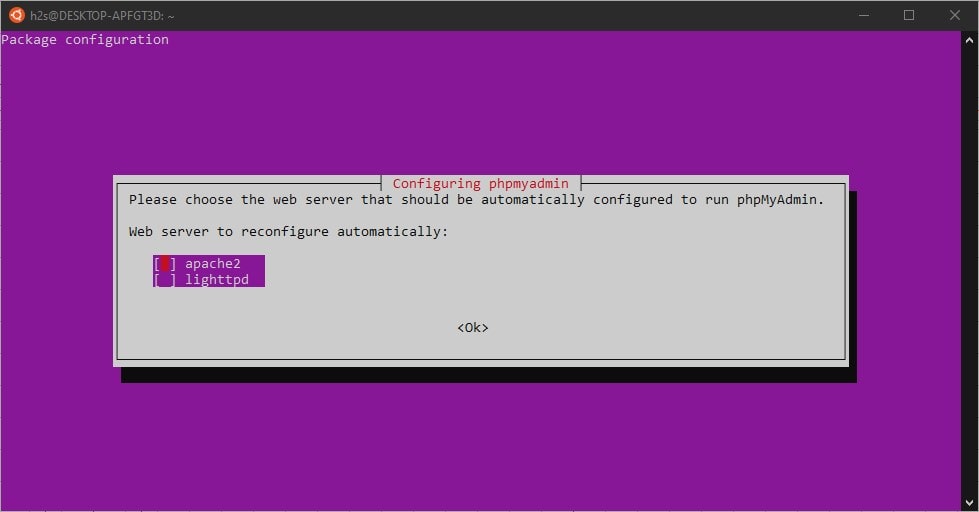
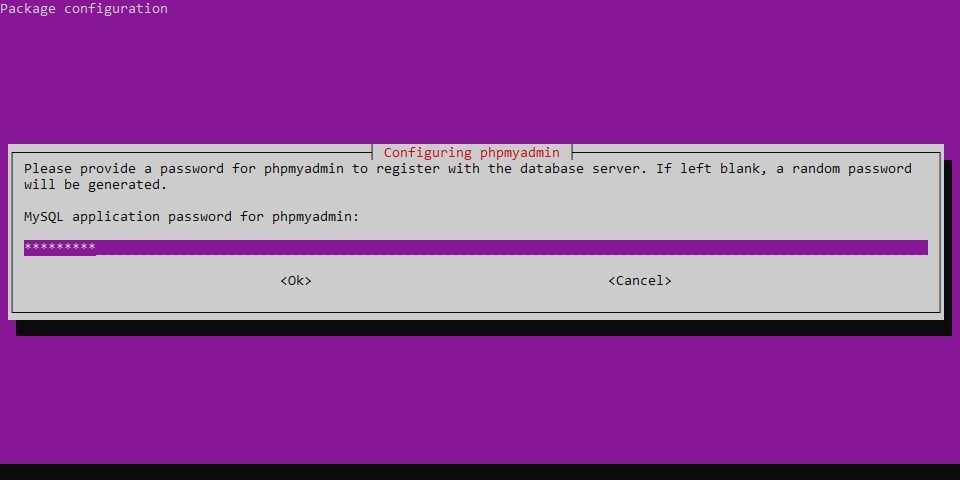
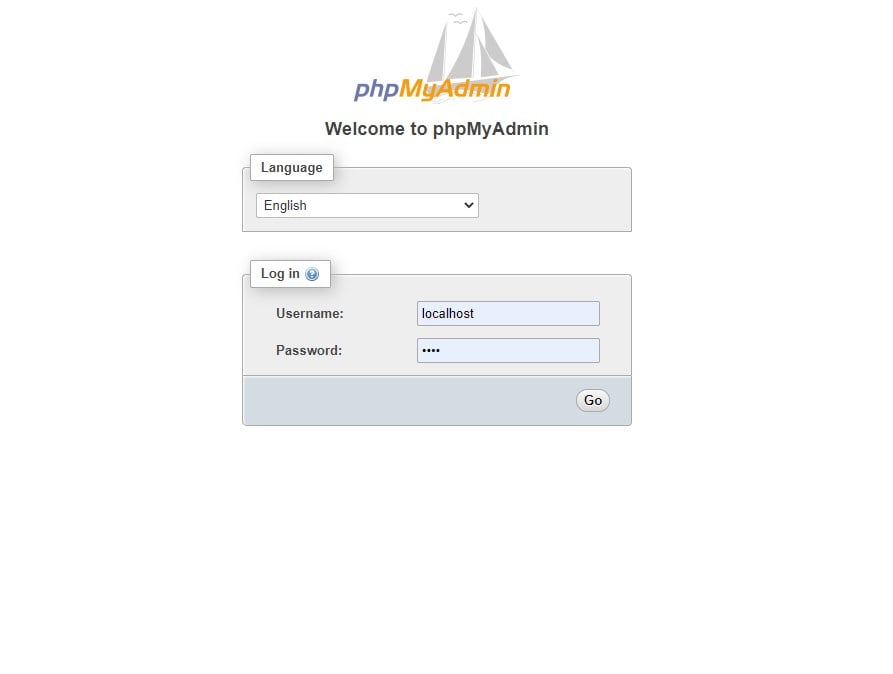
When it asks you to configure the database, then follow the guided wizard. Here a few screenshots to give you a quick idea.


I’m having an issue with `mysql` as I can’t manage to log in with the client CLI as root, and even after a fresh and clean install.
I followed all the steps but still blocking with the configuration of mysql as I’m unable to access it with the mysql-client package, nor phpmyadmin.
After starting the service with `sudo service mysql start` (which starts the daemon “mysqld”), I’m blocked with the configuration of `sudo mysql_secure_installation` which fails by a “Access denied for user ‘root’@’localhost'” after asking me a password that I have never configured.
Looking on the internet led me to hazardous workarounds like starting the daemon with a –skip-grant-tables option, but this is not what I want because I can’t use queries like SET PASSWORD or ALTER TABLE as it’s considered dangerous.
I don’t understand how to configure a default root password after a clean install, and simply access to my databases like a normal root admin.
My APT sources are updated & upgraded.
Any help will be greatly appreciated 🙂
For those who found this and need help with mysql root password:
After instalation run this:
sudo mysql_secure_installation
will get you through security settings
then restart mysql
sudo mysql stop
sudo mysql start
Enjoy
The article ends prematurely with the instruction to install phpmyadmin. Once you’ve done that installation how do you actually get to the phpmyadmin application? What URL do you use to launch phpmyadmin?
To access phpmyadmin open your browser and point it to http://localhost/phpmyadmin