Are you using Ubuntu 20.04 LTS and want to install Docker Composer to start with container-based virtual machines then here is the tutorial on it.
So, Ubuntu 20.04 is available to download now and you can use it to experience its new additions, themes, and other features. The best thing is we don’t need to add any third-party repository to install and start with Docker on Ubuntu 20.04 LTS focal fossa, just one command and everything is good to go.
What is Docker?
Although if you are here then might already know about Docker, if not, then it is a platform that enables users to run applications in isolated containers. However, these containers can build on one another and can communicate with each other. Basically, these containers are nothing but virtual machines, slightly different from our standard one which we create on Virtual Box-like platforms.
All the containers share a common kernel that means whatever Linux operating system or application we are going to install, we don’t need to import all of its data thus light image and fast performance of the containers.
Therefore, if we want to separate the webserver from the database server, we would have to start two complete virtual machines including the operating system in the standard virtualization. But in Docker, these are simply two independent containers that start the respective servers without the need for full-fledged operating system installation.
It is cross-platform and the distribution of the Docker container images takes place via the Docker Hub. We can easily create a so-called image from a fully configured container and upload it to the central Docker Hub.
So, let’s see how to install the Docker Composer community edition on Ubuntu 20.04 with just one command.
Open Command Terminal
To install Docker, start the command terminal from Activities and search for it. Or simply use the Ubuntu shortcut keys for it i.e CTRL+ALT+T.
Update Ubuntu 20.04 System
To make sure, all the repositories and installed packages are up to date just run a simple updater command for that, also make sure you have root access for all the commands we are going to run here…
sudo apt update
Install Docker-CE on Ubuntu 20.04 LTS
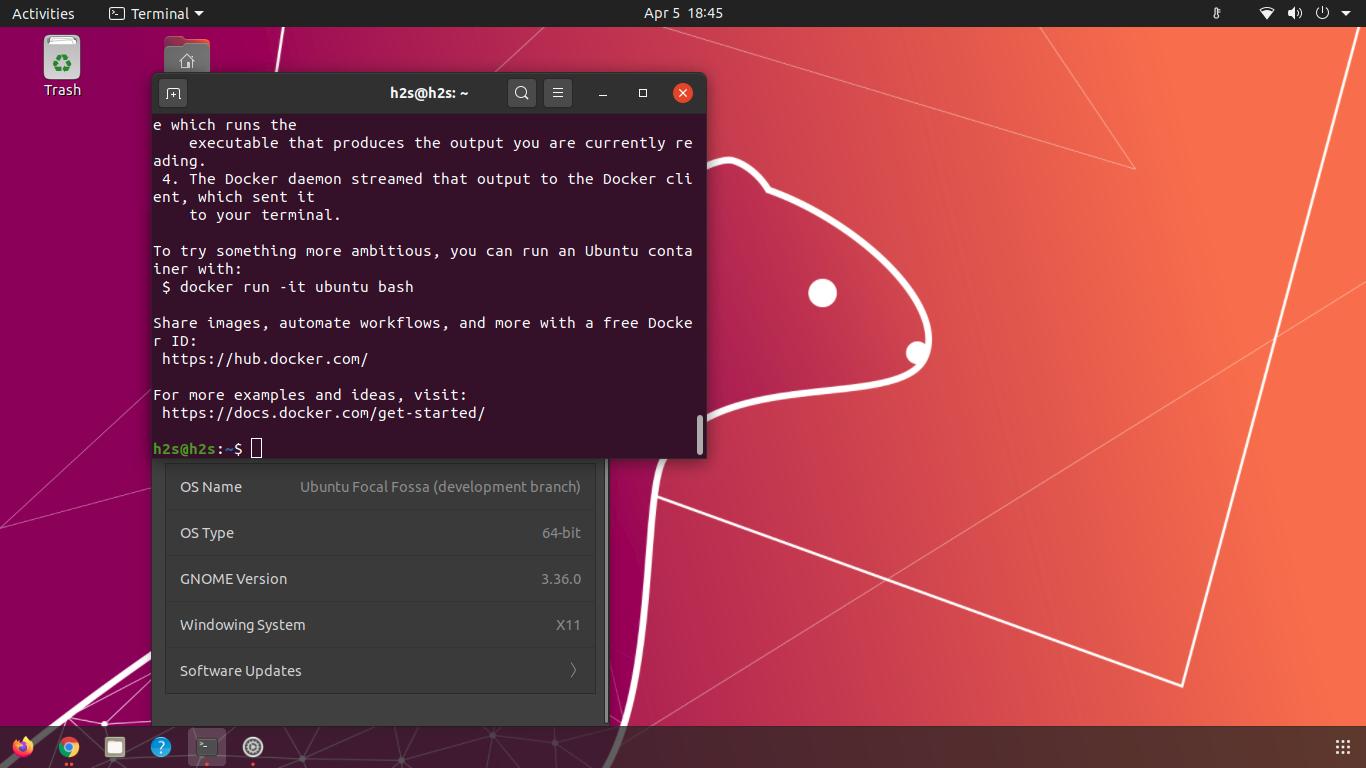
In earlier versions of Ubuntu such as 18.04, we have to install a couple of dependencies manually including its repository. However, in Ubuntu 20.04, we don’t have to do anything, everything is there in the official repository of the system. What we have to do is the issuing of just one single Docker installation command and that’s it. Here is the that:
sudo apt install docker-compose
Output for the above command:
h2s@h2s:~$ sudo apt install docker-compose
Reading package lists... Done
Building dependency tree
Reading state information... Done
The following additional packages will be installed:
  bridge-utils cgroupfs-mount containerd docker.io pigz python3-attr
  python3-cached-property python3-distutils python3-docker python3-dockerpty
  python3-docopt python3-importlib-metadata python3-jsonschema python3-lib2to3
  python3-more-itertools python3-pyrsistent python3-setuptools
  python3-texttable python3-websocket python3-zipp runc ubuntu-fan
Suggested packages:
  ifupdown aufs-tools btrfs-progs debootstrap docker-doc rinse zfs-fuse
  | zfsutils python-attr-doc python-jsonschema-doc python-setuptools-doc
The following NEW packages will be installed:
  bridge-utils cgroupfs-mount containerd docker-compose docker.io pigz
  python3-attr python3-cached-property python3-distutils python3-docker
  python3-dockerpty python3-docopt python3-importlib-metadata
  python3-jsonschema python3-lib2to3 python3-more-itertools python3-pyrsistent
  python3-setuptools python3-texttable python3-websocket python3-zipp runc
  ubuntu-fan
0 upgraded, 23 newly installed, 0 to remove and 6 not upgraded.
Need to get 70.3 MB of archives.
After this operation, 339 MB of additional disk space will be used.
Do you want to continue? [Y/n]
Run docker without sudo in ubuntu 20
By default after the installation of the docker, we have to use sudo with every command of it for the pulling of images and running of applications, thus we add the docker user to the sudo group so that we won’t need to use sudo again and again.
- First, add docker group using the below command:
-
sudo groupadd docker
- After that add your current user to the docker group that has the sudo access.
-
sudo gpasswd -a $USER docker
- Note: By default, $USER will use the current user, if you want some other then replace $USER with that.
- Now, reload the shell either using the below command or simply log out and log in current Ubuntu user.
-
newgrp docker
Create docker container
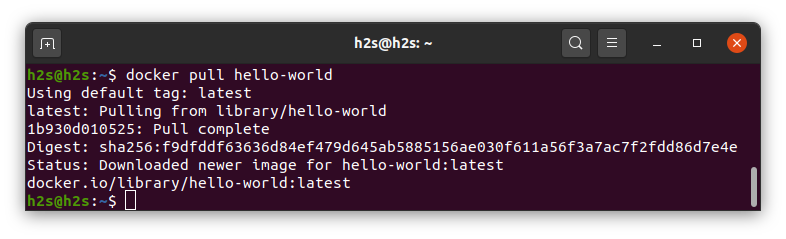
So, finally, the Docker is on our Focal Fossa, its is time to run and check whether it is able to pull container images from Docker Hub.
docker pull hello-world
Run the downloaded image
docker run hello-world
So, this was a simple tutorial on the installation of Docker for Ubuntu 20.04 Focal Fossa, if you have a question, please free to comment. To use GUI for managing command of Docker container, see: How to install Kitematic on Ubuntu 20.04 LTS… or Install Portainer Docker Web GUI.
Other Articles:
- How to change screen brightness in Ubuntu using the command terminal
- Install VirtualBox on Ubuntu 20.04 Focal Fossa
- Install Ubuntu 20.04 LTS (Focal Fossa) on VirtualBox


There a typo
docker pull hello-image
is should be
docker pull hello-world
Hi H2S Media Team! thanks for the tutorial. I was able to use your instructions to get docker-compose up an running on WSL Ubuntu 20.04.
One correction: would you please change “docker pull hello-image” to:
docker pull hello-world
???
docker pull hello-image results in a confusing error message.
Thanks again!
Chuckster
Thanks for pointing out the mistake…