Hard drives today are available in various capacities, and you can find one that can even house multiple terabytes of data. But the biggest limitation of hard drives is their speed. The speeds of hard drives are never that satisfactory, the main reason behind which is the presence of spinning components within it. On the other hand, if speed is your first priority, solid state drives are available in the market, but the problem is their price. Yes, I am talking about the price per gigabyte of the solid-state drives, which are significantly higher than that of old school mechanical hard drives. But we all have cloud storages today.
If you are having an always-on internet connection, and you do not need to pay for every gigabyte you use, you are free to use cloud storages, which always come with some lucrative free plans with limited storages for everyone to use. But if you were using Google Backup & Sync or Dropbox sync so long, which automatically sync things on your hard drive and cloud storage, you can hardly use the same thing and spare some tens of gigabytes on your limited storage SSD that only contain your data and important files. Though SSDs are not prone to physical damage, once some data is lost from your SSD, it is tough to get them back. You can use tens of gigabytes for installing some heavy programs and boost their overall performance significantly. So it is useless to use those sync services if you are using an SSD.
But the biggest advantage of sync services is that you do not need to upload the files every single time. Just save it in the sync folder, and it will automatically be uploaded to the cloud, and the computers that have the sync service installed. But if you have an SSD, and want the same thing without utilizing the costly gigabytes on your SSD, I have already written an article to use CloudMounter and use your cloud storages as a mapped drive on Windows.
But if you do not want to spend your hard earned pennies, but want to get the best of both worlds, here is an alternative to CloudMounter, which you can use.
So let’s get started with how you can map your cloud storage drives on your Windows computer.
The steps to follow
Step 1: To get started, first download the installer for NetDrive for Windows from the following link. Once you are done downloading it, install it on your system.
Step 2: The installation file doesn’t come packed with unnecessary software or malware, and thus, proceed with installation without any issues.
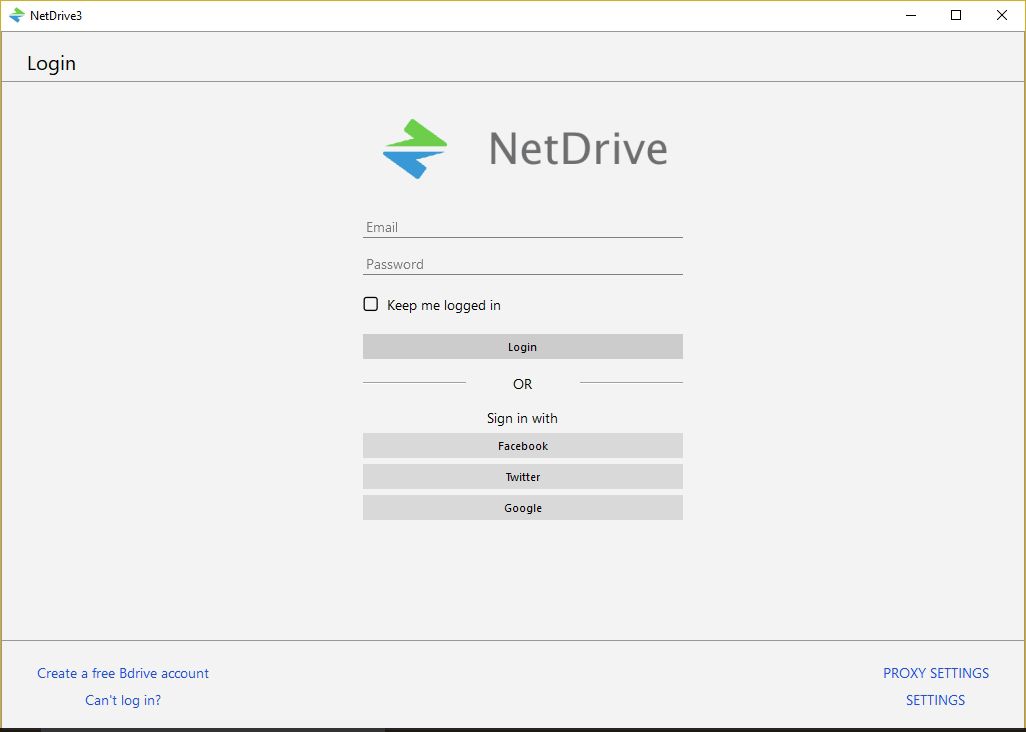
Step 3: On opening the NetDrive program, you will get the following screen. Just log in with a NetDrive account if you have one, or just create a free NetDrive account. Alternatively, you can even sign in with Facebook, Twitter or an existing Google account.
Step 4: I have signed in with my Google account here. On choosing Google, a new browser tab/window will open, where you will have to choose your Google account.
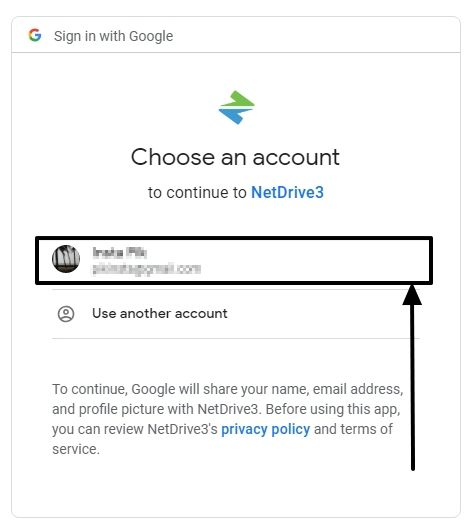
*Make sure, you are already signed in to your Google account on your default browser, or sign-in at that moment. There are no options to enter your Google user id and password in the NetDrive user interface.
Step 5: Once the authentication is complete, you will get the following message on your browser tab.

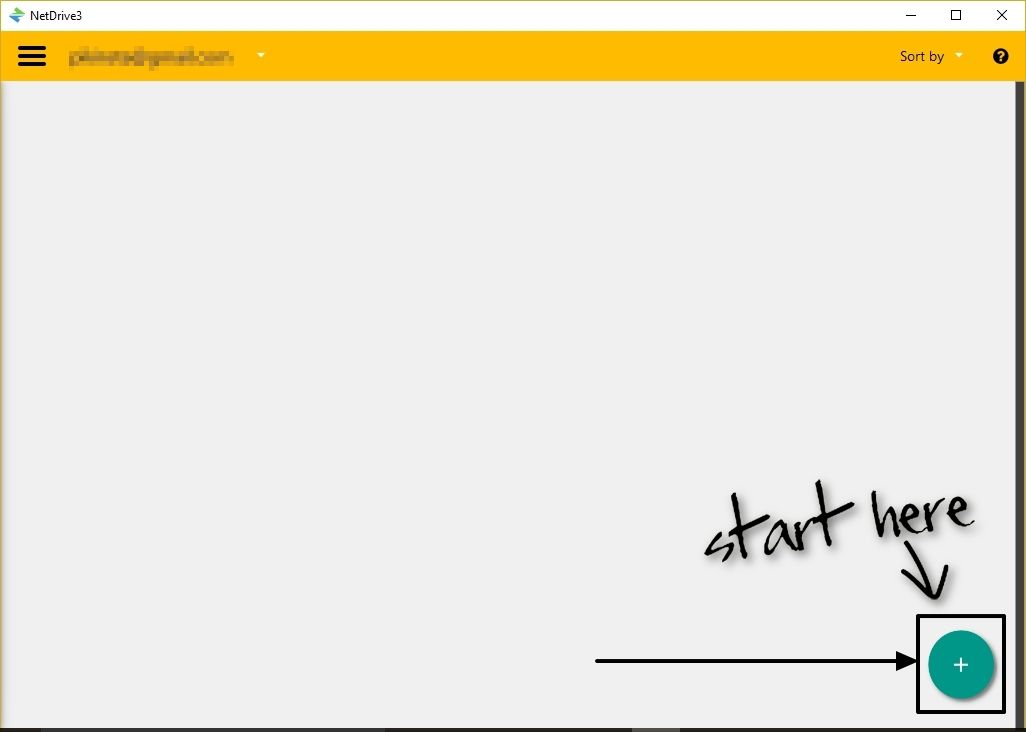
Step 7: You are ready to add cloud storage accounts now. In the following window, just click on the ‘+’ icon to get started with adding a new cloud storage account.
Step 8: In the window that appears now, just choose the ‘Storage Type’, which is basically the cloud storage provider like Google Drive, Dropbox, etc. from the drop-down menu. Now choose the mounting method, and other basic settings, which can alternatively be changed later, and finally click on ‘Connect’.
I am choosing my Google account, to get access to my Google Drive account.

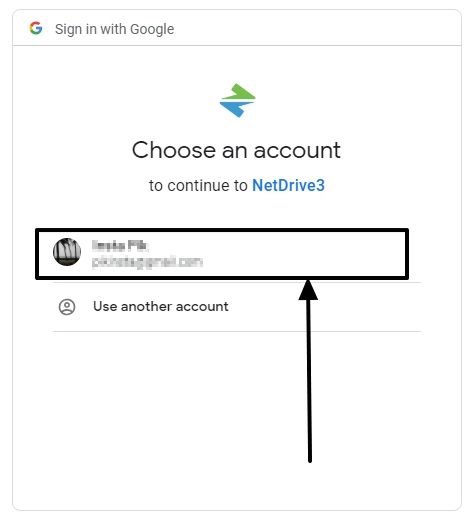
Step 9: A new browser tab/window will again open, where you will have to sign in with your account that is connected to your cloud storage account.
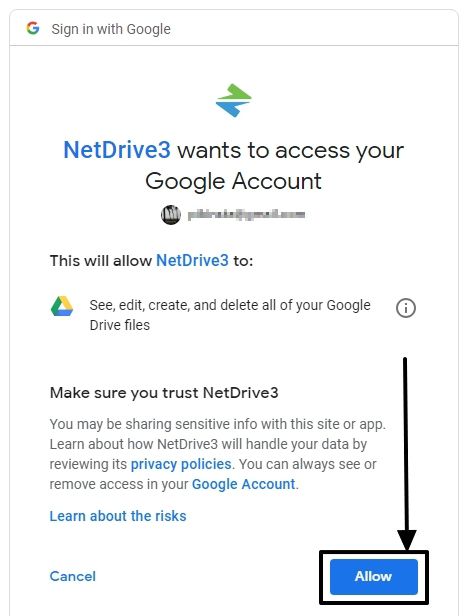
Step 10: After choosing the account, you will be asked to grant some permissions, for NetDrive to be able to access the contents on your cloud storage account. Just review the permissions it is asking for, which though aren’t overwhelming, and click on ‘Allow’.
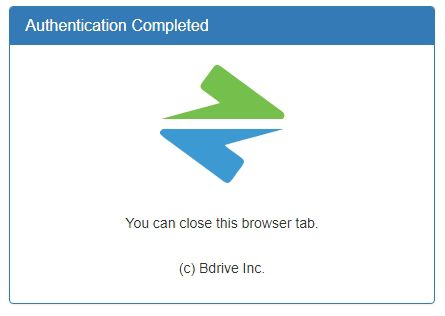
Step 11: Once the authentication is properly complete, you will see the following message in the browser tab.
Step 12: Now come back to NetDrive, and you will see everything is ready with your Google account. You can change different settings, which I will discuss after some time. But if you are happy with the default settings, just click on ‘OK’.

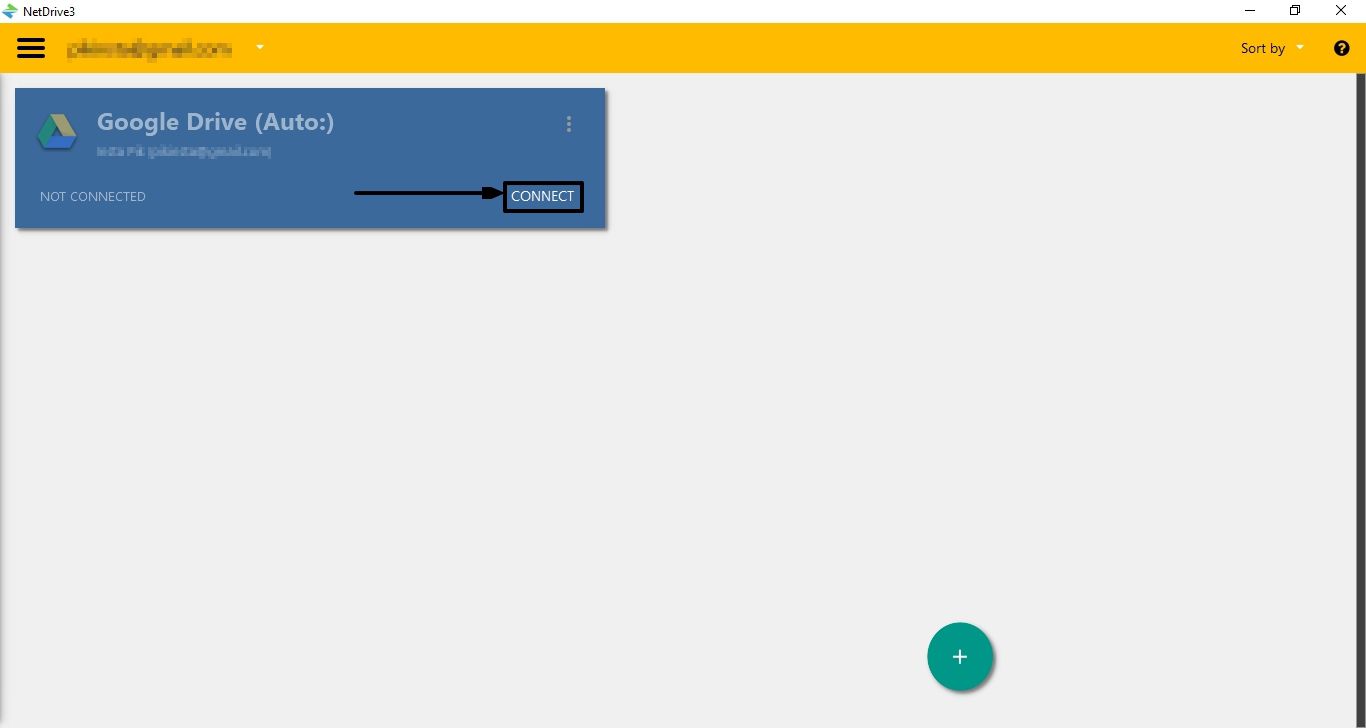
Step 13: Now you can find the cloud account connected. Just click on ‘Connect’ to be able to find the Google account as a mapped drive in Windows Explorer.
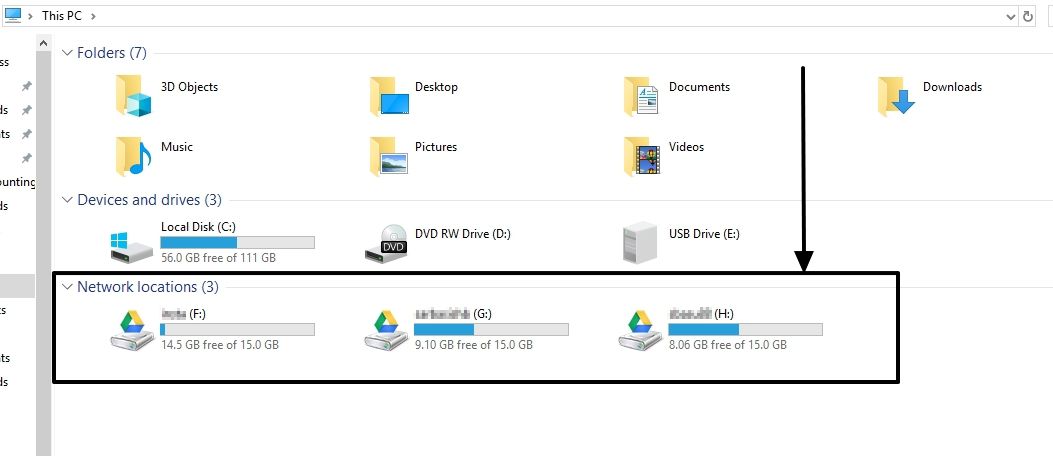
Step 14: Here is how the files will be present on Windows Explorer.

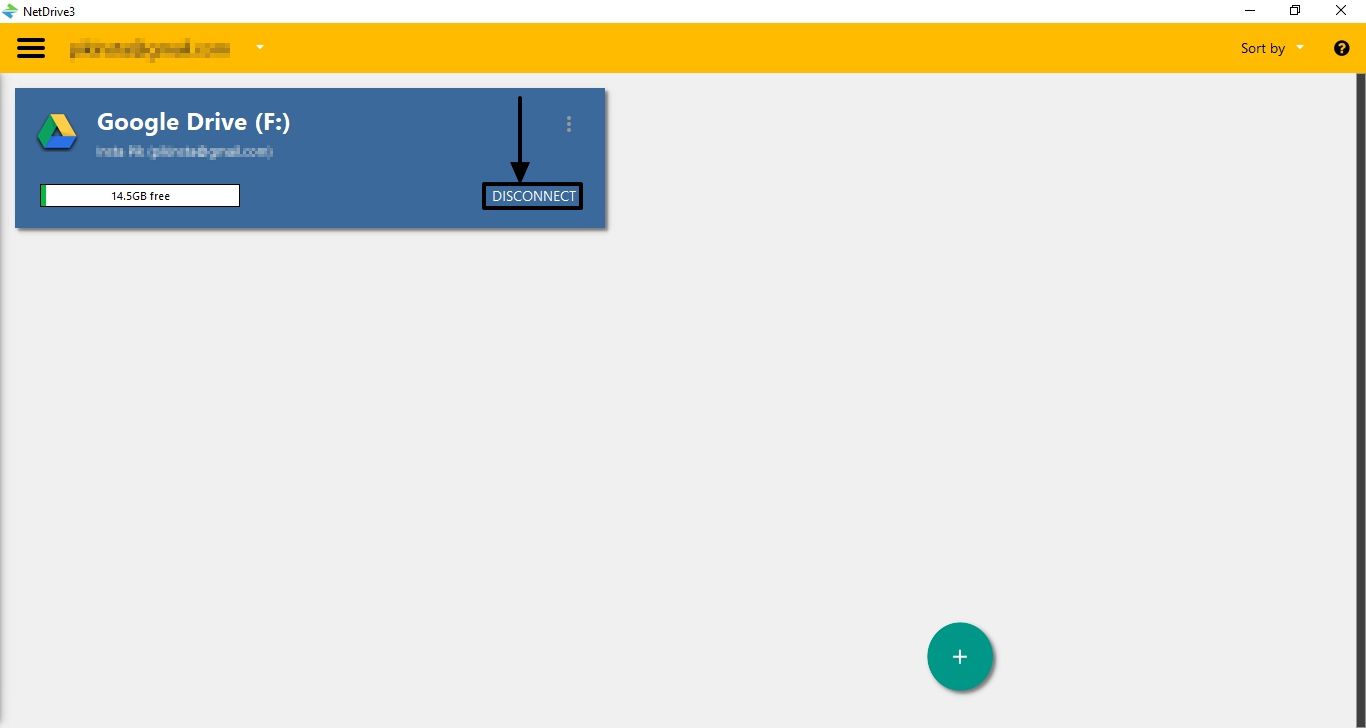
Step 15: You can disconnect your cloud account whenever you want. Just click on ‘Disconnect’ corresponding to your cloud account.
Step 16: You can now add as many cloud storage accounts as you wish by repeating the same steps of connecting to a cloud storage service all over again. I didn’t find any limit imposed by NetDrive on the number of cloud storage accounts you can connect. So you can literally connect any number of cloud storage accounts depending upon how many your PC support.
I have added 3 of my Google Drive accounts, and it worked like a charm.
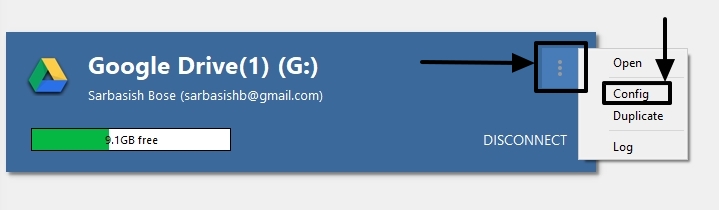
Not only that, you can even change the settings for all the individual cloud storage accounts that you have connected.
Step 17: Just open NetDrive, and tap on the triple-dot corresponding to the cloud storage account, and then ‘Config’.
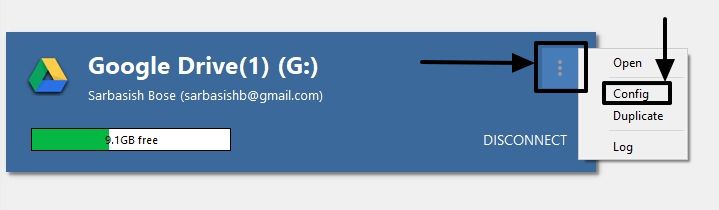
Here you can change different settings, a few of which are as below.
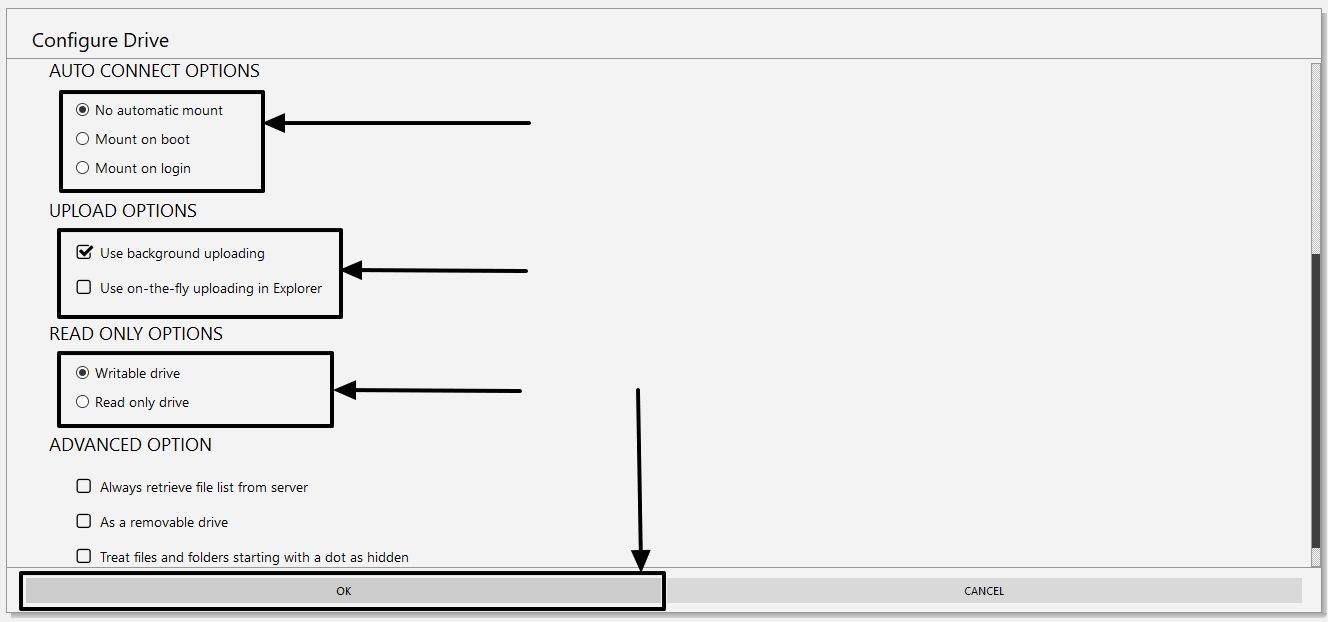
You can configure, whether you want to mount your cloud storage drives on startup, login, or don’t want automatic mounting at all, if you rather prefer manual mounting.
You can choose whether you want to use direct uploading through Windows Explorer, or background uploading. Background uploading is better as that will save your time, whereas on the fly uploading will upload the files while copying, which might not be that feasible every time.
There are other settings, as well, which can help you to mount the drives as removable storage drives, whether you want NetDrive to seek the file list every time, the drive label, and many others.
Once you are done configuring everything, just click on ‘OK’.
NetDrive is a great and one-stop solution if you don’t want spare multiple gigabytes on your hard drive or SSD for syncing all the cloud storage accounts that you have access to. Presently NetDrive support all the major cloud storage services, which include Google Drive, Dropbox, OneDrive, Box, Amazon Drive, Swift, WebDAV, FTP services, etc. Thus, the catalogue of cloud storage services NetDrive support isn’t disappointing at all.
So that was it. Hope the information was helpful for you. Do you still have any questions in mind? Feel free to comment the same down below.
Other Resources:
Related Posts
How to Install 7-Zip on Windows 11 or 10 with Single Command
Install Google Earth on Windows 11 or 10 Using a Single Command
How to install Gaming Services on Windows 11
How to Install Telnet Client on Windows 11 Using PowerShell
How to Install ASK CLI on Windows 11 or 10
How do you install FlutterFire CLI on Windows 11 or 10?