Cockpit’s free and open-source server management software easy to install and use. We can deploy it to control and manage local or remote server GNU/Linux servers through its nice web front-end interface. Cockpit makes it easy for Linux system administrators, system maintainers and developers to manage their servers and perform some simple tasks such as Task management stores, detect logs, starts or stops services, and a few other tasks.
Among other things, admins can look into the system logs, check the utilization or start and stop services. Thanks to responsive design, the user interface also adapts automatically to different screen sizes, which in turn enables convenient access via smartphones.
Steps to install, start and use the Cockpit on Linux
Step 1: Install Cockpit on your Linux desktop or server
First of all, you need to install it on your respective Linux server. The most popular are Linux servers OS are Debian, Ubuntu, CentOS/Redhat, here we will show how to install it on them. The commands given here can only run with sudo/root privileges. So, run the following commands in the terminal or console to set up the Cockpit and let it start automatically each time the system is restarted and then allow it to access Cockpit from outside the server through certain ports.
Install Cockpit on Fedora
In Fedora, it is available in the default repository, thus simply use the command:
sudo dnf install cockpit
sudo systemctl enable --now cockpit.socket
To access out of the local system:

sudo firewall-cmd --add-service=cockpit
sudo firewall-cmd --add-service=cockpit --permanent
Install Cockpit on Red Hat Enterprise Linux
For RHEL 7, the users have to enable Extras repository
sudo subscription-manager repos --enable rhel-7-server-extras-rpms
But on the latest version RHEL 8, it comes by default.
sudo yum install cockpit
sudo systemctl enable --now cockpit.socket
sudo firewall-cmd --add-service=cockpit
sudo firewall-cmd --add-service=cockpit --permanent
Install on CentOS 7/8
sudo yum install cockpit
sudo systemctl enable --now cockpit.socket
sudo firewall-cmd --permanent --zone=public --add-service=cockpit
sudo firewall-cmd --reload
To Install Cockpit on Debian, we need to enable backport repository:
echo 'deb http://deb.debian.org/debian stretch-backports main' > /etc/apt/sources.list.d/backports.list
Update the system
sudo apt-get update
Install it:
sudo apt-get install cockpit
For Ubuntu and its based systems
sudo apt-get install cockpit
Step 2: Access Cockpit web interface
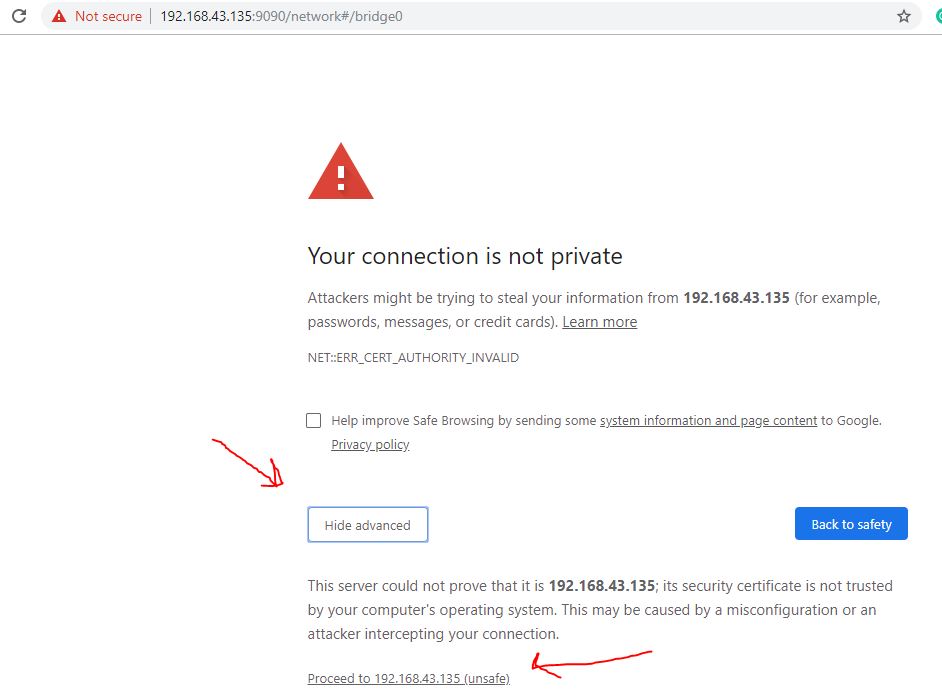
Everything has been configured now open your browser and type your server IP-address along with a port number 9090. For example- http://192.168.43.85:9090. The interface will appear with an SSL authentication warning, need to use a self-signed authentication to ignore this warning and enter the login page. Just click on Show Advanced and then proceed.
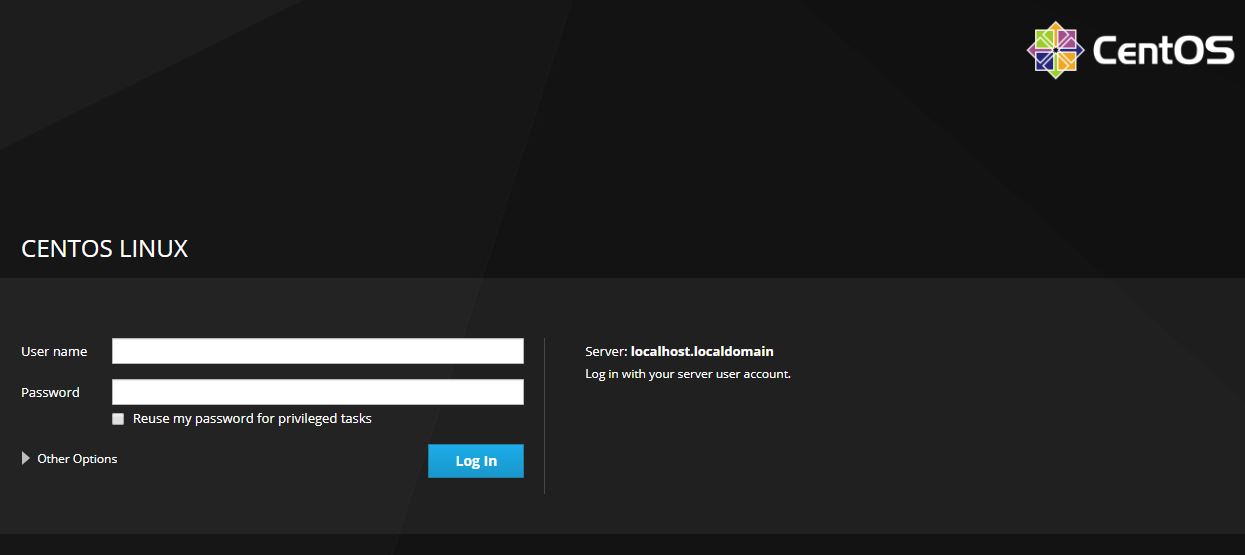
Step 3: Login to Cockpit
Now, a login screen will appear, use the same username and password which is on your server where you have installed this server management software. After entering the login information, click the login button, you will get the Cockpit dashboard.
Step 4: Dashboard
The entire Cockpit dashboard will appear with options on the left side and their results on the opposite side. The ability of Cockpit is divided into 12 categories: System, Logs, Storage, Networking, Accounts, System, Applications, Diagnostic reports, Kernal Dump, SELinux, SOftware Updates and Terminal. We will go through each of them.
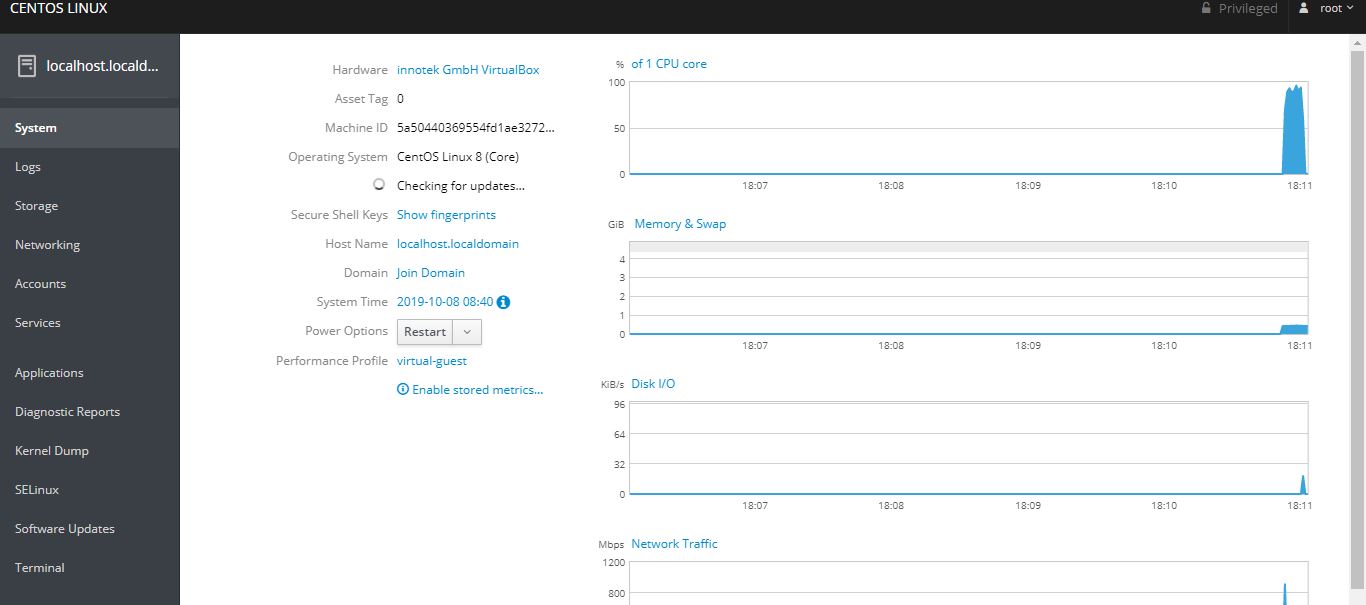
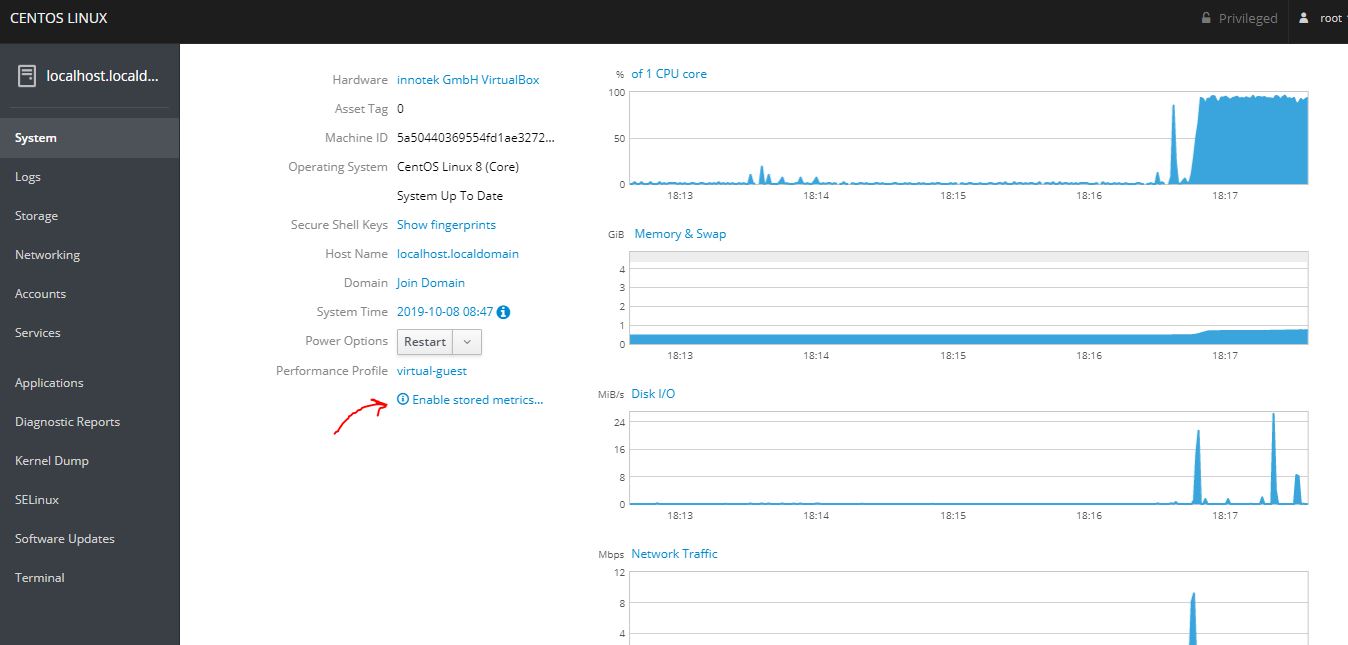
System:
On System menu of Cockpit, we will get different metrics of our connected server to monitor its CPU, Memory & Swap, Disk I/O and networking usage. If you want to store these metric then you have to install that feature by simply clicking on the option “Enable Stored Metrics…” The live graph representation is quite handly. Furthermore, other information such as Hardware, whether the system is up to date or not; has it joined domain including a button to restart or shutdown the server right from the interface of the Cockpit are available too.
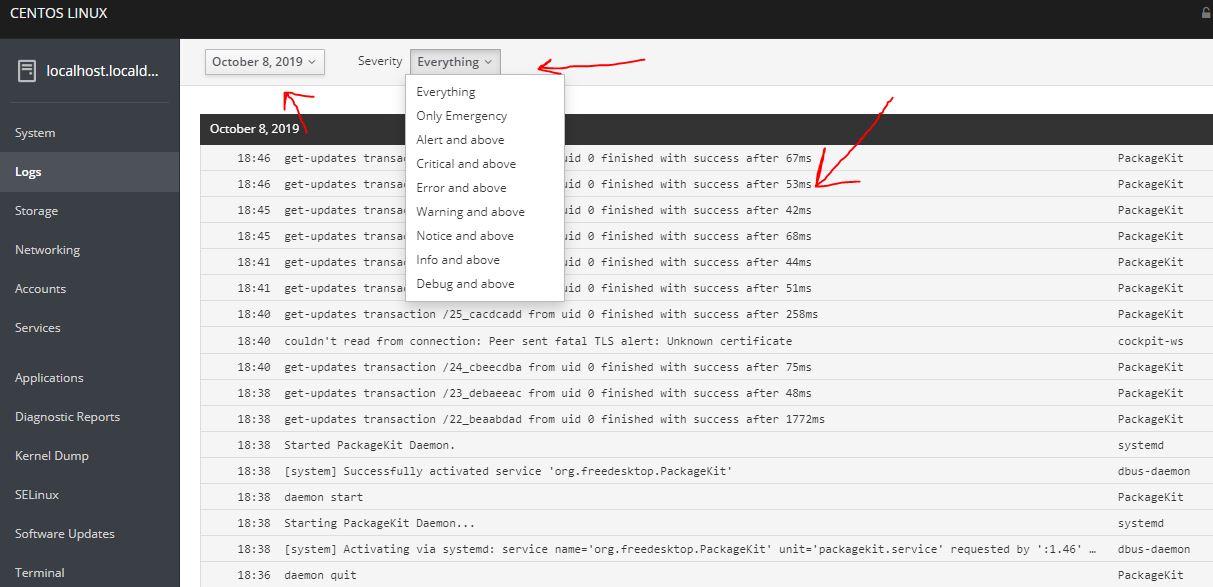
Logs:
All the systems logs we can under one umbrella of Cockpit which can be seen by date and severity wise.
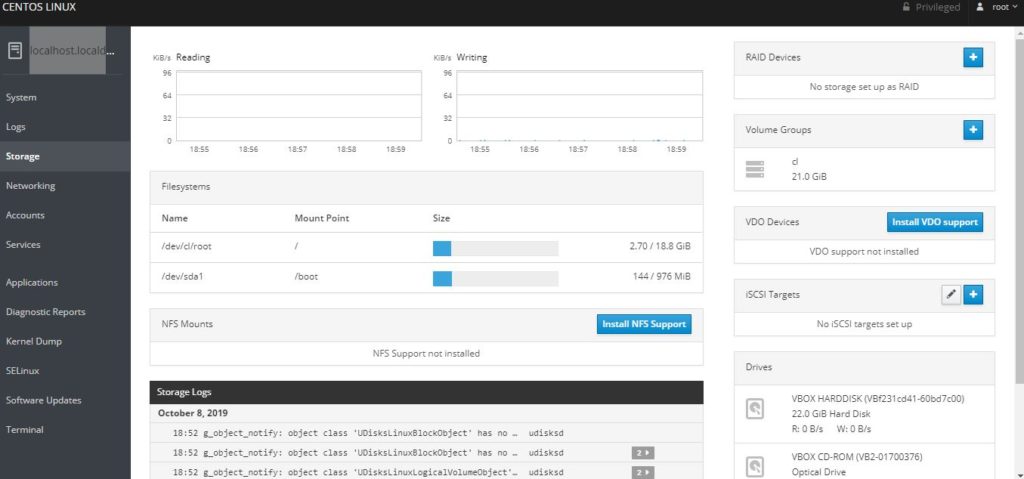
Storage:
Managing storage from the command line interface of the Linux server is a really complicated job if we don’t know all the commands, even knowing, it is a really cumbersome task on CLI. However, from the web GUI of the Cockpit, even a new user to Linux server world can handle the storage-related jobs such as creating of RAID and volume group very easily. Also, the installation of VOD (Virtual Data Optimizer a transparent compression/deduplication layer (know more about it)) and NFS support can be done from here. Moreover, you can set up iSCSI targets to access network storage.
Further, the same page will also display the number of attached disks to the system along with their volume, speed of reading and writing of data, which partition is mounted where and storage logs.
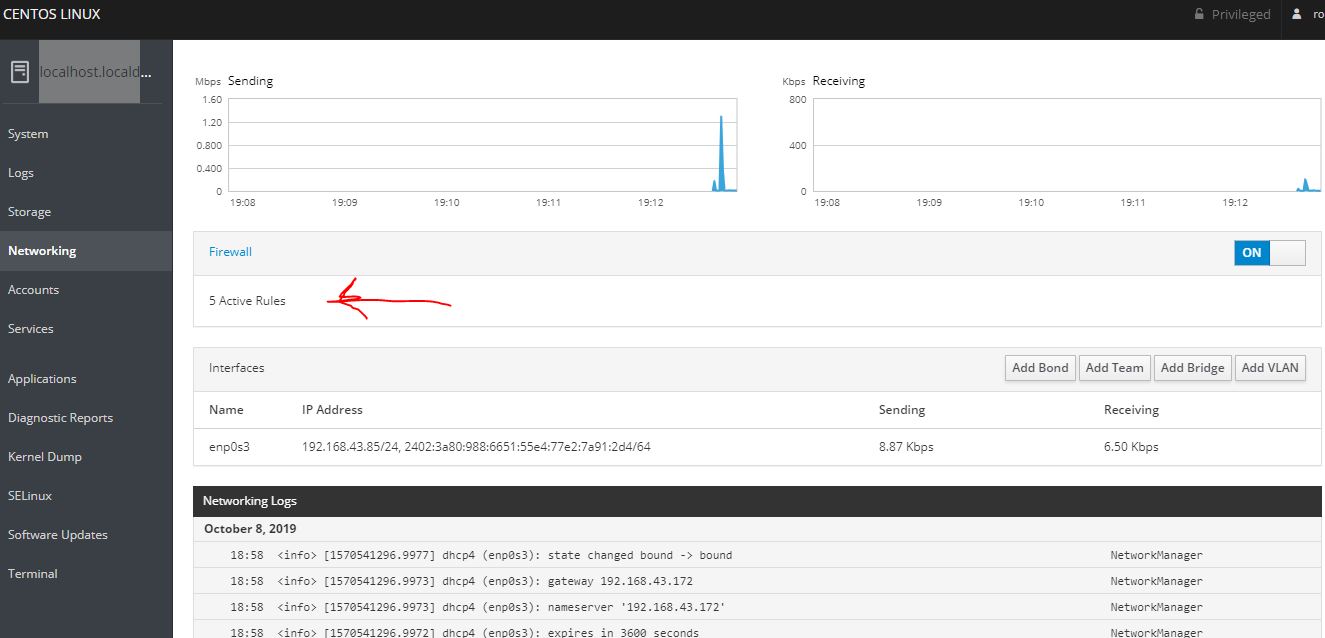
Networking and Firewall
The cockpit also simplifies the management of available network on the Linux server. Apart from the live graph to monitor the sending and receiving bytes, one can see Network logs to know what changes have been happened on the server’s network plus if you have dual ethernet then you can create a bridge connection to share network resources. Adding of VLAN, Team and Bond is also possible.
From the same screen all active firewall rule will be shown, click on them to see what are those?
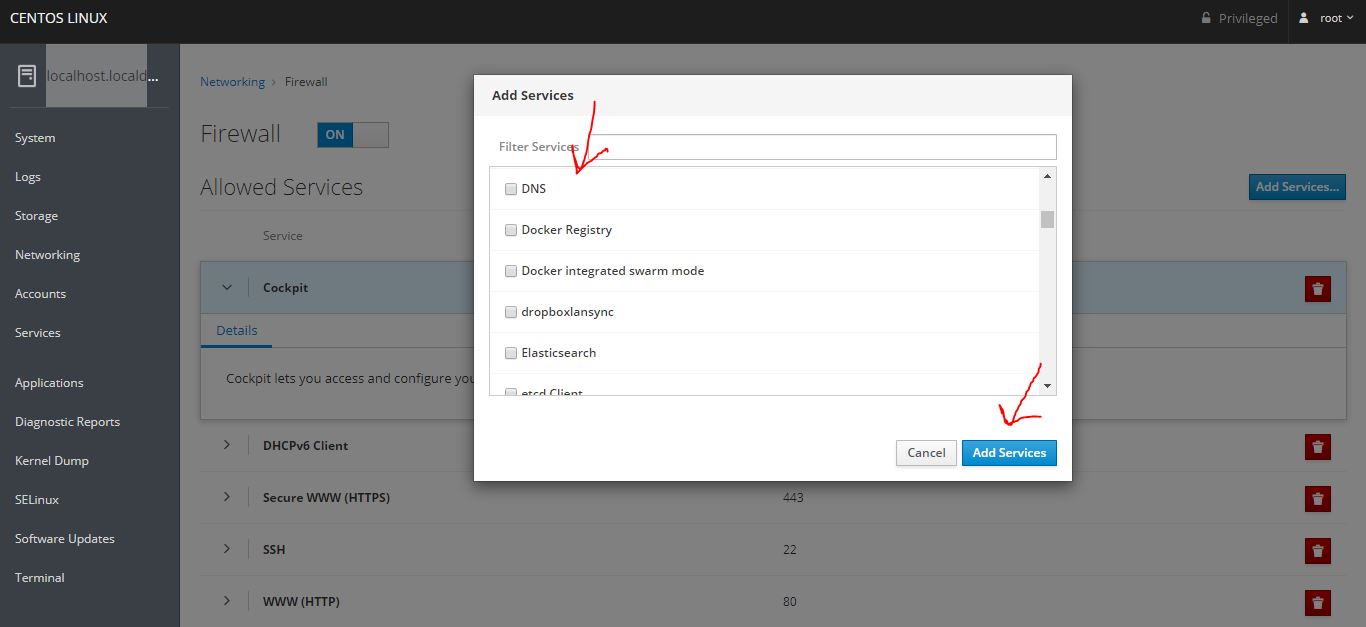
You can delete services that are allowed on the system’s firewall or adding new one can be done without typing any command.

Accounts
The admin can directly create and manage available users account on the server including the root user. Deletion and termination of accounts can be performed from here.

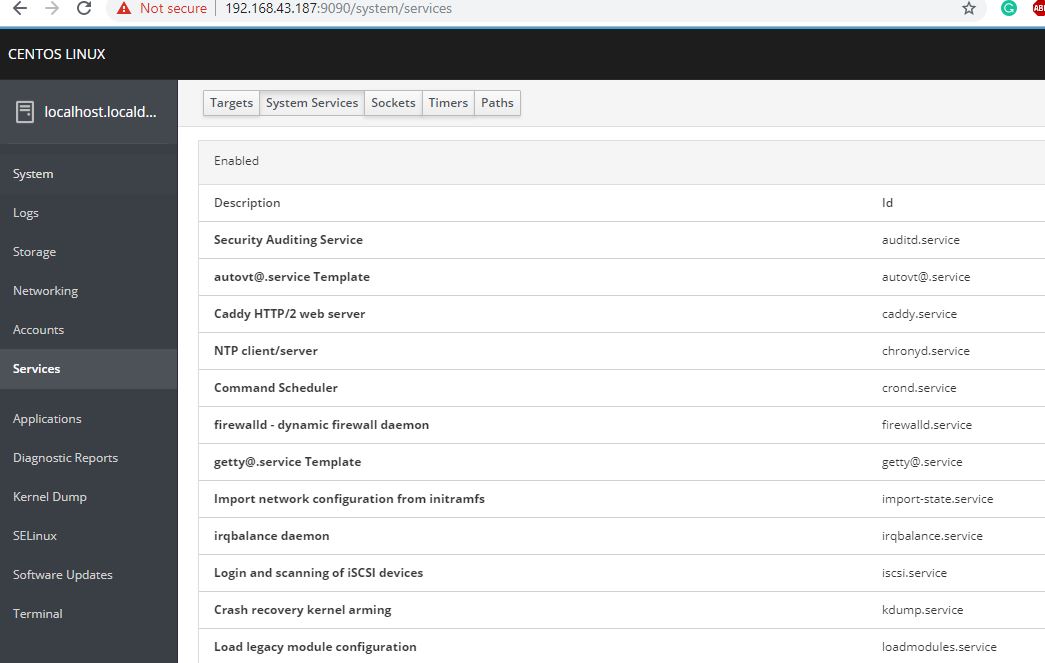
Services
The cockpit services area is dedicated to providing GUI interface to start, restart, disable or enable any available system services with just one click.
Applications
This comes handly to install various open-source applications available in the Cockpit apps library, just one click to install button will do rest of things. However, it was really wired, that even trying a lot but we didn’t get the list of applications, it always says, no applications are available to install. Even its official website nor GitHub has any workable solution for it. So, we left it as it is.
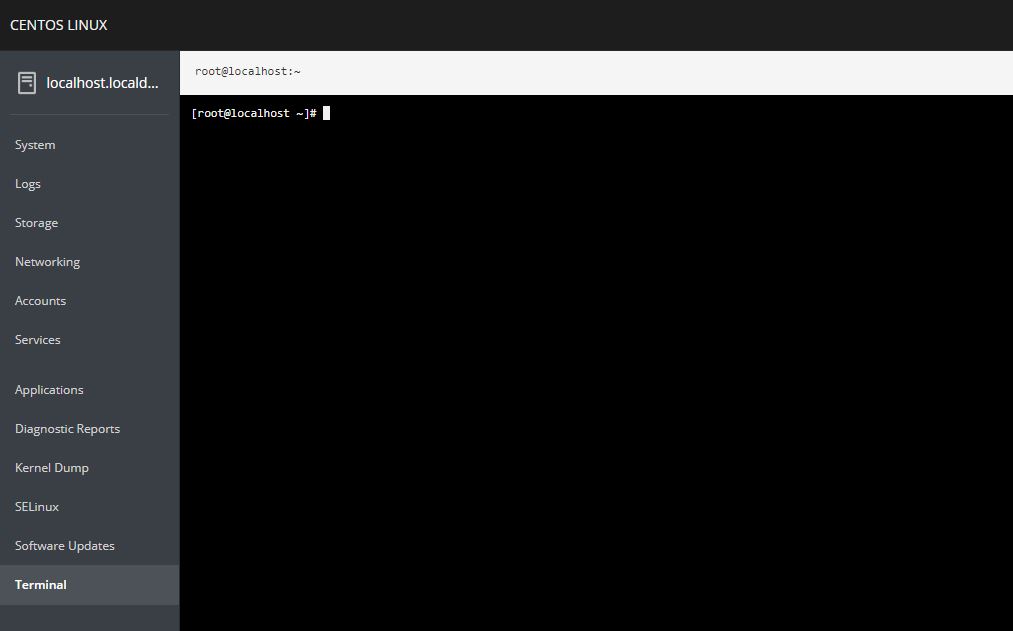
Terminal
Just like local terminal, one can use the inbuilt terminal of Cockpit to issue various command directly to server from the web interface, remotely.
Everything is well, but the Applications section is did not work, at least for us.
So, this is a quick overview and how to install Cockpit on different Linux operating system to use it…
Other Articles:
Related Posts
How to create email groups in Gmail? Send one email to multiple recipients in a matter of seconds.
Getting the right dashcam for your needs. All that you need to know
How to Install 7-Zip on Windows 11 or 10 with Single Command
How to Install ASK CLI on Windows 11 or 10
How do you install FlutterFire CLI on Windows 11 or 10?
How to create QR codes on Google Sheets for URLs or any other text elements