Do you want to install the Apache webserver on Windows 10 – 64 bit to test out various web pages? Then here is the tutorial which uses a single command to set up an HTTP server using Chocolatey.
Apache Server is very popular on Linux OS, however, we can install it on Windows 10 or server 2016 or 2019 with the help of package manager Chocolatey. It comes with a huge repository of different applications and packages to install on Windows 7/8/10. The good thing, just link Linux OS, we don’t have to go through various website pages to download and install various packages, just using Command Prompt or PowerShell, the same can be done on Windows OS as well.
Steps to install Apache web server on Windows 10 using the command
1. Enable Chocolatey on Windows 10/7
It doesn’t matter are you on Windows 7, 10, or other versions, simply open Powershell as administrator. You can right-click on the Windows 10 start button and select the option “Windows Powershell (Admin)“. Or simply search in the search box for it. But it must be with Admin rights.
Set-ExecutionPolicy Bypass -Scope Process -Force; [System.Net.ServicePointManager]::SecurityProtocol = [System.Net.ServicePointManager]::SecurityProtocol -bor 3072; iex ((New-Object System.Net.WebClient).DownloadString('https://chocolatey.org/install.ps1'))
Copy the above single command and paste it on the Windows PowerShell following with pressing of the Enter key.
Wait for a few seconds the Chocolatey Package Manager will be installed on your system.
Once done close the PowerShell and again open it with Admin rights.
2. Choco Command to install the Apache server
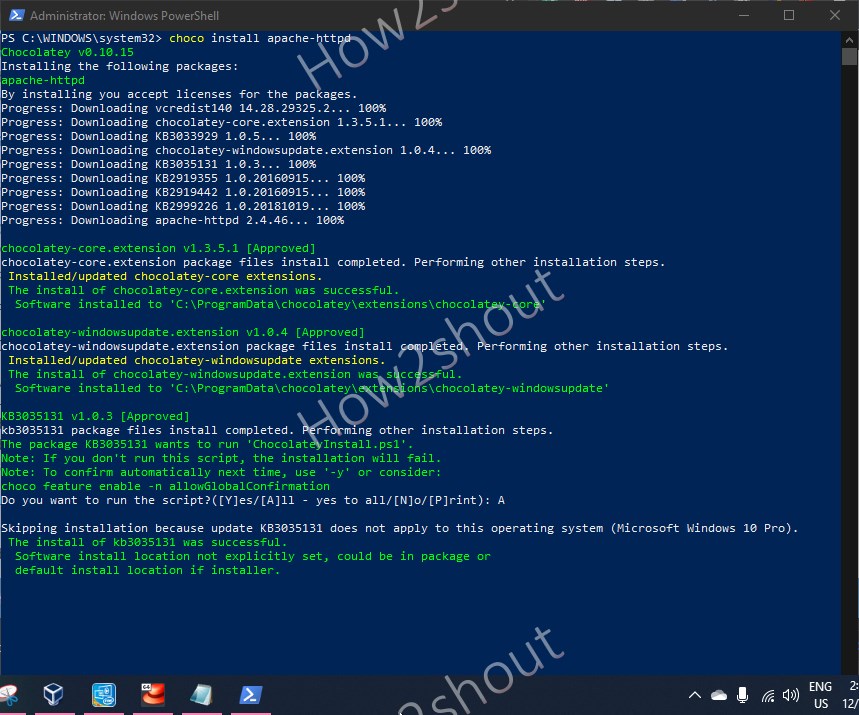
Type the given choco command, it will fetch and install the latest packages or available for HTTP server officially for Windows.
choco install apache-httpd
Note: By default, the webserver will install for port number 8080, and the files will be in the C: Drive of Windows. If you want to change that then in the below command, change two values:
choco install apache-httpd --params '"/installLocation:C:\HTTPD /port:8080"
C:\HTTPD– Change the drive letter, if you want to install the APache in some other drive than the default one, We can also use some directory path.port:8080– By default port 8080 will be used, to change that e.g 443, simply replace the 8080 with that.
3. Allow Firewall Access
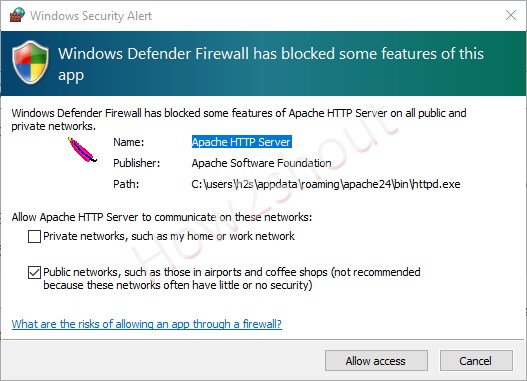
While installation, the setup will ask you to give access through the firewall, so that machines inside or outside your network could access the created Apache webserver.
4. Check the Windows Apache HTTP server
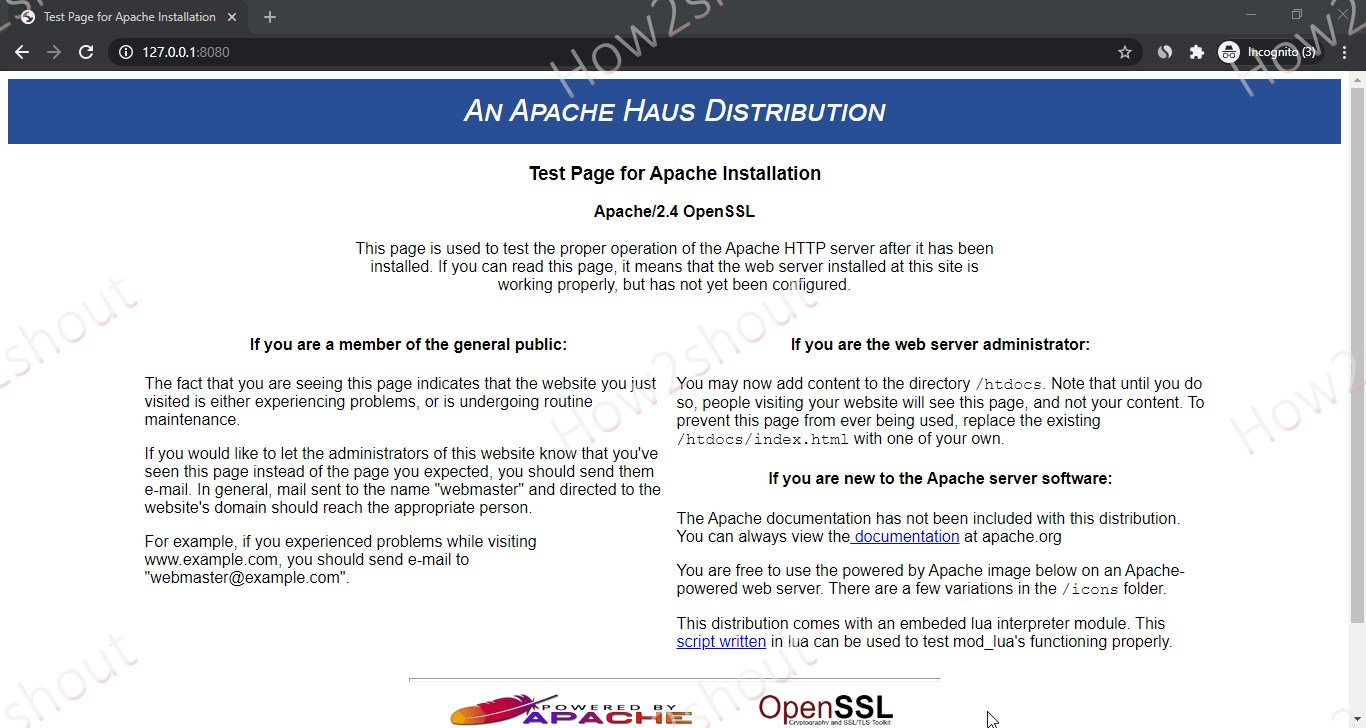
Now, it’s time to check whether the server is accessible on our local machine where we have installed it or not, therefore, for that open your browsers and type- 127.0.0.1:8080. Yes, by default, the webserver will get installed for port number 8080.
5. Add your own webpage to the Apache web directory
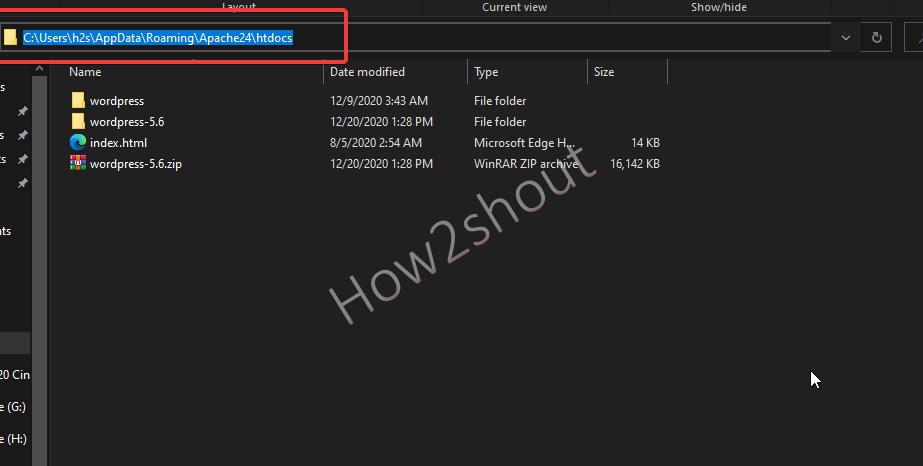
You can either use the command line or GUI of Windows to navigate to the htdocs folder where we can add HTML pages or other stuff to display over the network using Apache web server and browser.
- Go to C: Drive
- Open the Users folder and then your profile folder.
- Now press Alt + V and then two times H, H key from your Keyboard. This will show the hidden folders of the Windows system.
- Open App Data and then local folder.
- There you will Apache24, yes, open that and then htdocs.
- Inside htdocs, you can place files or folders that you want to display on the browser using Apache web server on Windows 10 or 7.
Other Articles:
- Install Apache on Windows 10 WSL- HTTP Web Server
- How to create a web server on Google chrome browser
- How to use Chocolatey choco to install chrome on Windows
- How To Install Apache web server on CentOS 7/6 with a single command


Related Posts
How to create email groups in Gmail? Send one email to multiple recipients in a matter of seconds.
Getting the right dashcam for your needs. All that you need to know
How to Install 7-Zip on Windows 11 or 10 with Single Command
How to Install ASK CLI on Windows 11 or 10
How do you install FlutterFire CLI on Windows 11 or 10?
How to create QR codes on Google Sheets for URLs or any other text elements