The lightweight ChromeOS fork Cloudready can give a new life to your old laptop. And here we are about to talk, how? And what to do if you want to create a bootable USB drive and install Cloudready on a USB drive or your existing PC or laptop’s hard disk to experience it.
As we know our old systems can’t handle heavy modern operating systems or if you travel a lot then laptop battery consumption would be your great concern. In such scenarios, the Cloudready Chrome OS will be a great idea. Not only because it consumes less battery power but also low on hardware resources.
However, before going into the process of ChromiumOS based CloudReady installation, one thing that you should remember we cannot run Windows or macOS software on it, thus there would be some restrictions software-wise.
But wait, that doesn’t mean Cloudready is not worth it, apart from giving long battery life, high security, and convincing speed; we have plenty of Chrome Apps and above that ability to install hundreds of Linux applications which, thus a wide options to perform various day to day computing activities.
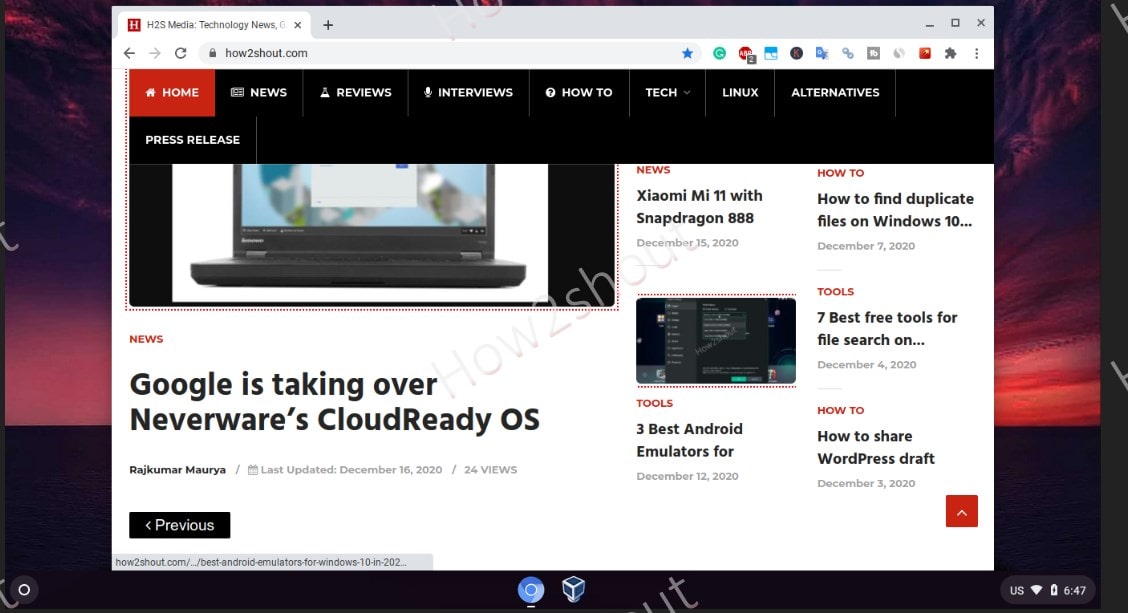
Moreover, recently Google has taken over, Neverware and its Cloudready OS which is based on ChromiumOS just like Google’s Chrome. ChromeOS and Cloudready both are similar in terms of working, functions, and interface but there are some differences feature-wise. For example, Google’s Chrome OS comes with Google Play store integration that allows users to install Android apps over it, well this is not available on the CloudReady.
On the other hand, Google’s ChromeOS is trimmed by its developing team to install only on Chromebooks, however, there is also a trick to use it on other laptops and PCs, but compatibility issues would be there with some systems. Here is the tutorial on that- How to install Google ChromeOS on any PC or laptop.
Well, this is not the issue with Cloudready because it is meant to be installed on almost any existing old and modern machines.
So, if you want to take advantage of the full capabilities of Chrome OS, without getting a Chromebook, then it is a good idea to start with an old Windows laptop.
Install Cloudready Chromium OS on any PC or Laptop
1. Download the Bin file
The first thing we need is the bin file of Cloudready ChromeOS, for that, we have to visit the official website page of Neverware, there click on the DOWNLOAD 64-BIT IMAGE button to get the zip folder with the bin file, here is a link for free Home Edition.
2. Create a Cloudready ChromeOS bootable USB drive
Once you have the Bin file of the OS, get a USB drive of 8GB (or greater, if you are planning to use it only via USB drive). The method here we are going to use to create a Cloudready bootable USB drive is applicable for all platforms such as Windows, macOS, Linux, FreeBSD, and others. The only thing which is you must have is the Chrome browser.
If you are a Windows 10/8/7 user then you can also use the CloudReady USB installer (learn how).
However, as we don’t know whether you have access to Windows OS or not, thus we thought to give a cross-platform method using the Chrome or Chromium browser.
- So, open your Chrome or Chromium browser.
- Download the Chromebook Recovery Utility extension. Simply click on the Add to Chrome button.
- Once it gets installed, the Chrome Apps tab automatically get opened. If not then type
chrome://appsin the address bar and hit the Enter key. - There select the Recovery icon.
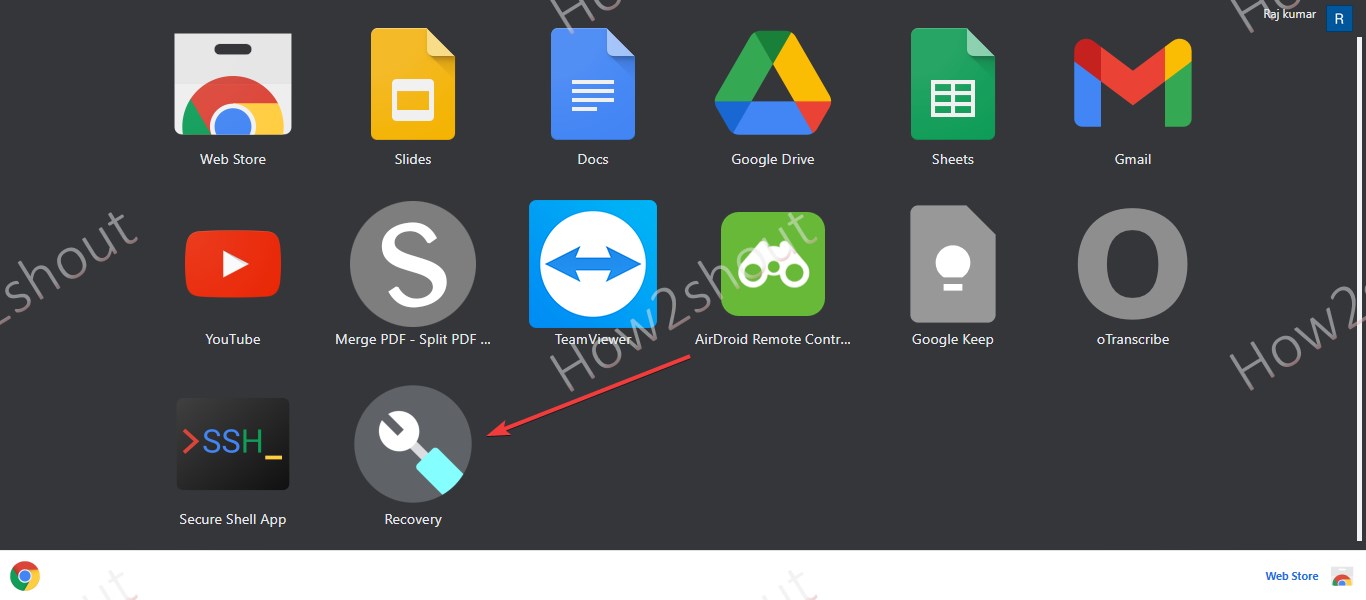
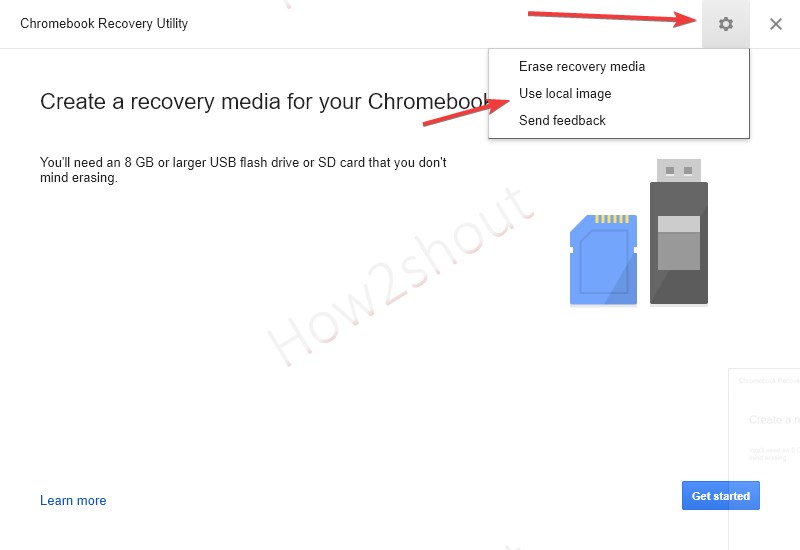
- Click on the Gear icon given on the right top side.
- Select the User local image option.
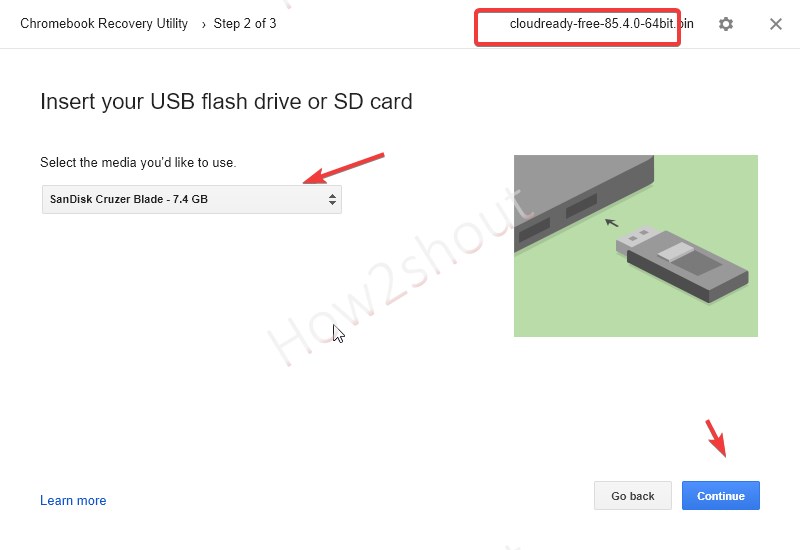
- Click on the drop-down box and select the connected USB drive.
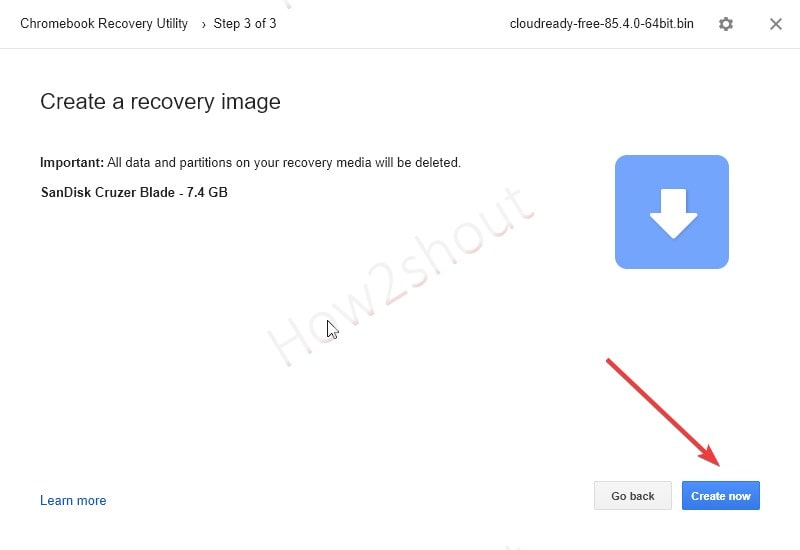
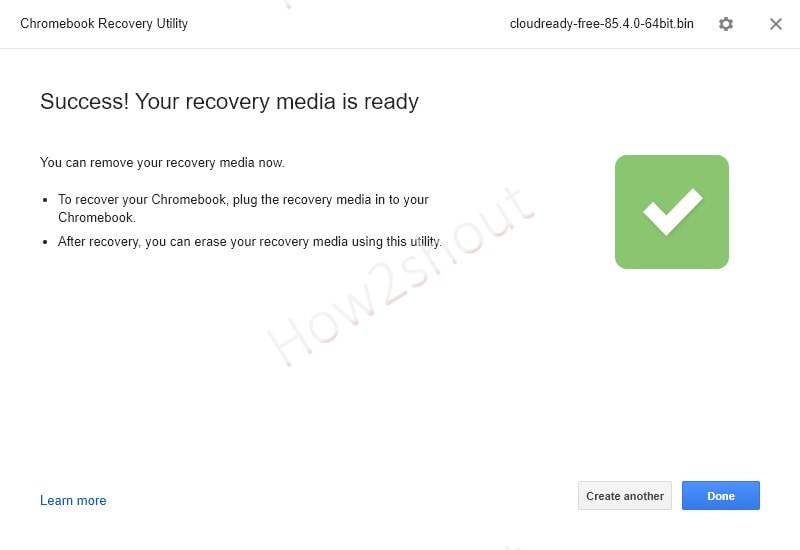
- Click on Continue and then the Create now button.
3. Boot USB drive
- Once the process of creating a bootable drive is done, safety ejects the drive. Note: If the system pop-ups to format it, don’t do that.
- Now, Insert the USB drive into the Laptop or PC where you want to install Cloudready ChromeOS.
- Boot the system using the connected drive. For that restart your system and open the boot menu. Generally, for that keys are F9, F8, Esc, or check the model of your motherboard or laptop on the internet to find out the exact key.
- Also, this can be found out by carefully looking at the system boot. Whenever we boot our system, it will give us the KEY, pressing that we can interrupt the booting process to get the boot menu.
4. Use Cloudready ChromiumOS from a USB drive without installing
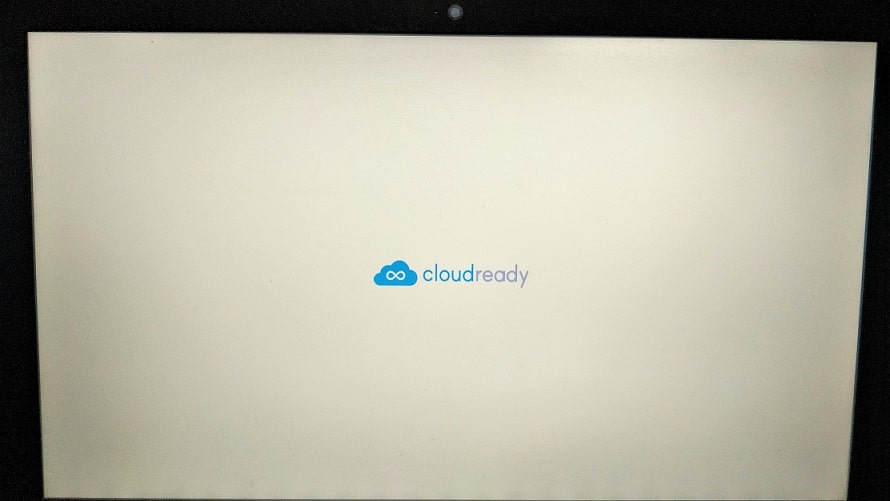
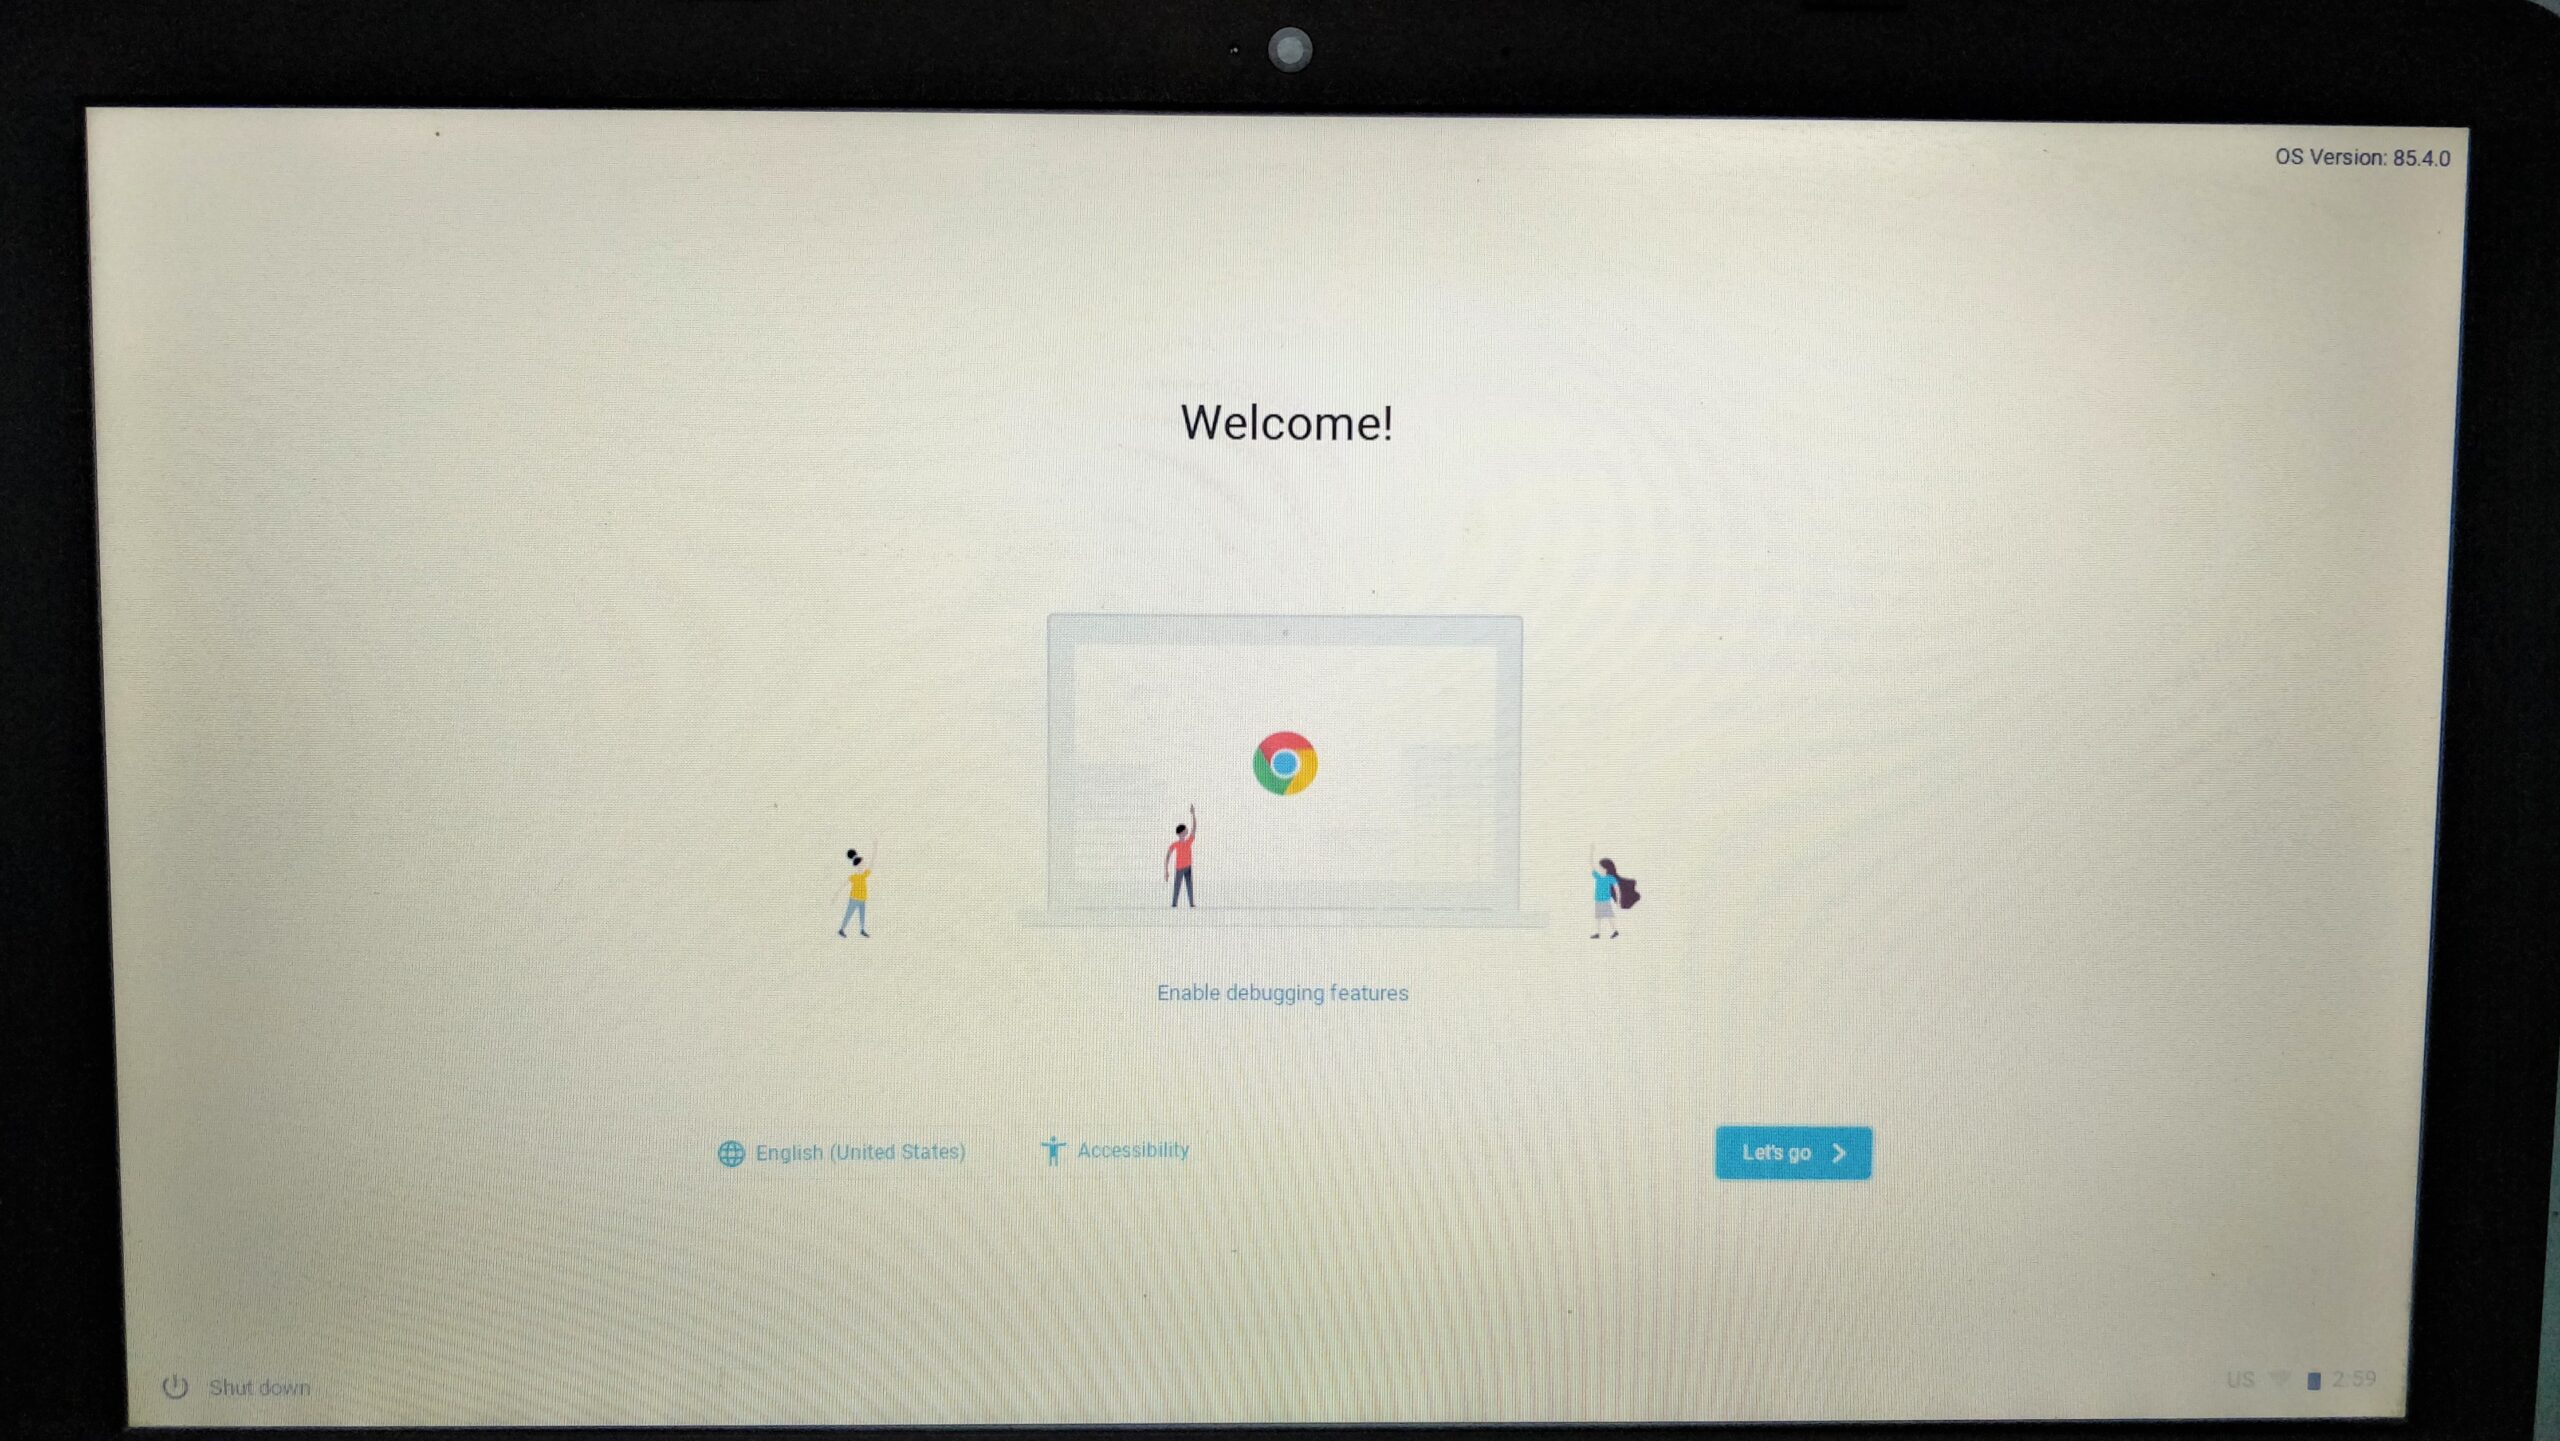
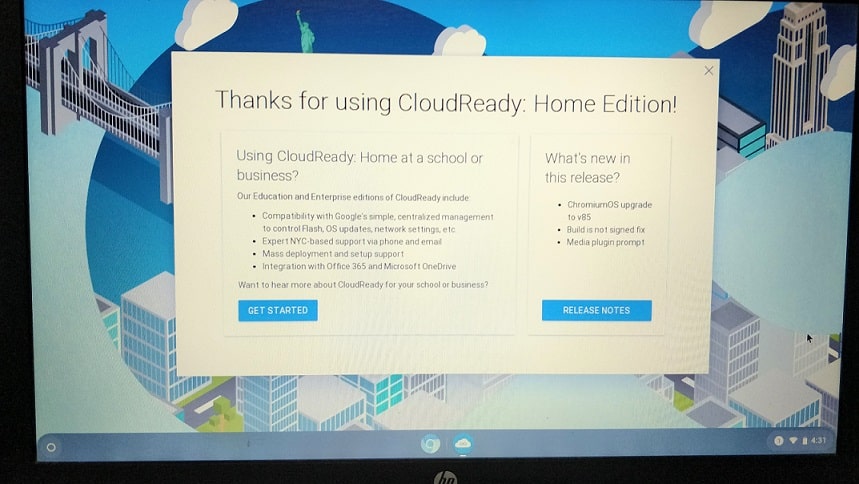
The first screen that will appear as the logo of Cloudready, just wait for a few seconds and you will see the other options.
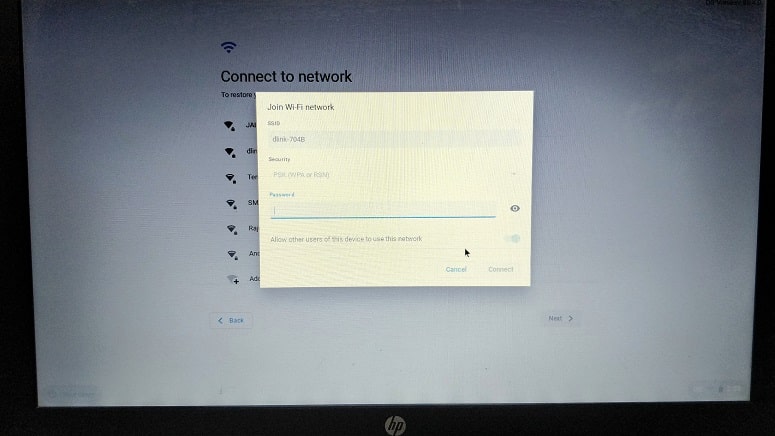
When it asks to connect Wi-Fi do that.
The CloudReady Home Edition is ready to use.
From here onwards we can use this ChromiumOS every time directly from the USB drive without installing actually on the computer hard drive. This means all the data will be on a USB drive, therefore, you will have a portable ChromeOS to boot and use on any computer system. Well, if you actually want to install on a PC or laptop hard drive/SSD then follow this tutorial further.
5. Install on PC hard drive
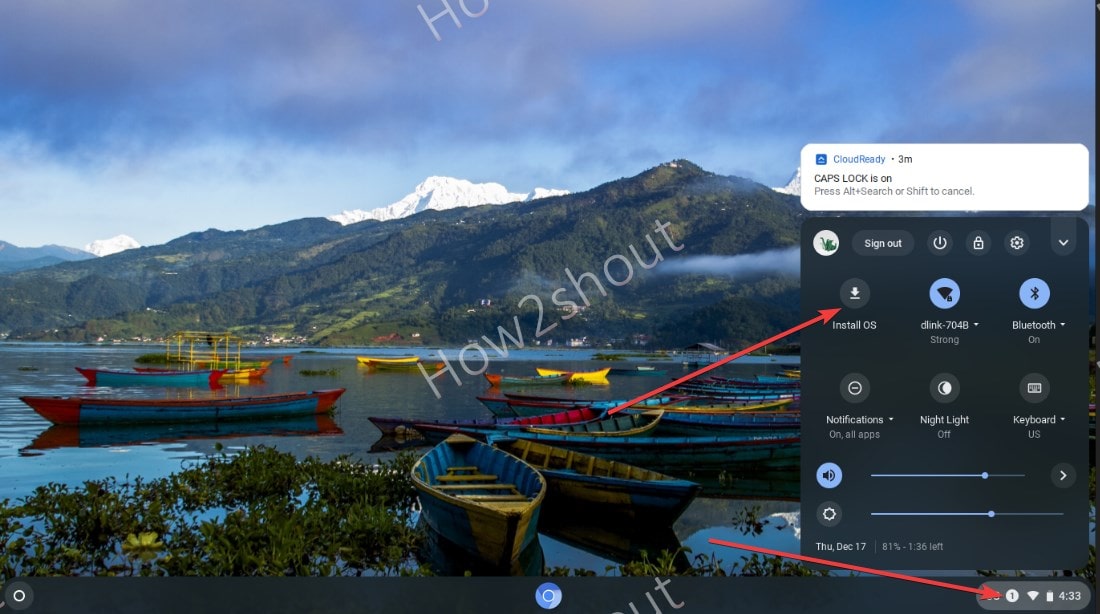
Well, if you want to install on a PC or laptop hard disk, for that click on the battery icon given on the right bottom side to get the Notification area.
- Click on the Install OS icon.
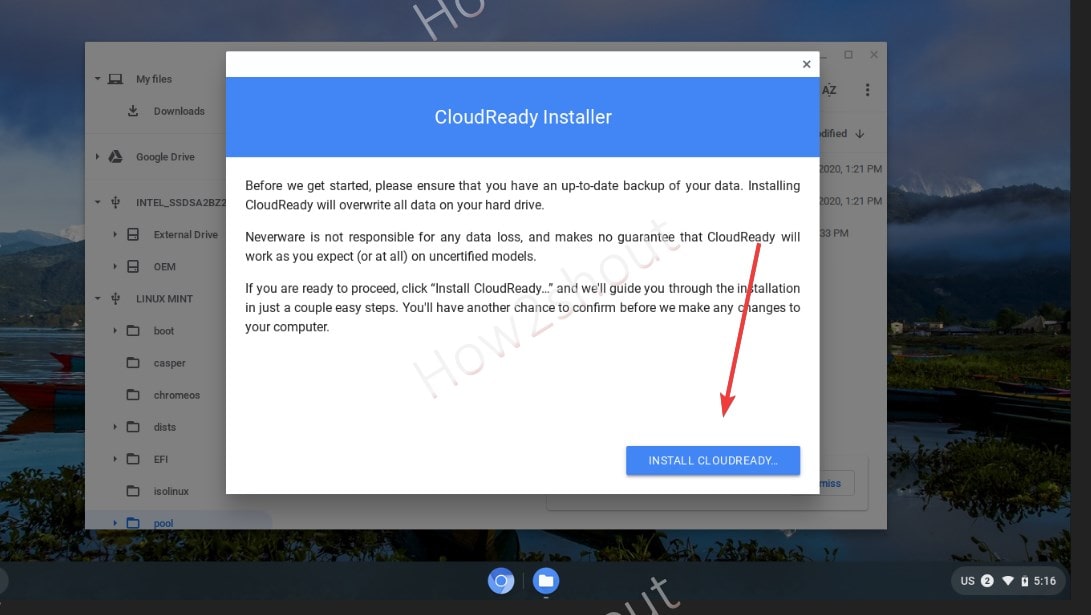
- Hit the Install Cloudready button.
- Wait for a few minutes, don’t turn off the computer.
- While installation nothing will show up.
- Once the process is completed, the system will automatically get turned off.
- Remove the connected USB drive and start the PC or laptop where you are installing the CloudReady ChromeOS.
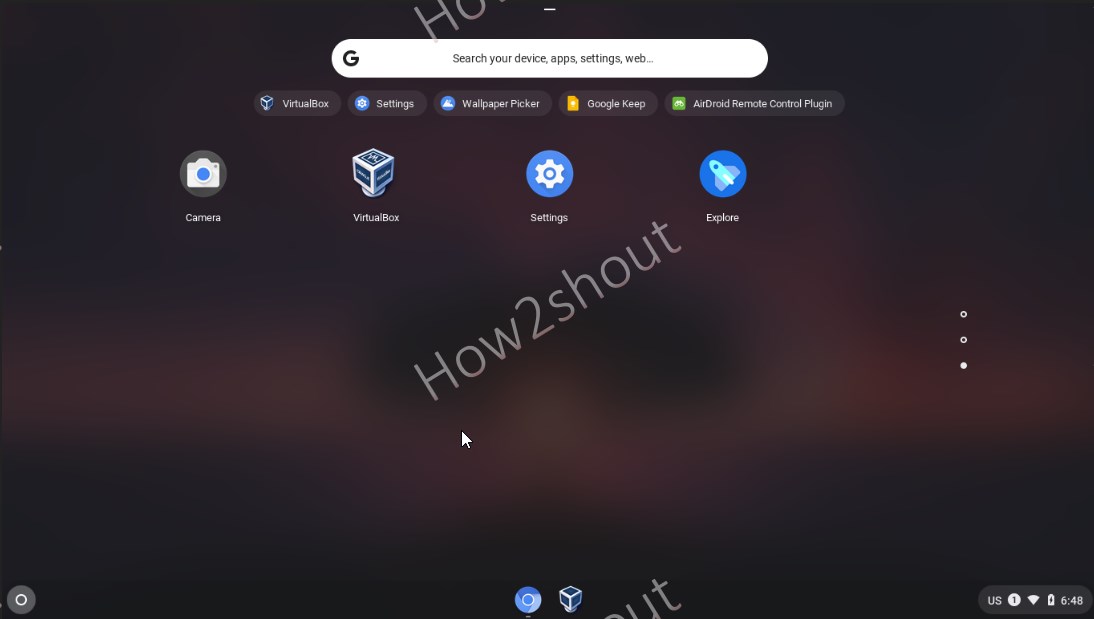
6. Start using your ChromeOS
Know more:
- How to download & install Cloudready Chromium OS on VirtualMachine
- Record screen on Chromebook with audio free of cost?


I installed it on a older HP business notebook a Folio 9470m with a Ivy Bridge i5 3427u with 8Gb RAM and SSD. Honestly, I think it’s another good option for a older PC, but not everything worked even though Neverware the developer of cloudready certified my model. My brightness controls through F keys didn’t work and battery life which I thought might be better than a full Linux distro was really not. Given how well most Chromebooks do with battery life this surprised me the most. It’s an option I guess, but a very restrictive one compared to a Linux desktop distro. Even some of the Google stuff isn’t baked in as yet and so this is not a official Chrome OS but a open sourced Chromium OS version with some tweaks from Neverware. If you want the full Chrome OS experience you have to buy a Chromebook.