Ubuntu Linux Optimization: The Stacer is the open source and free software to clean Ubuntu junk files and manage installed applications, repository and packages. You can consider it an Ubuntu control panel that allows controlling the startup apps, work as Ubuntu activity monitor, APT – Repository Manager, CPU, RAM, Disk, CPU Load Average and network activity, Uninstaller, Processes can be sorted based on PID, CPU and memory usage, Starting and stopping system services; System Cleaner (cache, logs, junk files cleaner) and more. The Ubuntu users or any other system based on Ubuntu can easily install the Stacer with few commands. Here we are using Ubuntu 18.04 but the steps given here are compatible with previous versions too such as Ubuntu 17.04, 160.4, 15.04… The RPM packages are available on Github.
How to Install Stacer on Ubuntu via Command Terminal
#1. Switch on your Ubuntu installed PC system.
#2. Open the command Terminal; you can use the shortcut CTRL+ALT+T
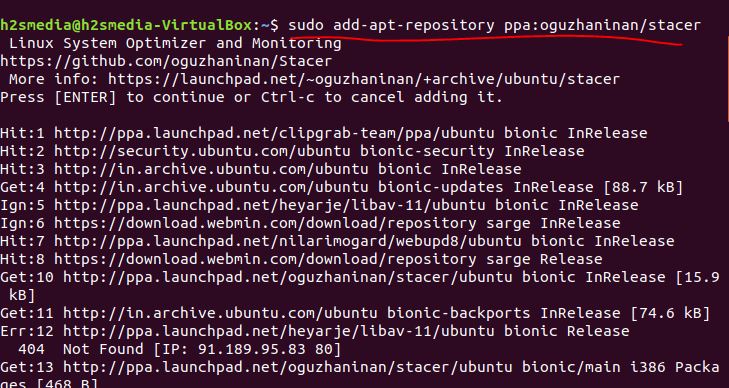
#3. Add the Stacer repository to Ubuntu. The command is:
sudo add-apt-repository ppa:oguzhaninan/stacer
#4. After adding the Stacer Repo, update the system.
sudo apt-get update
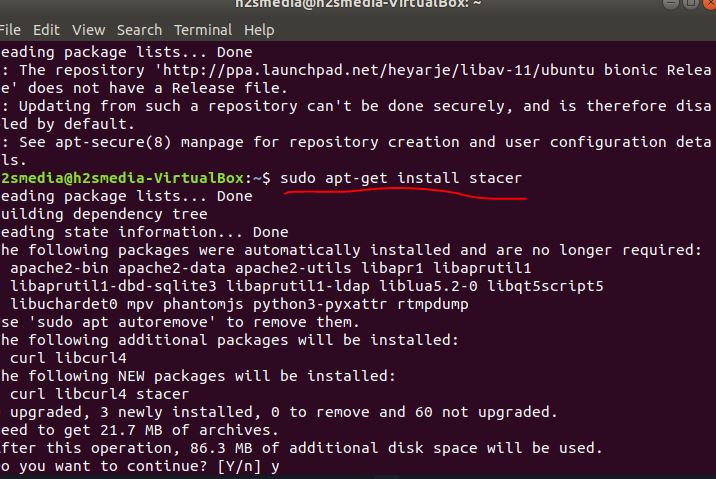
#5. Download and install the Stacer on Linux Ubuntu using the below command
sudo apt-get install stacer
#6. Once the Stacer got installed, go to Application and you will find Stacer icon.
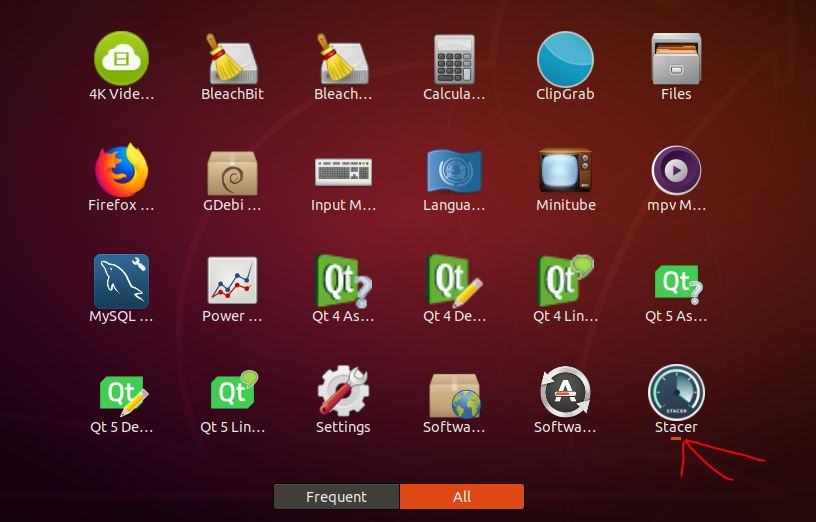
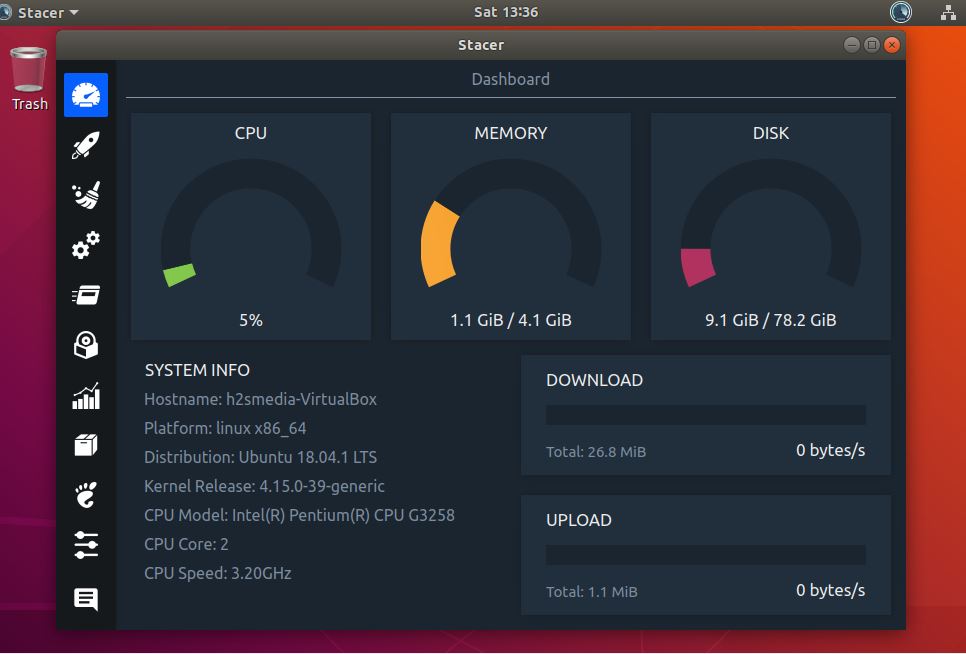
#7. Click on the icon and you will get the beautiful interface of the Stacer
#8. How to uninstall Stacer
If you want to uninstall the Stacer then just go to Stacer uninstall tab and search for it. When Stacer appears, select it and clicks on the uninstall button.

Related Posts
How to install Winget package manager in Windows 2022 Server
How to View Listening Ports Using Netstat
How to Install Pygame Zero on Windows 11
Single Command to install Android studio on Windows 11 or 10
How to Install DoXygen in Windows 11 or 10
Google Rolls Out Android 14 Beta 4.1 to Fix Bugs for the Pixel Fold and Tablet