Access SSH Server running system on Windows 11 or 10 is a lot easier compared to previous versions of it. Here we will show how to use the command prompt to access the remote machines over SSH protocol.
Secure Shell, or “SSH” for short, is a nifty tool for network admins because it provides an encrypted, hence secure, way to establish a connection with remote systems. And gives the ability to access computers via the command line, especially common in the Unix / Linux world. File transfers between the SSH client and host are also possible.
Well, as we all are not Linux system user but that doesn’t mean we cannot use it SSH on Windows. However, it was not possible for all Windows systems to use the SSH command line out of the box at least not until Windows 10. It is because Microsoft had integrated an SSH client in Windows 10 with Version 1709 in 2017. This means we don’t require third-party applications such as PUTTY for using SSH functions on Windows.
Let’s see how we can use the Windows 11 or 10 SSH client
Install OpenSSH client & Server on Windows 11
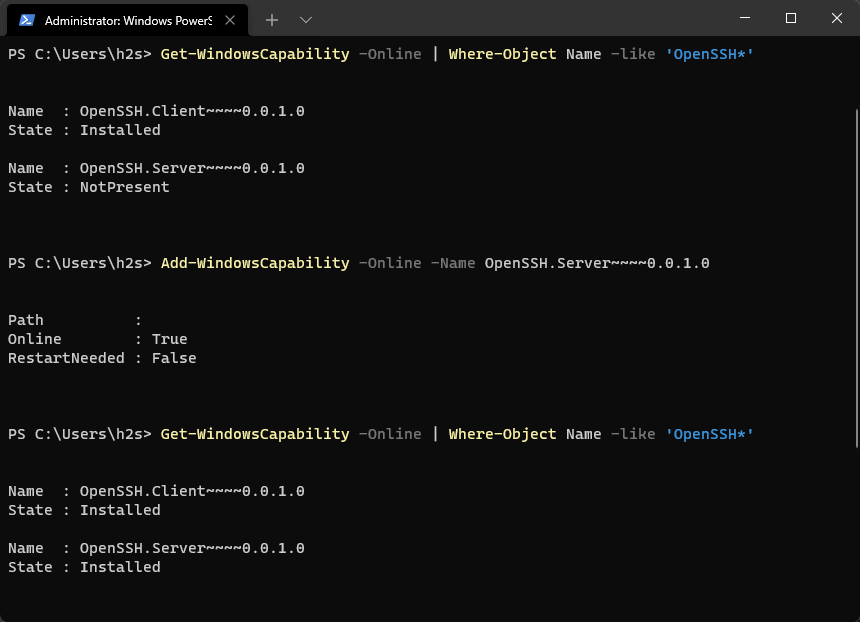
Although both SSH server & client by default are available on Windows 10/11, if you are not sure, then use the below command to confirm.
Check the availability of OpenSSH
Open PowerShell as Admin and run:
Get-WindowsCapability -Online | Where-Object Name -like 'OpenSSH*'
If any of the SSH client or server feature is not available then use the below commands as per the requirement in PowerShell (Admin).
# Install the OpenSSH Client
Add-WindowsCapability -Online -Name OpenSSH.Client~~~~0.0.1.0
# Install the OpenSSH Server
Add-WindowsCapability -Online -Name OpenSSH.Server~~~~0.0.1.0
How to use SSH on Windows 11/10
In recent years, Microsoft has opened up to open-source projects that can be seen from the firm integration of OpenSSH client into the system.
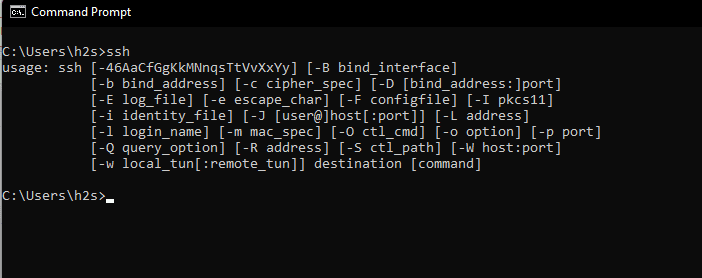
To use SSH either open the command prompt or Windows PowerShell from the Start menu and after that simply run a command.
ssh
As we run the above command, it will show all the options we can use with the command.
Well, the working of SSH to connect server is similar to Linux or macOS, therefore, if you are already familiar with these OS, then there will not be any difficulty.
To connect to an SSH server, use the following command syntax:
ssh username@ip-address/domain
In the above syntax, you have to replace the username with the user of the remote PC you want to connect and the IP address/domain with the actual address of the same.
For example:
ssh [email protected]
h2s is the username with which you log in to the remote server along with the IP address of the same.
SSH encryption is based on the exchange of keys. If you are connecting the server, first time, you will therefore be prompted to enter the key by entering “ Yes” to confirm.
After that enter the password of the selected user. As soon as the connection is established, you will be able to execute all terminal commands on the remote server via SSH.
For Specific or Custom SSH port:
By default SSH server and client communicate over port 22, however, sometimes, the server may be configured to use some custom port. Then to connect the same, we have to specify the configured port number in the command by declaring the “ -p ” switch followed by the port.
For example, if it is “ 6200 ”, use the following method to establish the SSH connection:
ssh [email protected] -p 6200
Other Articles:
- Install and enable ssh server on Centos 7
- Install SSH server in Fedora Linux for remote login
- How to login into Ubuntu using SSH from Windows 11/10/8/7?


Hello. You list many options to the ssh command, but nowhere can I find an explanation of what each of those options actually means. I have looked everywhere, including Microsoft, for an explanation of those options. Can you give me a list?
Please have a look- https://www.ssh.com/academy/ssh/command