Enable OpenSSH Server and client feature in Windows 11 or 10 using the PowerShell command line or Terminal…
Microsoft has changed a couple things with the advancement of Windows 10, which also shows its proliferating love for Open source and Linux. That is why we can see the WSL & OpenSSH integration in Windows 10 and its successor OS, Windows 11.
On the one hand, the OpenSSH client will be installed and activated by default on Windows 11, but the server part of this SSH program needs to be set up manually. Here is a tutorial to help you learn that.
Command to install OpenSSH Server and client in Windows 11 or 10
The SSH client on Windows 10/11 is installed in the so-called optional features. This can be reached by searching for “optional features” in the start menu. The SSH client can be found under “Add feature.” However, we will use the Command line method to set up SSH.
Open the PowerShell Command line.
Whether you are on Windows 10 or 11, right-click on the Start button and select either Windows Terminal (Admin) or PowerShell (Admin)

Check whether the SSH server & client are active or not
To know whether OpenSSH is already installed on your Windows system or not, run the following command:
Get-WindowsCapability -Online | Where-Object Name -like 'OpenSSH*'
The client was installed in our case, but the OpenSSH server was not. If that is the case, proceed to the next step.
Install OpenSSH Server on Windows 11 or 10
We have given both commands to activate this open-source SSH tool’s Client and Server part.
# Install the OpenSSH Client
Add-WindowsCapability -Online -Name OpenSSH.Client~~~~0.0.1.0
# Install the OpenSSH Server
Add-WindowsCapability -Online -Name OpenSSH.Server~~~~0.0.1.0

Start OpenSSH Server Service
To make the service of OpenSSH start and run automatically with the system boot, use the below-given commands:
Start-Service sshd
Mark the service to start automatically:
Set-Service -Name sshd -StartupType 'Automatic'
Configure SSH in Firewall
Paste the given command block in the Powershell and hit the Enter key. Although the Firewall rule will automatically get configured while installing the OpenSSH server, however, to confirm it runs the given command once. If the Firewall rule already exists, you will have “Firewall rule ‘OpenSSH-Server-In-TCP’ has been created and exists” in return.
if (!(Get-NetFirewallRule -Name “OpenSSH-Server-In-TCP” -ErrorAction SilentlyContinue | Select-Object Name, Enabled)) { Write-Output “Firewall Rule ‘OpenSSH-Server-In-TCP’ does not exist, creating it…” New-NetFirewallRule -Name ‘OpenSSH-Server-In-TCP’ -DisplayName ‘OpenSSH Server (sshd)’ -Enabled True -Direction Inbound -Protocol TCP -Action Allow -LocalPort 22 } else { Write-Output “Firewall rule ‘OpenSSH-Server-In-TCP’ has been created and exists.” }

Connect to OpenSSH Server
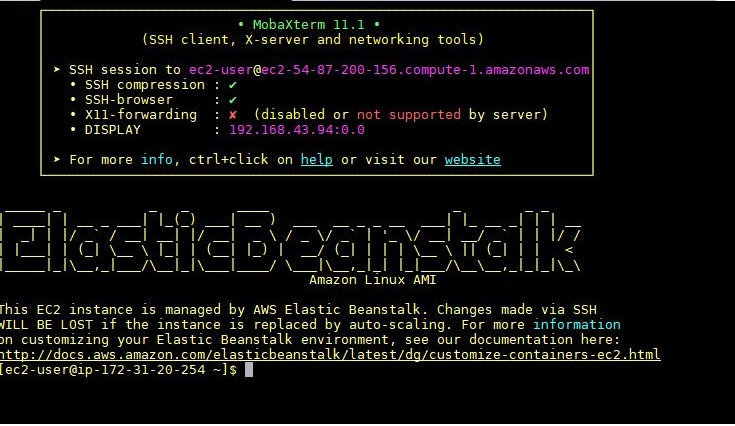
Now, we can test our server by connecting it using another computer or virtual machine. Open the command line of Linux, macOS, or Windows that can access the installed SSH server’s IP address and use the following given syntax to connect the same.
ssh username@ip-address/servername
For example:
ssh h2s@ 192.168.43.252
We use Ubuntu Linux to connect the Windows command line via SSH server.

Remove or Uninstall
If you want to disable or uninstall the OpenSSH server/client feature on Windows 10 or 11, follow these commands. Again, open Powershell as Admin and run the desired command.
#Remove the OpenSSH Client
Remove-WindowsCapability -Online -Name OpenSSH.Client~~~~0.0.1.0
#Remove the OpenSSH Server
Remove-WindowsCapability -Online -Name OpenSSH.Server~~~~0.0.1.0

Where did you get the user name and address.
Did you need a password ?
You installed the server but did not
You should know the username and password of the remote or local machine you want to connect using the SSH.