There isn’t any doubt, using pen drives or flash drives is the simplest to carry files from one place to other. May it be carrying your official documents or the movie which you always like. Pen drives and flash drives can be the safest room for all such things. Using pen drives and flash drives are even better than cloud storage and backup, as you will always need an internet connection use your cloud storage, and using cloud storage is simply using someone else’s computer to store your files. You are invariably giving them the permission to read all your files.
Now that being said, using pen drives and flash drives is the best way to keep up your files, or simply to carry it from one place to the other. The only problem with such drives is that anybody can get access to the contents within it by just connecting it to a computer. Thus, in case it gets lost or is a careless guy like me, who loses pen drives quite often, personal data and files can be at risk with such drives. But science always comes with a solution. You can encrypt your drives with a password to prevent it from being opened by any unauthorized person.
BitLocker encrypted drives should work flawlessly on Windows 7, 8, 8.1 and 10. But if you are trying to open the BitLocker encrypted drives on older versions of Windows, like XP or Vista, you will need to install ‘BitLocker To Go Reader’ from Microsoft. It will provide a read-only solution for your encrypted drives. You can also use this method to encrypt the internal hard drives of the Windows system including external hard drives.
So let’s get started with the tutorial.
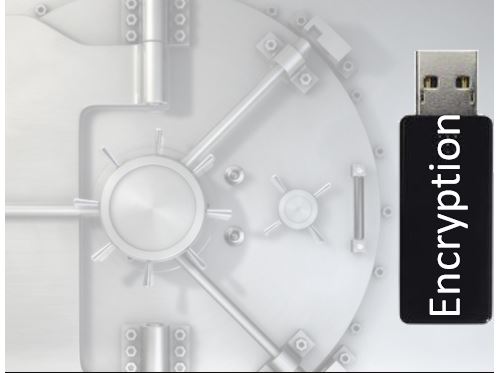
Encrypt pen drives and flash drives with a password
The steps to follow:
- Right-click on the external or flash drive which you want to protect. Then click on ‘Turn on BitLocker’.

- In a window that appears, tick on the option saying ‘Use a password to unlock the drive’.
- Enter the password two times in fields, and click on ‘Next’. This password will be used to unlock your drive next time you try to open it.
- If you are having a smart card, you can also choose your smart card pin number for locking and unlocking your drive.

- Now click on the option which says, ‘Save to a file’ and choose the location where you want to save it.
- Eventually, click on ‘Next’. You can even save password file to your Microsoft account or print it out directly.
- The ‘Next’ option will be disabled unless you save the password file to some location or print it out.

- Now you will have to choose the part of the drive to be encrypted. There are two options.
- The first one will encrypt the contents of the disk, along with encrypting all the new files in the future.
- The second option will encrypt the contents of the disk, along with the files and data, which are already deleted.
- If you do not have problems with the files deleted from your drive, you can go for the first one, but if you have deleted some sensitive files from your drive, and don’t one other people to recover it, go for the second one. I am choosing the first one here. Tap on ‘Next’ after choosing.

- In the next page, you will have to choose the encryption method. The new encryption method, which should be the first one in the list will only work on Windows 10 (Version 1511). But if you want to use the drive on multiple systems, which might not have the latest Windows 10, go for the second option, which is the compatible format. Now click on ‘Next’ again.
- Now Choose which encryption mode you want to use. Though the first one with the new powerful encryption method can be good for storing files but best for the inbuilt fixed drives on your WIndow system. So, for an external drive and flash drives select the second one which compatible mode best for the drive those can move out of your system…

- Finally, click on ‘Start encrypting’ to start encrypting your drive.

- The encryption process will take several minutes depending upon the contents of your drive. If you have chosen full encryption, which even encrypts deleted files, it is going to take a lot of time. Better read some of my other helpful tutorials meanwhile.

- After completion, your drive will be encrypted. Now each time you try to open the drive you will be prompted to enter the password.

The BitLocker encrypted drives are best compatible with Microsoft systems. You will be unable to open the BitLocker encrypted drives on other systems like Android. That is quite common as BitLocker is a proprietary file format, which is offered only by Microsoft to its systems.
You might be also want to know about:
- How to encrypt personal files with 7-zip encryption
- 6 Best Open source Personal Cloud Software to Setup Cloud storage
- How do I save a PDF without the password?
- How to change directory in CMD on Windows 10 via Command line
Hope the tutorial on how to encrypt pen drives on flash drives was helpful for you. Have more questions? Feel free to comment it down below.
Related Posts
Hybrid Hard Drive: Properties and Performance
USB Connectors: Type and Differences – Know which one you have
What is Encryption in Simple Words?
How to get USB Type-C ports on your computer? Different ways
AMX Infiniti USB-C 3.1 Gen 1 Cable Review
How to encrypt and password-protect PDF files in Microsoft Word