Froxlor is an open source web control panel to manage websites and web server storage space to provide hosting services. It provides various kind of features some of them are: support to IPv4 and/or IPv6 addresses, Advanced SSL, PHP-configuration as per the domain; user can create Resellers & Customers account with an option to manage resource directly from the Control Panel for shared hostings; interactive graphs; offers API, Themeable interface, Let’s Encrypt support for free certificates; MySQL management; Directory protection & settings, Quota management and more… Let’s see how to install, setup and configure Froxlor on Ubuntu server.
Note: The steps given below will also work for Ubuntu 19.04/18.04/16.04/14.04… including Debian, Linux Mint, Elementary and other Debian based Linux operating systems. Here we are using Ubuntu 18.04 Server OS.
Step 1: Add Froxlor Repository in Ubuntu
There are a couple of methods of installing Froxlor lightweight server management software such as using Tarball (Download), from git source, shell-installer, however, here we are using Debian repository.
Open Command Terminal and switch to root user to run all the below command:
Use the following command to include the Froxlor repository into Ubuntu’s list.
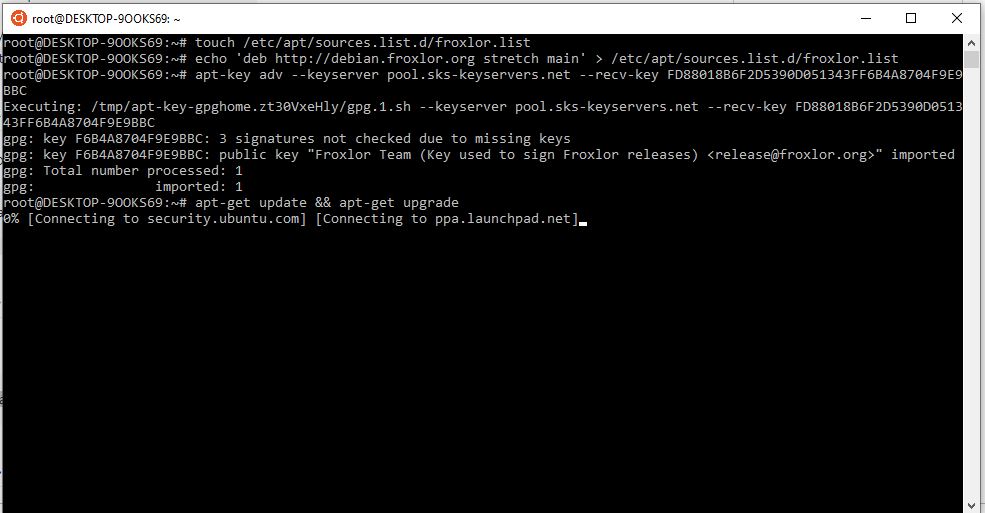
touch /etc/apt/sources.list.d/froxlor.list
Add package source to the above-created list.
echo 'deb http://debian.froxlor.org stretch main' > /etc/apt/sources.list.d/froxlor.list
Step 2: Install a key for Froxlor
Add a key for Froxlor to verify the packages we are about to download further in this tutorial.
apt-key adv --keyserver pool.sks-keyservers.net --recv-key FD88018B6F2D5390D051343FF6B4A8704F9E9BBC
Step 4: Update your Ubuntu server or Desktop
To purge the previous cache of Ubuntu, so that it can recognize the recently added Repository of the Froxlor.
The commands are:
apt-get install update
apt-get install upgrade
Step 5: Install Apache server
On Ubuntu installation of the Apache web server is pretty much easy, only one command we need to be used that is:
apt-get install apache2
service apache2 enable
service apache2 start
Step 6: Command to Install Froxlor on Ubuntu
Here is the single line command after setting up all to installation Froxlor server control panel.
apt-get install froxlor
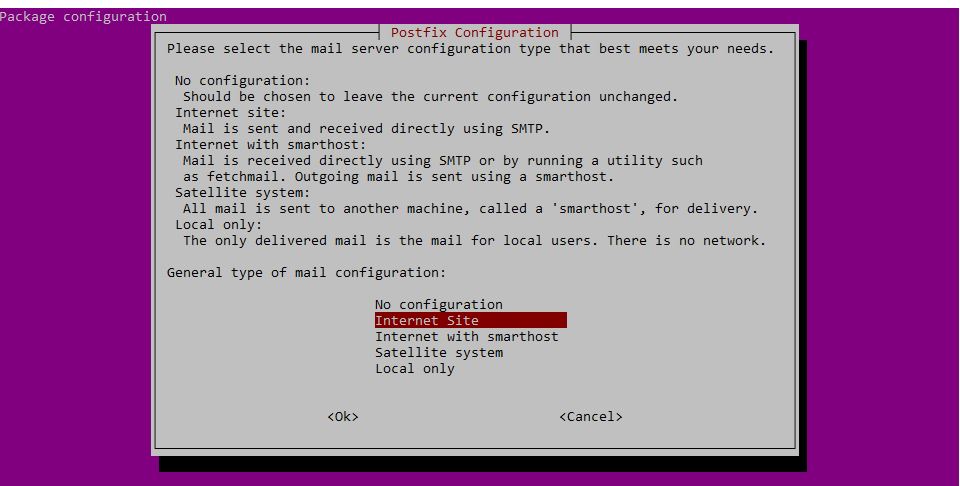
While installing it will ask for the postfix setup of the mail. It will offer a couple of mail server configuration type select one of the given choices among:
- No Configuration
- Internet Site
- Internet with smarthost
- Satellite System
- Local Only
Step 7: Change the Document root directory of Apache
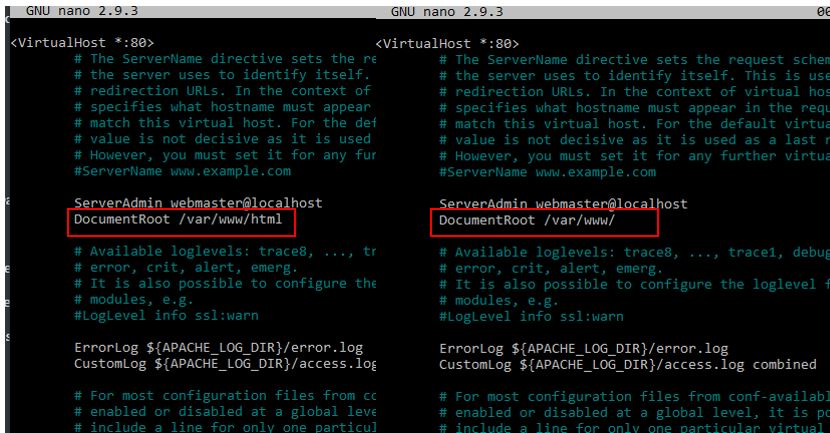
By default on Ubuntu, we can only access the default public HTML (/var/www/html) directory of the Apache, however, after installing Froxlor it all files will reside under the main web directory i.e /var/www/. Thus we have to change the default document root directory to access Froxlor.
Switch to site-available directory of Apache
cd /etc/apache2/sites-available
nano 000-default.conf
And alter the path:
DocumentRoot /var/www/html
to
DocumentRoot /var/www/html
After editing save the file by pressing Ctrl+X and type Y and then hit the Enter button.
Step 8: Restart Apache web server
After altering and saving the document root directory path, its time to restart our web server, here is the command:
service apache2 restart
Step 9 Create a Database
To store all its data this severs management platform while installation will ask for database detail, here we are about to create that:
Login to MySQL/MariaDB
Create a MySQL user with root privilege
mysql -u root
CREATE USER 'newuser'@'localhost' IDENTIFIED BY 'password';
GRANT ALL PRIVILEGES ON *.* TO 'newuser'@'localhost';
FLUSH PRIVILEGES;
Note: Change above green colour text with your own choice.
Now we create a normal database and its user and password for the Froxlor.
You can change the database name froxlorh2s, froxlorusr and yourpassword with your convenient one.
CREATE DATABASE froxlorh2s;
CREATE USER 'froxlorusr'@'localhost' IDENTIFIED BY 'yourpassword';
GRANT ALL PRIVILEGES ON froxlorusr.* TO 'froxlorh2s'@'localhost' IDENTIFIED BY 'yourpassword' WITH GRANT OPTION;
FLUSH PRIVILEGES;
EXIT;
Step 9: Access the Froxlor login page in a web browser
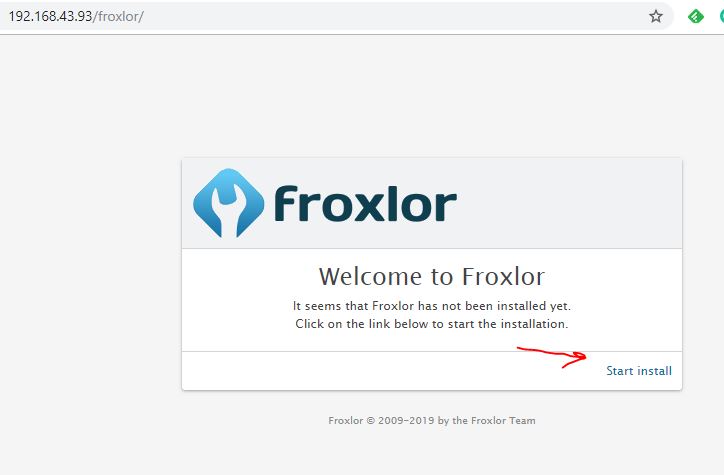
Point your system local IP address on which you have installed this server control management platform along with direcotyr name i.e froxlor. Thus, it will be like this:
serveripaddress/froxlor or 127.0.0.1/froxlor
To know your system Ip you can run the command:
ifconfig
Once you opened it in your browser, click on the start install link.
Step 10: Configure Froxlor server management from the Web interface
Now the main Install setup page of this tool will open from where we have to fill Database and other administrative details.
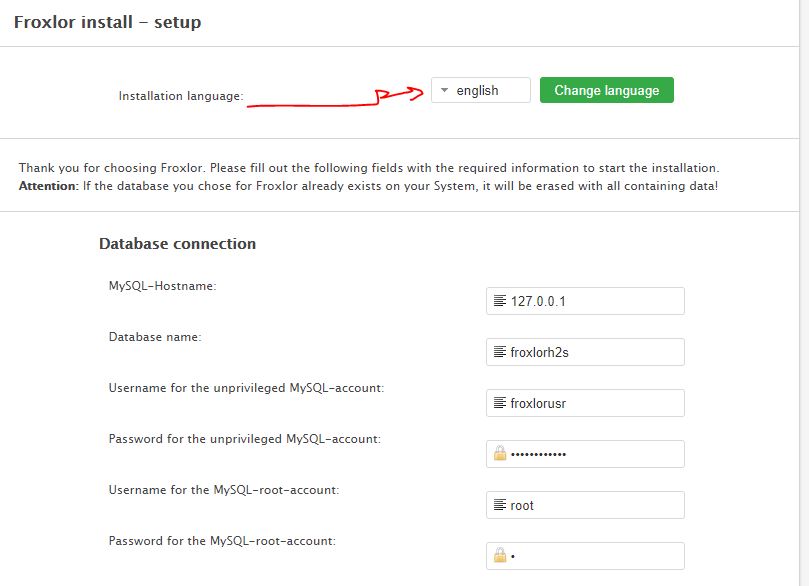
1. Select the installation language by default it is German, so if you need English or French then you can change it from here.
2. Database Connection:
In Step 9 of this tutorial we have created a Database for Froxlor, thus enter all its details such as
MySQL-Hostname– 127.0.0.1
- Database name: In our case it is froxlorh2s and you have to type your own.
- Username for the unprivileged MySQL-account: froxlorusr (in our case)
- Password for the unprivileged MySQL-account: Your password
- Username for the MySQL-root-account: root
- Password for the MySQL-root-account: Your system root password
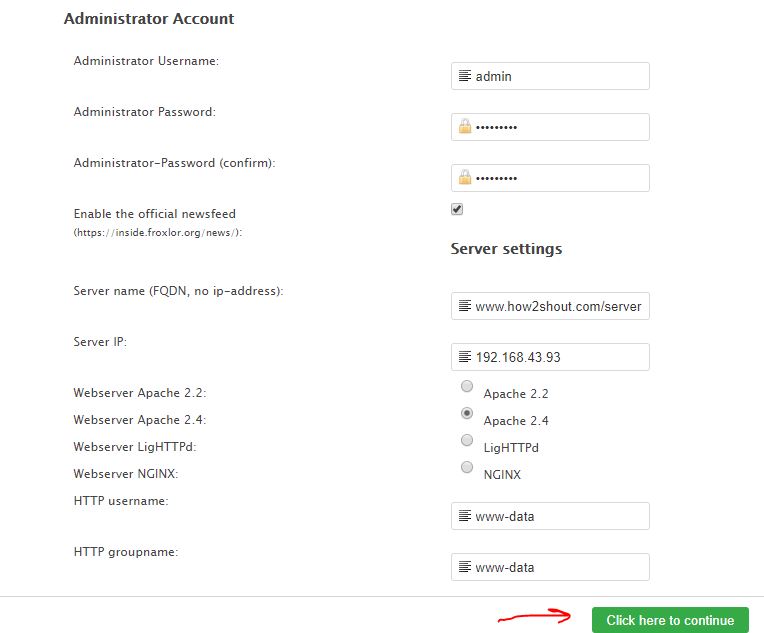
3. Administrator Account
- Create an Admin user and password to login Froxlor.
- Administrator Username: admin
- Administrator Password:
- Administrator-Password (confirm):
4. Other server system settings
Server settings Server name (FQDN, no IP-address): www.example.com or yourcomputername.localdomain
- Server IP: 192.168.43.93 (automatically get fetched by this tool
- Select the web server you want to be configured for Froxlor
- Web server Apache 2.2: Apache 2.2
- Webserver Apache 2.4: Apache 2.4
- Web server Lighttpd:Lighttpd
- Web server NGINX: NGINX
- HTTP username: www-data
- HTTP groupname: www-data
Finally, click on the Click here to continue button.

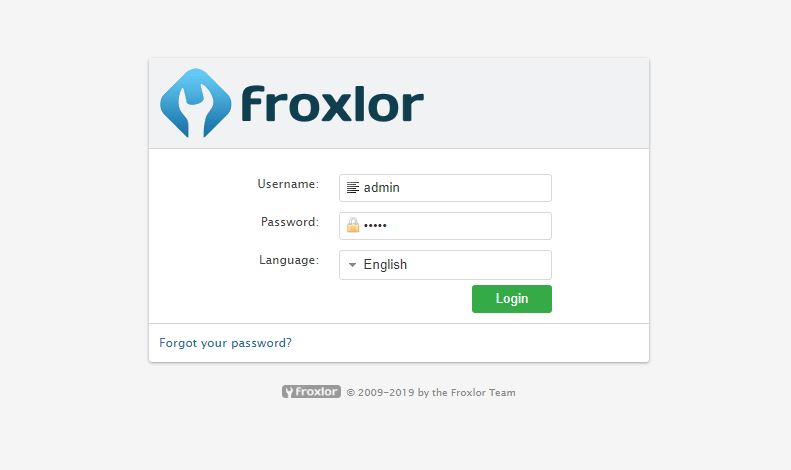
Step 11: Login With Username and password
The credentials created above use them and login.
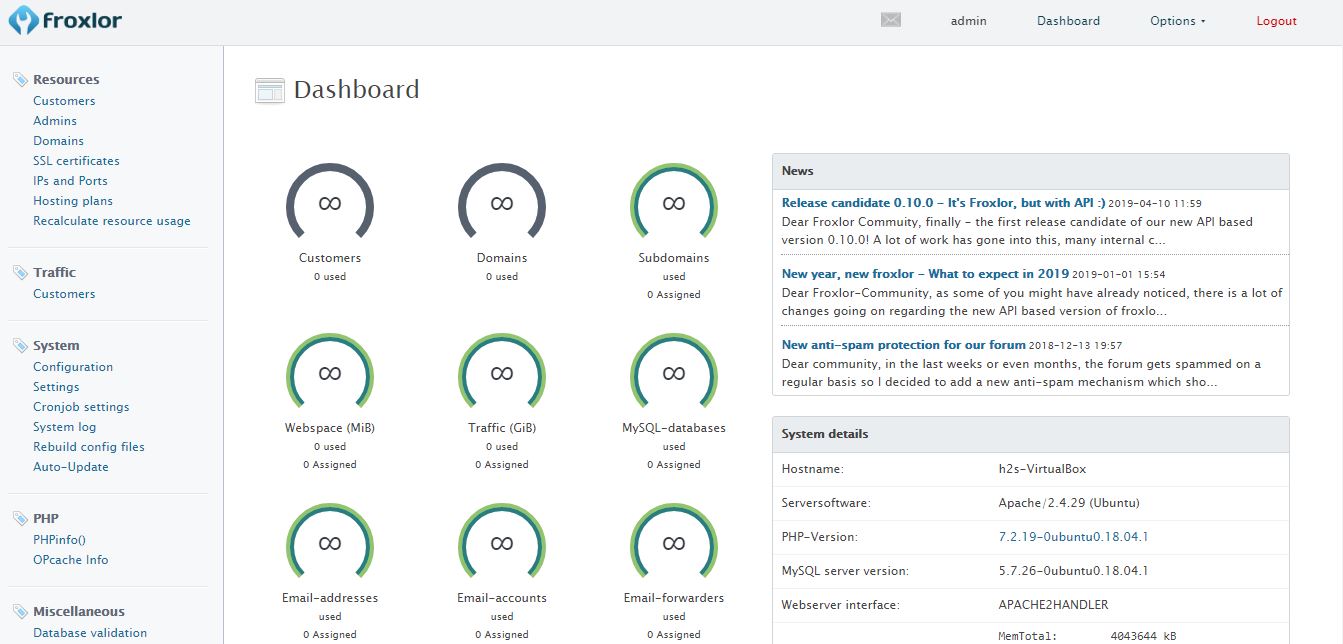
Step 12: Froxlor Dashboard
Now everything is at its stead and you can go through the Dashboard to set up different things.


Hi. This is very helpful, but there is one error:
—–
Switch to site-available directory of Apache
cd /etc/apache2/sites-available
nano 000-default.conf
And alter the path:
DocumentRoot /var/www/html
to
DocumentRoot /var/www/html (SHOULD BE JUST “/var/www” without the “/html” – as in your following image)
—–
Also, would be very helpful to have the instructions for securing the main site with a LE cert.
Thank you!