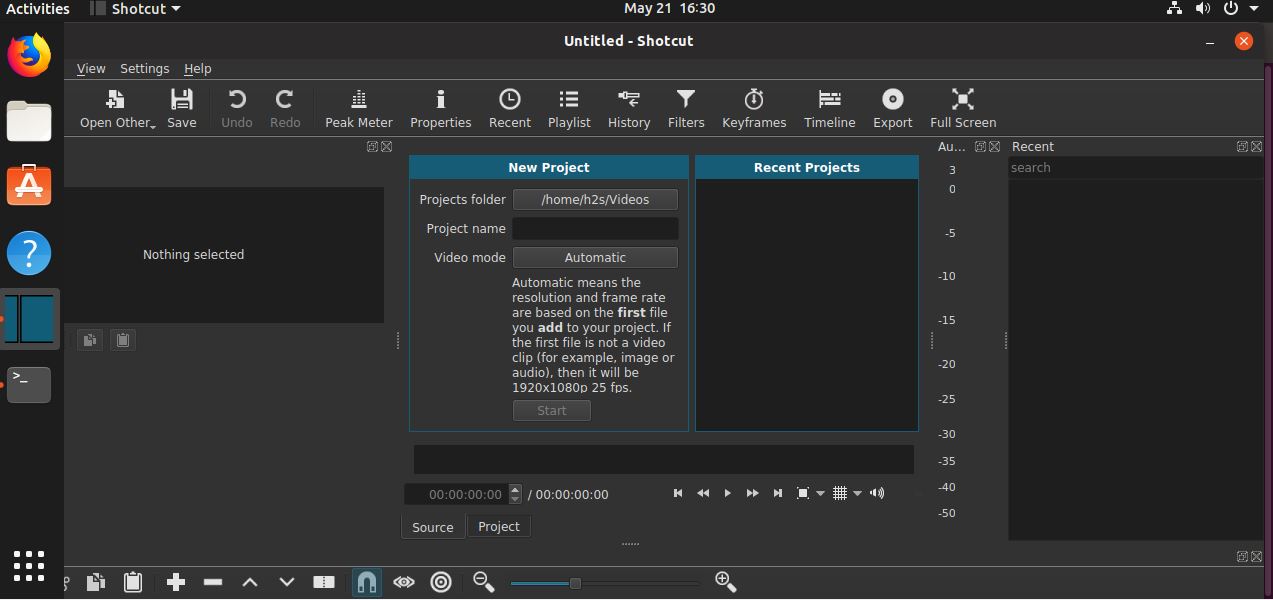
If you are Ubuntu, Debian, Linux Mint or Elementary OS users those are looking for some free and open source video editor then you must try Shotcut. It is a cross-platform video editor for Windows, Mac and Linux. It supports 4K resolution videos along with FFmpeg and other image formats such as BMP, GIF, JPEG, PNG, SVG, TGA, TIFF, WebP as well as image sequences. Shotcut is a native timeline editing which is one of the best Adobe premier alternatives in the open source category for video editing purpose.
Here are some of the main Shotcut features: Multi-format timeline, Webcam capture, Network stream playback (HTTP, HLS, RTMP, RTSP, MMS, UDP), Color, text, noise, and counter generators; Audio filters, Cross-fade audio and video dissolve transitions, 3-way (shadows, mids, highlights) colour wheels; a wide range of Video Filters; Reverse a clip; 3-point editing; External monitoring via Blackmagic Decklink card on NTSC monitor; EDL (CMX3600 Edit Decision List) export and more… While writing this article the current version of Shotcut was 19.04.30
Shotcut video editor system requirements
- CPU to use Shotcut video editor: x86-64 Intel or AMD with minimum one 2 GHz core for SD, 2 cores for HD, and 4 cores for 4K resolutions rendering support.
- It is cross-platform video editor that can be run on Windows 10/8/7 (32- or 64-bit), at least Apple macOS 10.10 – 10.15, or 64-bit Linux with at least glibc 2.19.
- GPU: OpenGL 2.0 that works correctly and is compatible. On Windows, a card with good, compatible DirectX 9 or 11 drivers.
- RAM: Minimum 4 GB for SD, 8 GB for HD, and 16 GB for 4K.
Here we will show you to steps of Shotcut video editor installation on Ubuntu 19.04 which will the same for Ubuntu 18.04/16.04/14.04… plus for Debian, Linux Mint and Elementary OS. To download it for Windows OS here is the link.
Install Shotcut on Ubuntu 19.04/Linux Mint/Elementary OS
There are two ways to install Shotcut on Linux one is using Snap Store and other is FlatHub. Will show the both.
Step 1: Open command terminal
To simply download and install Shotcut on Ubuntu, we use the command line terminal. To open it either right click on the Ubuntu desktop screen on any blank area and select Open in Terminal or use keyboard shortcut CTRL+ALT+T.
Step 2: Install Snapd on Ubuntu 19.04
To install Shotcut on Ubuntu 19.04/Linux Mint via snap, first, we need to install it. Although Ubuntu’s latest versions come with pre-installed SNAP version. However, other Ubuntu or Debian based OSs that don’t have, can use the below command to get snap.
sudo apt-get install snapd
Step 3: Install Shotcut using SNAP
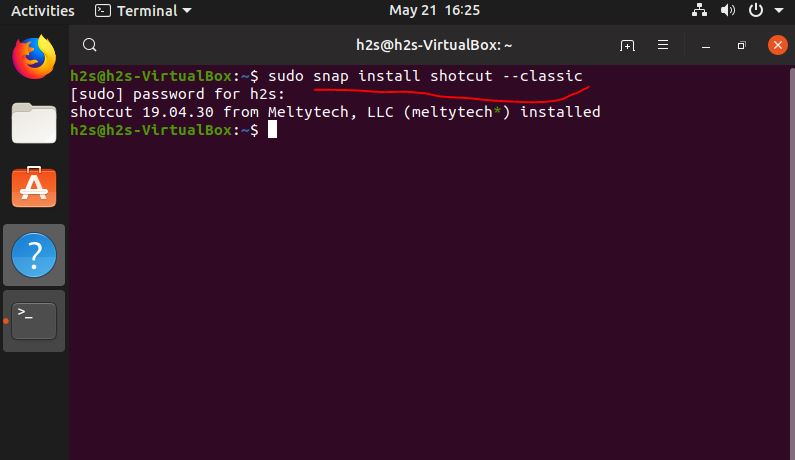
So, after installing the SNAP on Ubuntu or other Linux OS, the command to install Shotcut video editor using SNAP is:
sudo snap install shotcut --classic
Step 4: Open Shtocut video editor on Linux
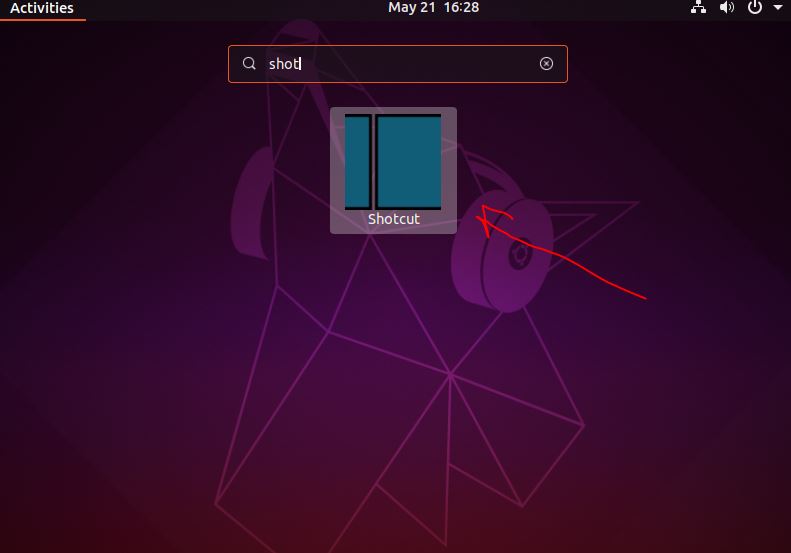
Once installed, go to Applications of the Linux operating system you are using and search for Shotcut. When the icon appears, click on it to start your editing.
Step 5: Uninstall Shotcut form Linux
Here is the snap command that will remove this Snap installed video editor form your Linux OS.
sudo snap remove shotcut
Install Shotcut using Flatpak (optional)
If you don’t want to use SNAP then Flatpak is there. It is same like Snap and easy to use to install different Linux packages regardless which Linux flavour you are using.
Command to install Flatpack on Ubuntu:
sudo add-apt-repository ppa:alexlarsson/flatpak
sudo apt update
sudo apt install flatpak

sudo flatpak remote-add --if-not-exists flathub https://flathub.org/repo/flathub.flatpakrepo
Restart your System
Install Shotcut from Flathub
flatpak install flathub org.shotcut.Shotcut
When it asks for permission type Y and press enter button.
Run Shotcut:
flatpak run org.shotcut.Shotcut
Other Useful Resources:


Hello Sabasish! I tried installing Shotcut from snap like you showed but it’s not showing up in the search bar 🙁
Open Command Terminal and simply type- shotcut, if it is installed correctly it will start.