Eclipse is an open source software used for software development as IDE (Integrated development environment). Here, in this tutorial will let you know how to download and install Eclipse on Ubuntu via command terminal.
The Eclipse non-profit organization was founded in 2004 and supported by the IBM to develop the Eclipse IDE as an open source software. The foundation helps to grow both the open source community of Eclipse software as well as other products and services.
It is a Java-based IDE and widely used by developers to develop a different kind of application. It has a wide range of plugins to enhance its compatibility and functions. Besides developing the JAVA applications, the Eclipse can be used to work with other programming languages too with help of plugins such as C, C++, C#, COBOL, D, Fortran, Haskell, Python, R, Ruby (including Ruby on Rails framework), Rust and more.
Steps to Download and Install Eclipse Linux version on Ubuntu via command line
The below given guide works on all version of Ubuntu 14.04, 14.10, 15.04, 15.10, 16.04, 16.10, 17.04, 17.10, 18.04, 18.10… Even on Debian too.
Step 1: Install Java (JRE/JDK) on Ubuntu
The Eclipse IDE needs a JAVA environment to run and work. While writing this article latest JAVA standard version available to download was 11. So, the commands given below to install both JRE (Java Run environment) and JDK (Java Development Kit) are same for any other newer or older version too. For example, if you want to install the JRE 9 version then just replace the version given in the command like openjdk-7-jre.
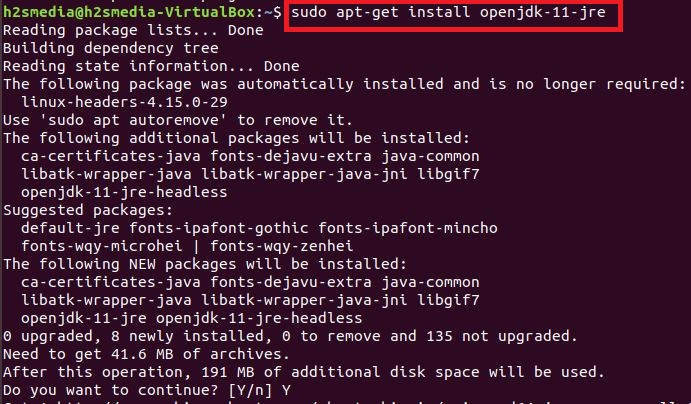
Command to install JRE on Ubuntu or Debian
sudo apt-get install openjdk-11-jre
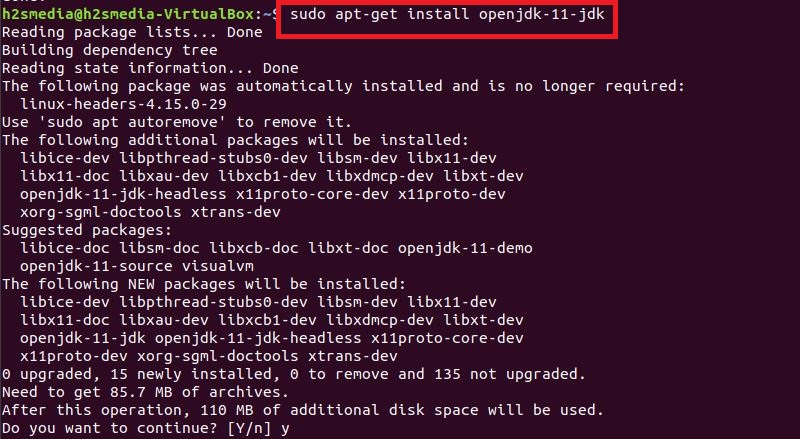
Command to install JDK on Ubuntu or Debian.
sudo apt-get install openjdk-11-jdk
Step 2: Downloading the Eclipse IDE for Ubuntu Linux
Now open the browser and use this link to download the Eclipse IDE for Linux: http://www.eclipse.org/downloads/?osType=linux
Click on the Download button and then on the file to download it

Step 4: Install the Eclipse IDE on Ubuntu Linux
Once the file of Eclipse IDE downloaded get back to Command Terminal type the below commands:
cd Downloads/

ls
The above command will show all the files and folder available under the login user. Now find the downloaded Eclipse file and copy its name and use the sudo tar -xvzf command to extract it. The same way we used the command below. In our case the downloaded Eclipse Tar file name was eclipse-inst-linux64.tar.gz
sudo tar -xvzf eclipse-inst-linux64.tar.gz
Step 5: How to Run the Eclipse Installer on Ubuntu
Change your current directory folder and enter into the eclipse-installer folder. However, after performing the above commands, I am assuming that you already in the downloads directory; just again type
ls
And then find the eclipse-installer folder to make sure that it is present there or not. And to enter in to use the below command.
cd eclipse-installer

ls
Run the Eclipse installer
./eclipse-inst

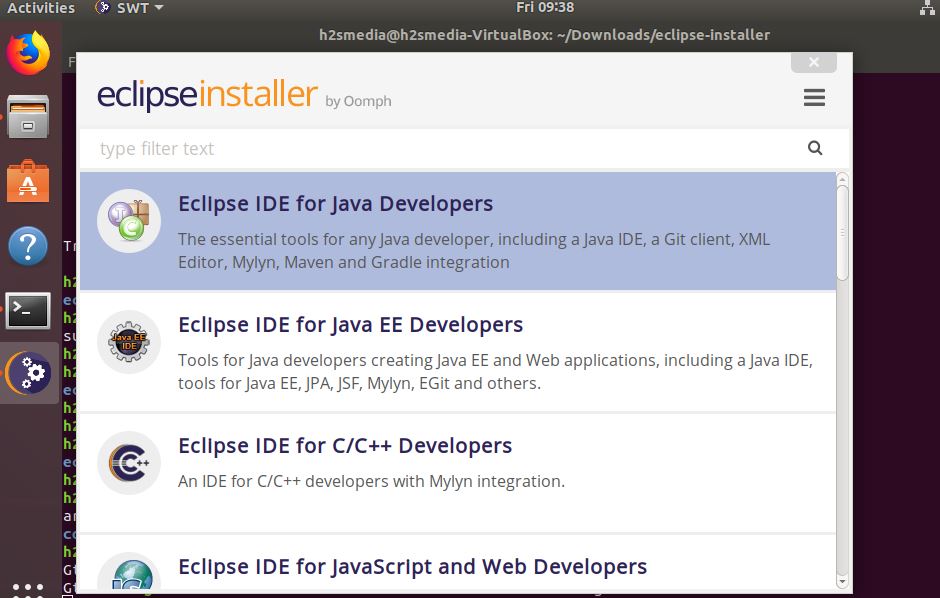
Step 6: Follow the Guided process to Install the Eclipse IDE for Java Developers.
Here we are selecting the Eclipse IDE for Java Developers but you can install other Eclipse tools too by repeating this step again to install multiple IDEs such as Eclipse IDE for Java EE Developers, Eclipse IDE for C/C++ Developers, Eclipse IDE for JavaScript and Web Developers and more…
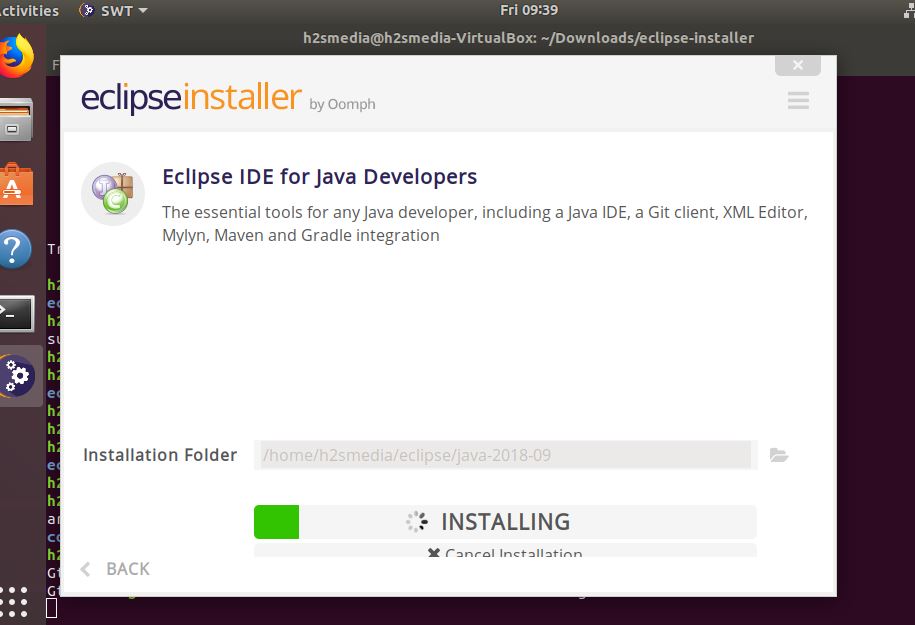
If you want some custom location to install the Eclipse IDE then you can change it here otherwise leave it default.

Accept Terms and conditions to use the software

Add the trust certificate…

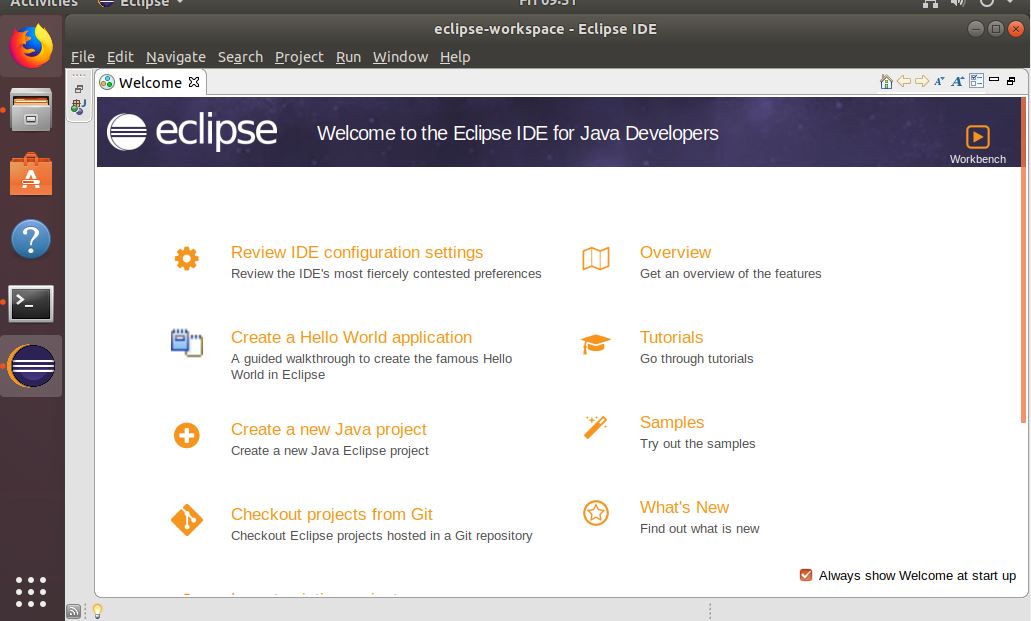
Now you can launch your installed Eclipse IDE for Java Developers to start the coding process.
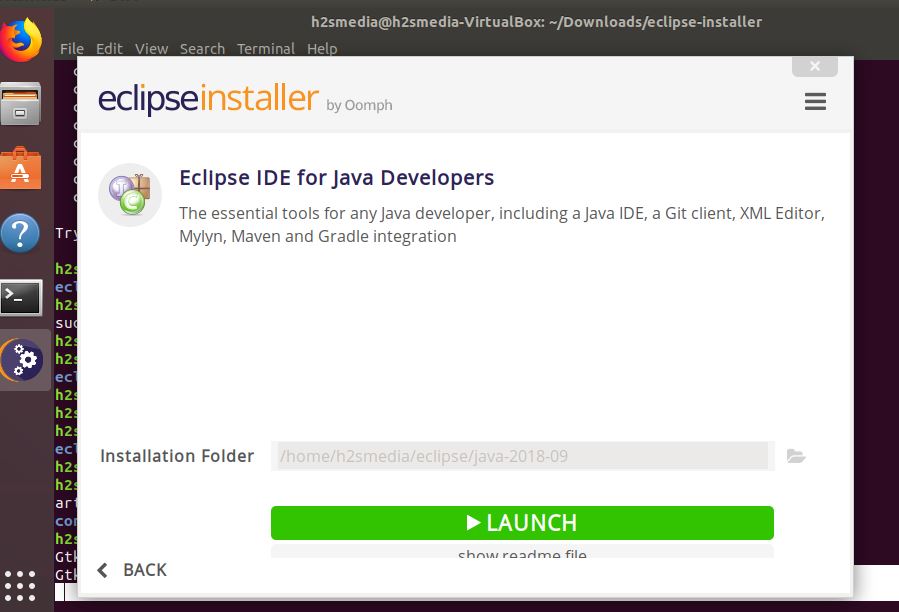
When it asked you to set the path to save you work then set the custom path if you require or rather leave it as default, just check the box given in front of Use this as the default and do not ask again option and then click on the Launch button.

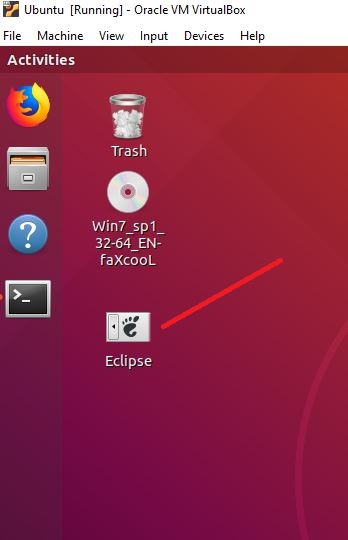
Step 7: Create a Desktop shortcut for Eclipse IDE in Ubuntu.
sudo apt-get install --no-install-recommends gnome-panel

gnome-desktop-item-edit --create-new ~/Desktop
In the Name section, type the name you want to give your Eclipse Desktop shortcut and then just browse the eclipse executable file form the Eclipse folder.


How to Uninstall Eclipse IDE on Ubuntu Linux
In case you don’t want the Eclipse any more on your Ubuntu System and want to remove it completely then you can use the below-given commands:
sudo apt-get autoremove eclipse*
rm -r ~/.eclipse/
I hope this tutorial helps you somehow in case you have any query the comment section is all yours!!
Other Useful Resources
- How to install Owncloud 10 on Ubuntu 16.0.4 Server
- How To Install Apache web server on CentOS 7/6 with a single command
- Install Android emulator Anbox on Ubuntu Linux
- 4 Best Open source custom router firmware
- How to create a desktop shortcut for eclipse or application or folder Linux Ubuntu


Thank you very much for sharing!