Those days are not too old when we had to capture photos with a lot of caution so that we don’t run out of films before we complete a trip. Capturing videos required a Handycam, and then we got digital cameras, aka. Digicams. But as time went on, digital cameras are not that popular, yet, they are still around nowadays. However, they could complete DSLR cameras and for sure DSLRs are not going to unpopular at all. With them, you can capture as many photos as you can, provided you have inserted the high capacity memory card into the camera. Nevertheless, due to portability and most of us have smartphones to not only capture photos but also to record videos, somewhere a significant market of Cameras has been taken over by it. Moreover, it is easy to capture moments these days with mobiles; some users capture more than 10 to 20 photos per day, and when there is something special it can easily cross hundreds.
Furthermore, we can capture hundreds of images because of high capacity storage on smartphones which we can expand further using SD cards. However, despite all that memory, eventually, we reach the limit and certainly look for some new smartphone that offers more internal space at the same price. Well, that’s not a big deal for some people but transferring all the photos one by one from an old smartphone to a new one is a boring task that kills valuable time. Therefore, if you are using Android or iOS handsets, Google Photos can sort your life as you can backup all your photos and digital life to Google Photos completely for free.
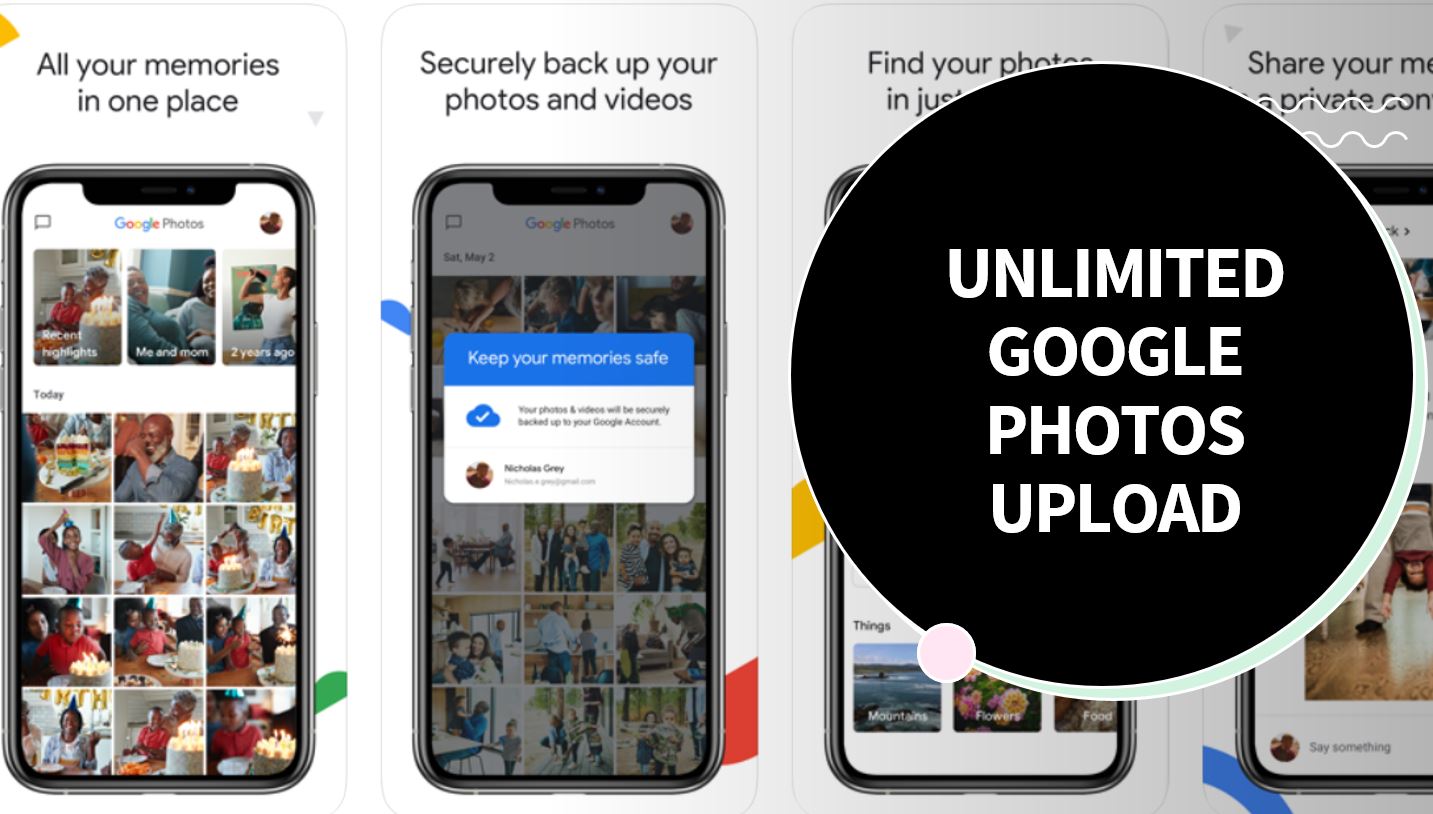
The ability to backup all photos and videos to Google Photos here for a long time now, but most people do not know about it. So, today I will be talking about the Google Photos unlimited backup service that you should definitely use to upload your complete digital life on the cloud and never worry about losing them again.
Upload all your photos and videos to Google Photos for free & unlimited
⇒ Step 1: Google Photos comes pre-installed with most modern Android smartphones, however, you can also download or update it your respective app store, here are the links: Android and iOS.
⇒ Step 2: After you downloaded the Google Photos app on your smartphone, open it, and choose a Google account to sign in to Google Photos. That particular account will be used to backup all your photos and videos on your smartphone, and you can access all the backed up photos and videos using the same account on Google Photos on any device you have access to.
⇒ Step 3: Now that we have started and are already logged in, tap on the profile icon, and then tap on ‘Photos settings’.

⇒ Step 4: In the Settings menu, tap on ‘Backup & sync’.

⇒ Step 5: Enable ‘Back up & sync’ if that is not enabled by default, as shown in the screenshot below, and then tap on ‘Upload size’.

⇒ Step 6: Now you can find 3 different upload size options, and they are Original quality, High quality, and Express. The details of the different upload size options can be unveiled by simply tapping on each of them. But let me explain to you in short.
⇒ The first is the Original quality which is self-explanatory. It means the photos will be backed up in its original resolution and you can get a maximum of 15 GB of storage which is the quota for free Google Drive storage. You can purchase more storage space on Google Drive and that way you can upload more photos and videos in original quality and that will occupy your Google Drive storage gradually.
⇒ The next is High quality, which is the one that I will recommend. With high quality, the photos will be compressed to 16 MP and the videos will be compressed to high definition or 1080p. If your smartphone has a camera of less than 16 MP, no quality will be lost. However, if you capture photos at a resolution higher than 16 MP, and you record 4K videos, they will be compressed to 16 MP and 1080p respectively. But the bottom line is, with the high quality you can avail unlimited Google Photos storage free of cost.
⇒ The last is the Express mode and I will not recommend that as it comes with aggressive compression of photos and videos. The photos will be compressed to 3 MP and the videos will be compressed to standard definition or 480p. Even the cheapest smartphones these days have cameras with more than 3 MP cameras and most of them are capable of recording at 1080p resolution.
⇒ Just tap on select corresponding to ‘High quality’, and once it turns to selected just tap on the back button.

⇒ Step 7: You will have to choose the folders on your device that you want to backup to Google Photos. Yes, this is an important step as you will never want the Good morning and Good night image messages on WhatsApp get backed up to Google Photos. That will not only make it difficult to find out important photos on Google Photos, but it is also an utter misuse of a great free resource that is available to you. Tap on ‘Back up device folders’ in the ‘Back up & sync’ menu.

⇒ Step 8: Just tap on the enable buttons corresponding to all the folders that you want to backup. Please note, the folders will not be uploaded actually. The contents, i.e. the photos and videos within those folders will be backed up.

⇒ You might be surprised to not find the DCIM or the default folder where the stock camera app captures photos, but that is included by default. If you enable the backup and sync option on Google Photos, the contents within the default Camera folder will automatically be backed up.
⇒ You can also prevent the photos and videos from getting uploaded when you are using mobile data. To do that, tap on ‘Mobile data usage’ under the ‘Back up & sync’ menu.

⇒ Step 9: you can choose to not backup at all when you are connected to mobile data or set a limit on how much data will be used for photos and videos back up. If you do not have to worry about mobile data you can also choose unlimited. Additionally, you can also choose to backup while roaming by tapping on the corresponding option.

⇒ By default, Google Photos will only backup when you are connected to Wi-Fi.
⇒ If you have limited space on your smartphone and you are looking for ways to free up space, Google Photos can also help you save space on your smartphone storage by deleting items that are already backed up. Just tap on the profile icon, and step on ‘Free up space’.

⇒ Google Photos will automatically scan the items that are already backed up to Google Photos free storage, and you can get the option to free up that space by deleting those items. Just upon ‘Free up’ and you are ready to go.

So, literally speaking, the Google Photos unlimited storage price is zero. You can backup all your memories for free, and you will never lose them, even if you change your smartphone after some point in time. Even if you upload photos to Google from the default File Manager or Windows or any other operating system, that will also be uploaded for free to Google Photos, and that will not be counted against your storage quota. This is a Google Photos feature that everybody should know about and use as it is really cool.
So, that was all about how you can use the Google Photos unlimited storage. Do you have any questions? Feel free to comment on the same below.
Related Posts
Stellar Converter for EDB Review – A full-featured EDB converter for Enterprise requirements
How To Store More Photos & Videos on Google Photos without premium plan
How to Backup WhatsApp chat in Android – Manually
Clone hard drive with free software for easy data backup
9 Best free photo editing software for Windows 11 or 10