The Bleachbit is the best CCleaner alternative for Ubuntu and other Linux operating systems such as CentOS, Debian, Fedora, RedHat, SLE, and OpenSuse. As we know the CCleaner is one of the best software to clean junk files but it is not available for Linux, in such case the Bleachbit would be the best option to try if you are on Ubuntu. We are using Ubuntu here because it is a common Linux OS that all beginners use on & off and install lots of software to try out the Linux power. And certainly, it also leaves lots of junked, temporary, cache, browser history and other crap which we need to clean intermittently; manually or using some kind of third party software like Bleachbit. So, let’s see how to install the Bleachbit on Ubuntu.
Install Bleachbit on Ubuntu via command line
1. Log on to Ubuntu system. Here we are using Ubuntu 18.04 to install bleachbit. However, you can also perform these steps on earlier Ubuntu systems such as 17.04, 16.04, 15.04, 14.04…
2. Open the Command terminal. You can use the Keyboard shortcut keyboard CTRL+ALT+T
3. Now enter the below command to install he Bleachbit on Ubuntu.
sudo apt-get install bleachbit
4. Once you run the above, the Ubuntu will ask for a root password to execute the command, provide that and press enter.
5. After that press ‘Y’ button to allow downloading and installing the Bleachbit packages on Ubuntu.
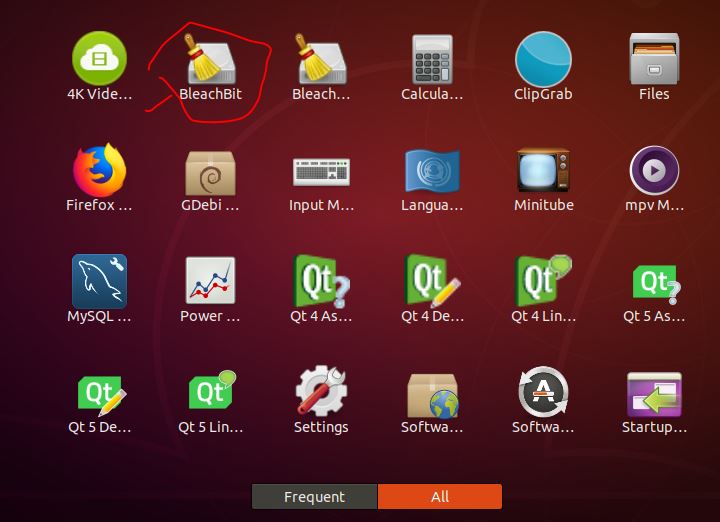
6. Once it installed, you will see its shortcut icon under the application section.
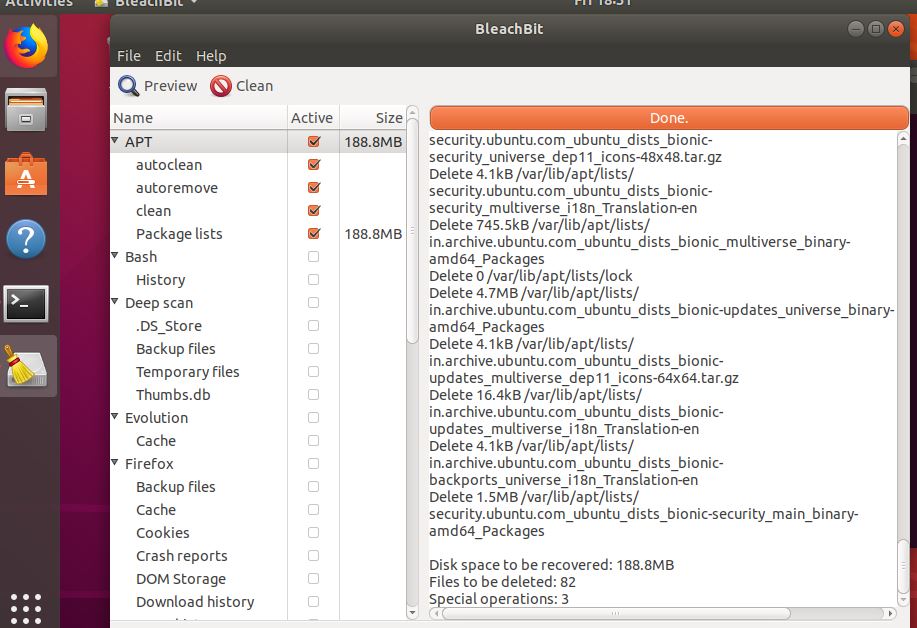
7. Now open the BleachBit and start removing and cleaning the part of Ubuntu you want.
Other Resources to See:
Related Posts
How to install Winget package manager in Windows 2022 Server
How to View Listening Ports Using Netstat
How to Install Pygame Zero on Windows 11
Single Command to install Android studio on Windows 11 or 10
How to Install DoXygen in Windows 11 or 10
Google Rolls Out Android 14 Beta 4.1 to Fix Bugs for the Pixel Fold and Tablet