The 7zip is a great file compression tool which is open source and free to use for Windows, Linux or Mac. 7-Zip file archiver comes with high compression ratio better than WinRAR as claimed by the official page of the 7-Zip.
The p7zip is a fork of original desktop 7-Zip file archiver. And P7Zip Desktop is a fork of P7Zip which by default comes with command line interface. We already have discussed in our previous article how to install command line version the P7zip on Ubuntu and now, here in this tutorial, we let you know the process to install 7ZIP desktop version on Ubuntu using SNAP. The P-7ZIP desktop version doesn’t need the command line to compress or extract the files. You can simply do it from its front end just like the Win RAR.
Now, what is SNAP?
The Snap is a container that holds different application packages of software those work across a wide range of Linux distributions. On the other hand, the traditional APT or YUM repositories which work only some specific type of Linux distros. The Snap saves a lot of time of developers by not modifying the codes of software to work on different distributions.
Let’s see the tutorial how to install 7ZIP on Ubuntu 18.04 using Snap.
The tutorial also work on the earlier version of Ubuntu such as 17.04,16.04,15.04 & 14.04
- Go to Ubuntu Desktop.
- Open the Command Terminal. The shortcut to access the Ubuntu Terminal is CTRL+ALT+T.
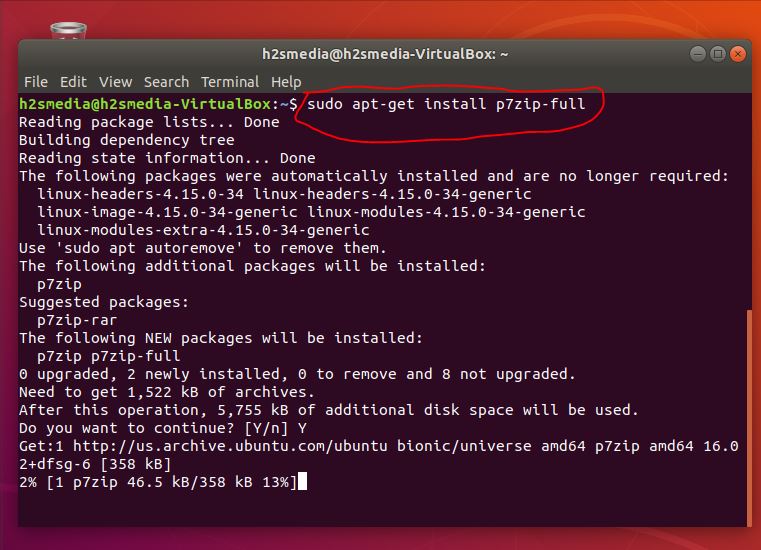
- Now first, we enable the SNAP on Ubuntu by installing it. The command to install the Snap is:
- sudo apt-get install snap

- sudo apt-get install snap
- After installing the Snap, its time to install the P7ZIP Desktop on Ubuntu. Use the given commands:
- snap install p7zip-desktop
- Note: After running the above command it will ask you to authenticate using the Ubuntu user password.

- Note: After running the above command it will ask you to authenticate using the Ubuntu user password.
- snap install p7zip-desktop
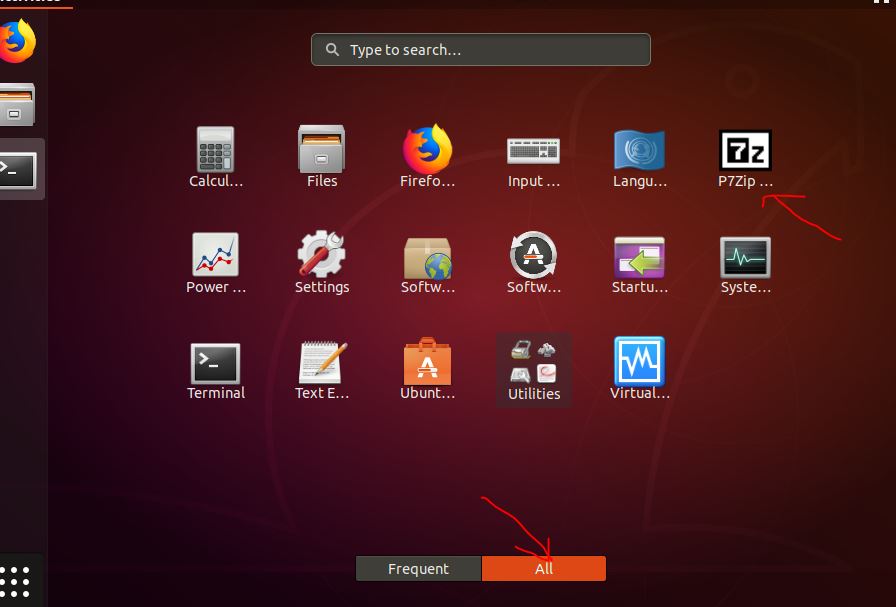
- Now go to the Ubuntu Show Applications dotted square button.

- Under the All application Tab you will find the 7ZIP installed icon. Click on that to access it.
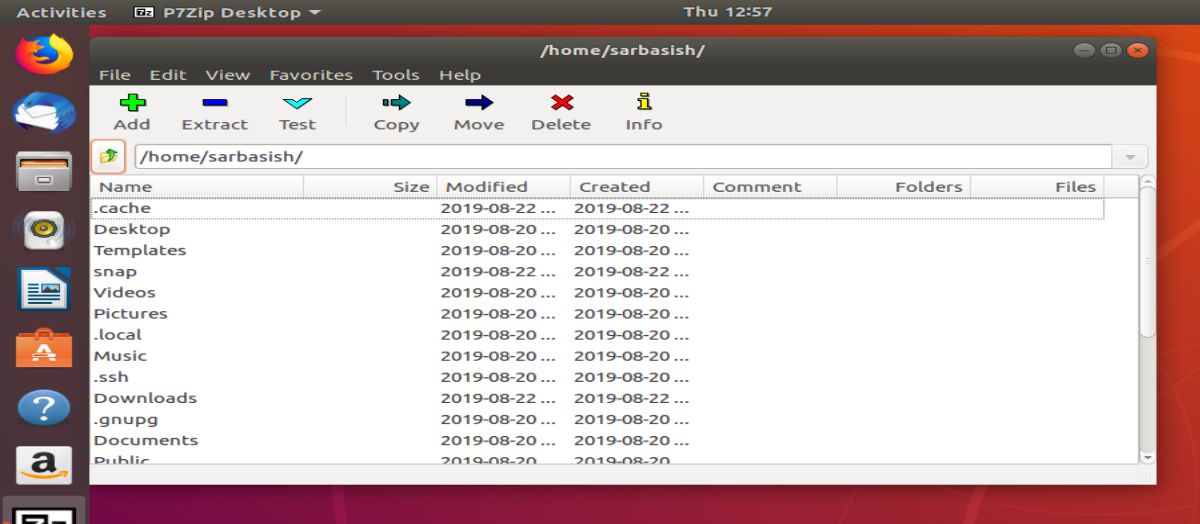
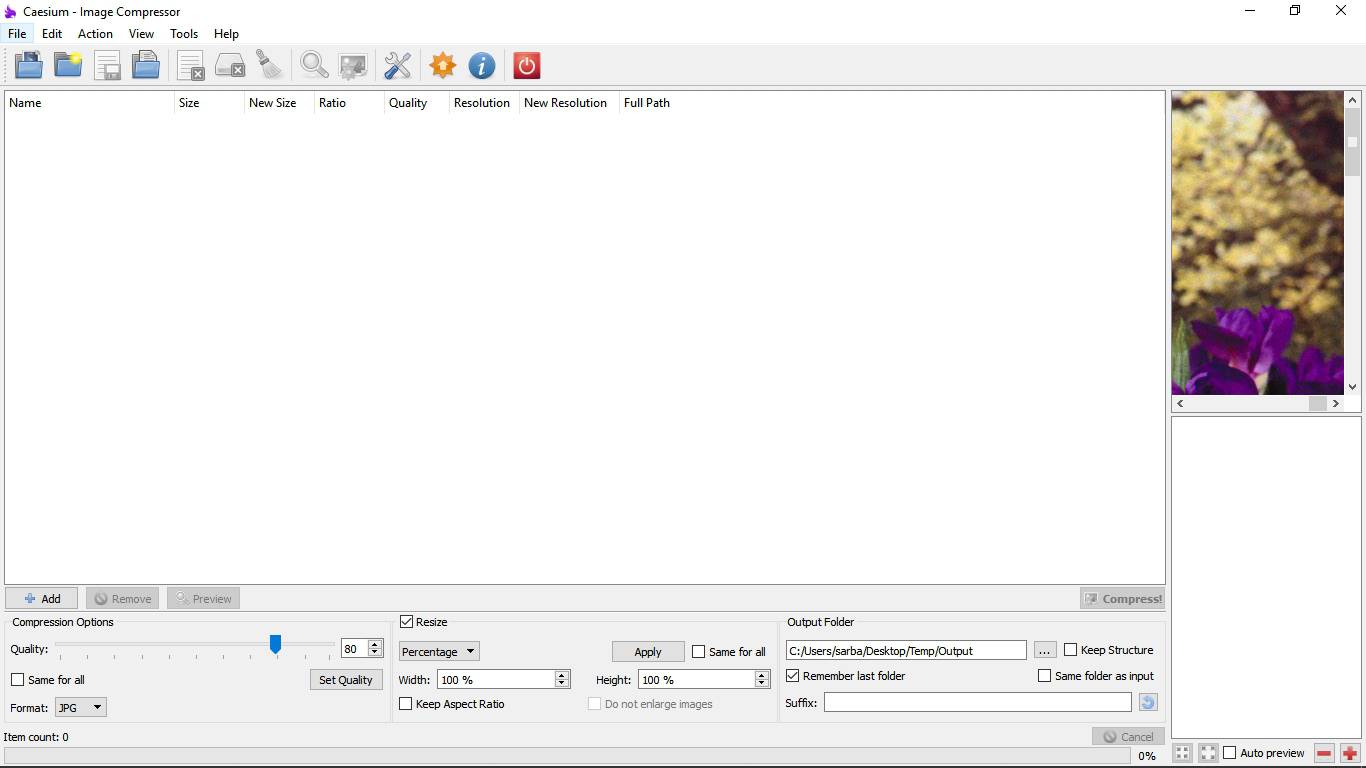
- Once you click on the 7Zip desktop application a GUI-graphical user interface will open. From where you can archive or compress any file you want.
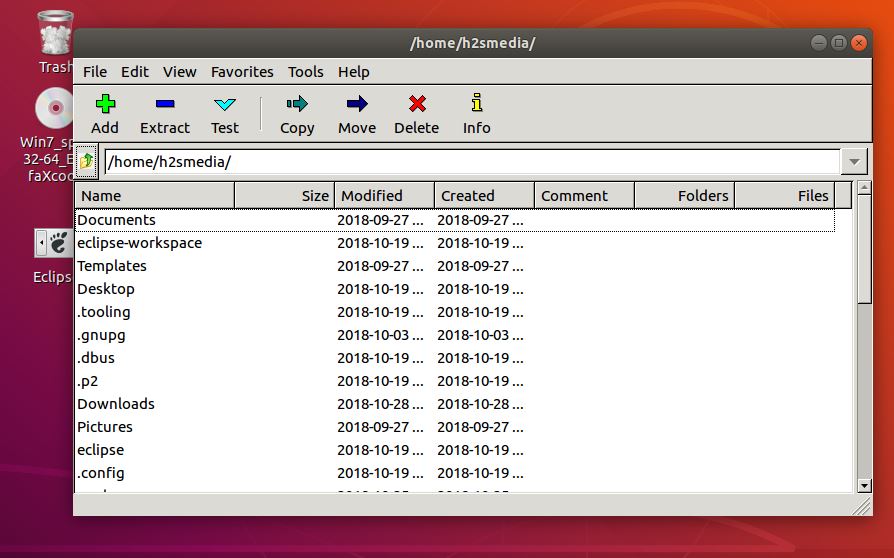
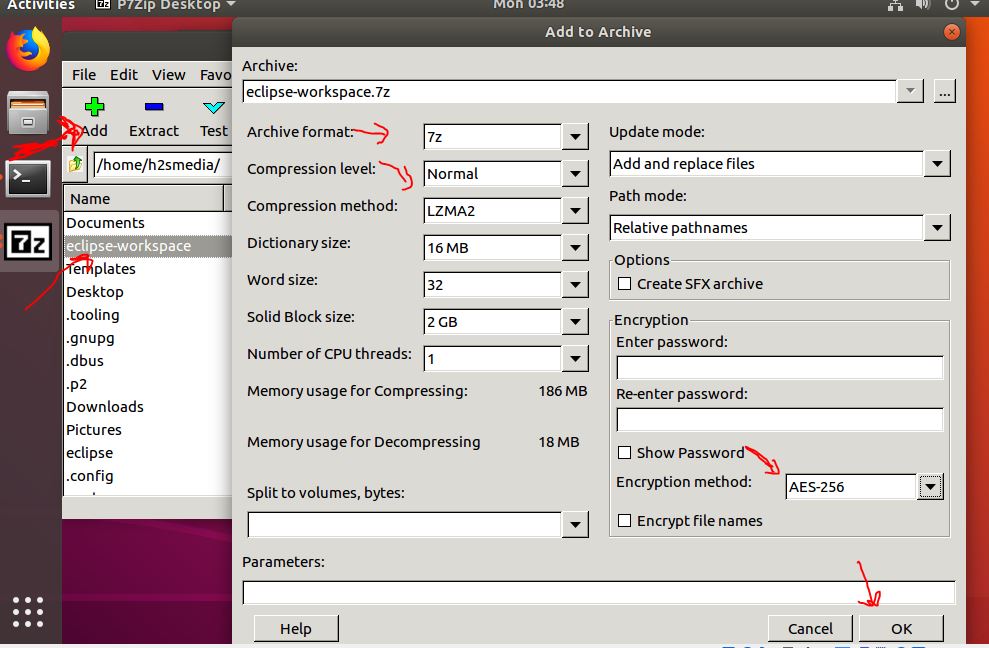
- To compress any file or folder select it from the explorer and then click on the +ADD button. Select the format in which you want to archive the file or folder. By default, the 7z is selected but it also provides the TAR, Wim and ZIP formats. You can also set the dictionary size, compression method, Password, create SFX archive, AES-256 bit encryption and more. Once you ready, click on the OK button and your file will be archived or compressed using the 7ZIP desktop software.
Other Useful Resources:
- How to Create self-extracting archives with 7zip SFX builder
- Top free and open source alternatives to WinZip and WinRAR, and the best for you
- How to encrypt personal files with 7-zip encryption
- How to create Windows Virtual machine on Linux (Ubuntu)

thank you very much..